Nancy’s Concrete + Wood
Feature Wall Piece
Welcome into my shop…
Below are just a few images taken during the making of your concrete and wood feature wall piece. I do hope you enjoy seeing the progress and steps that go into making a custom piece of art.
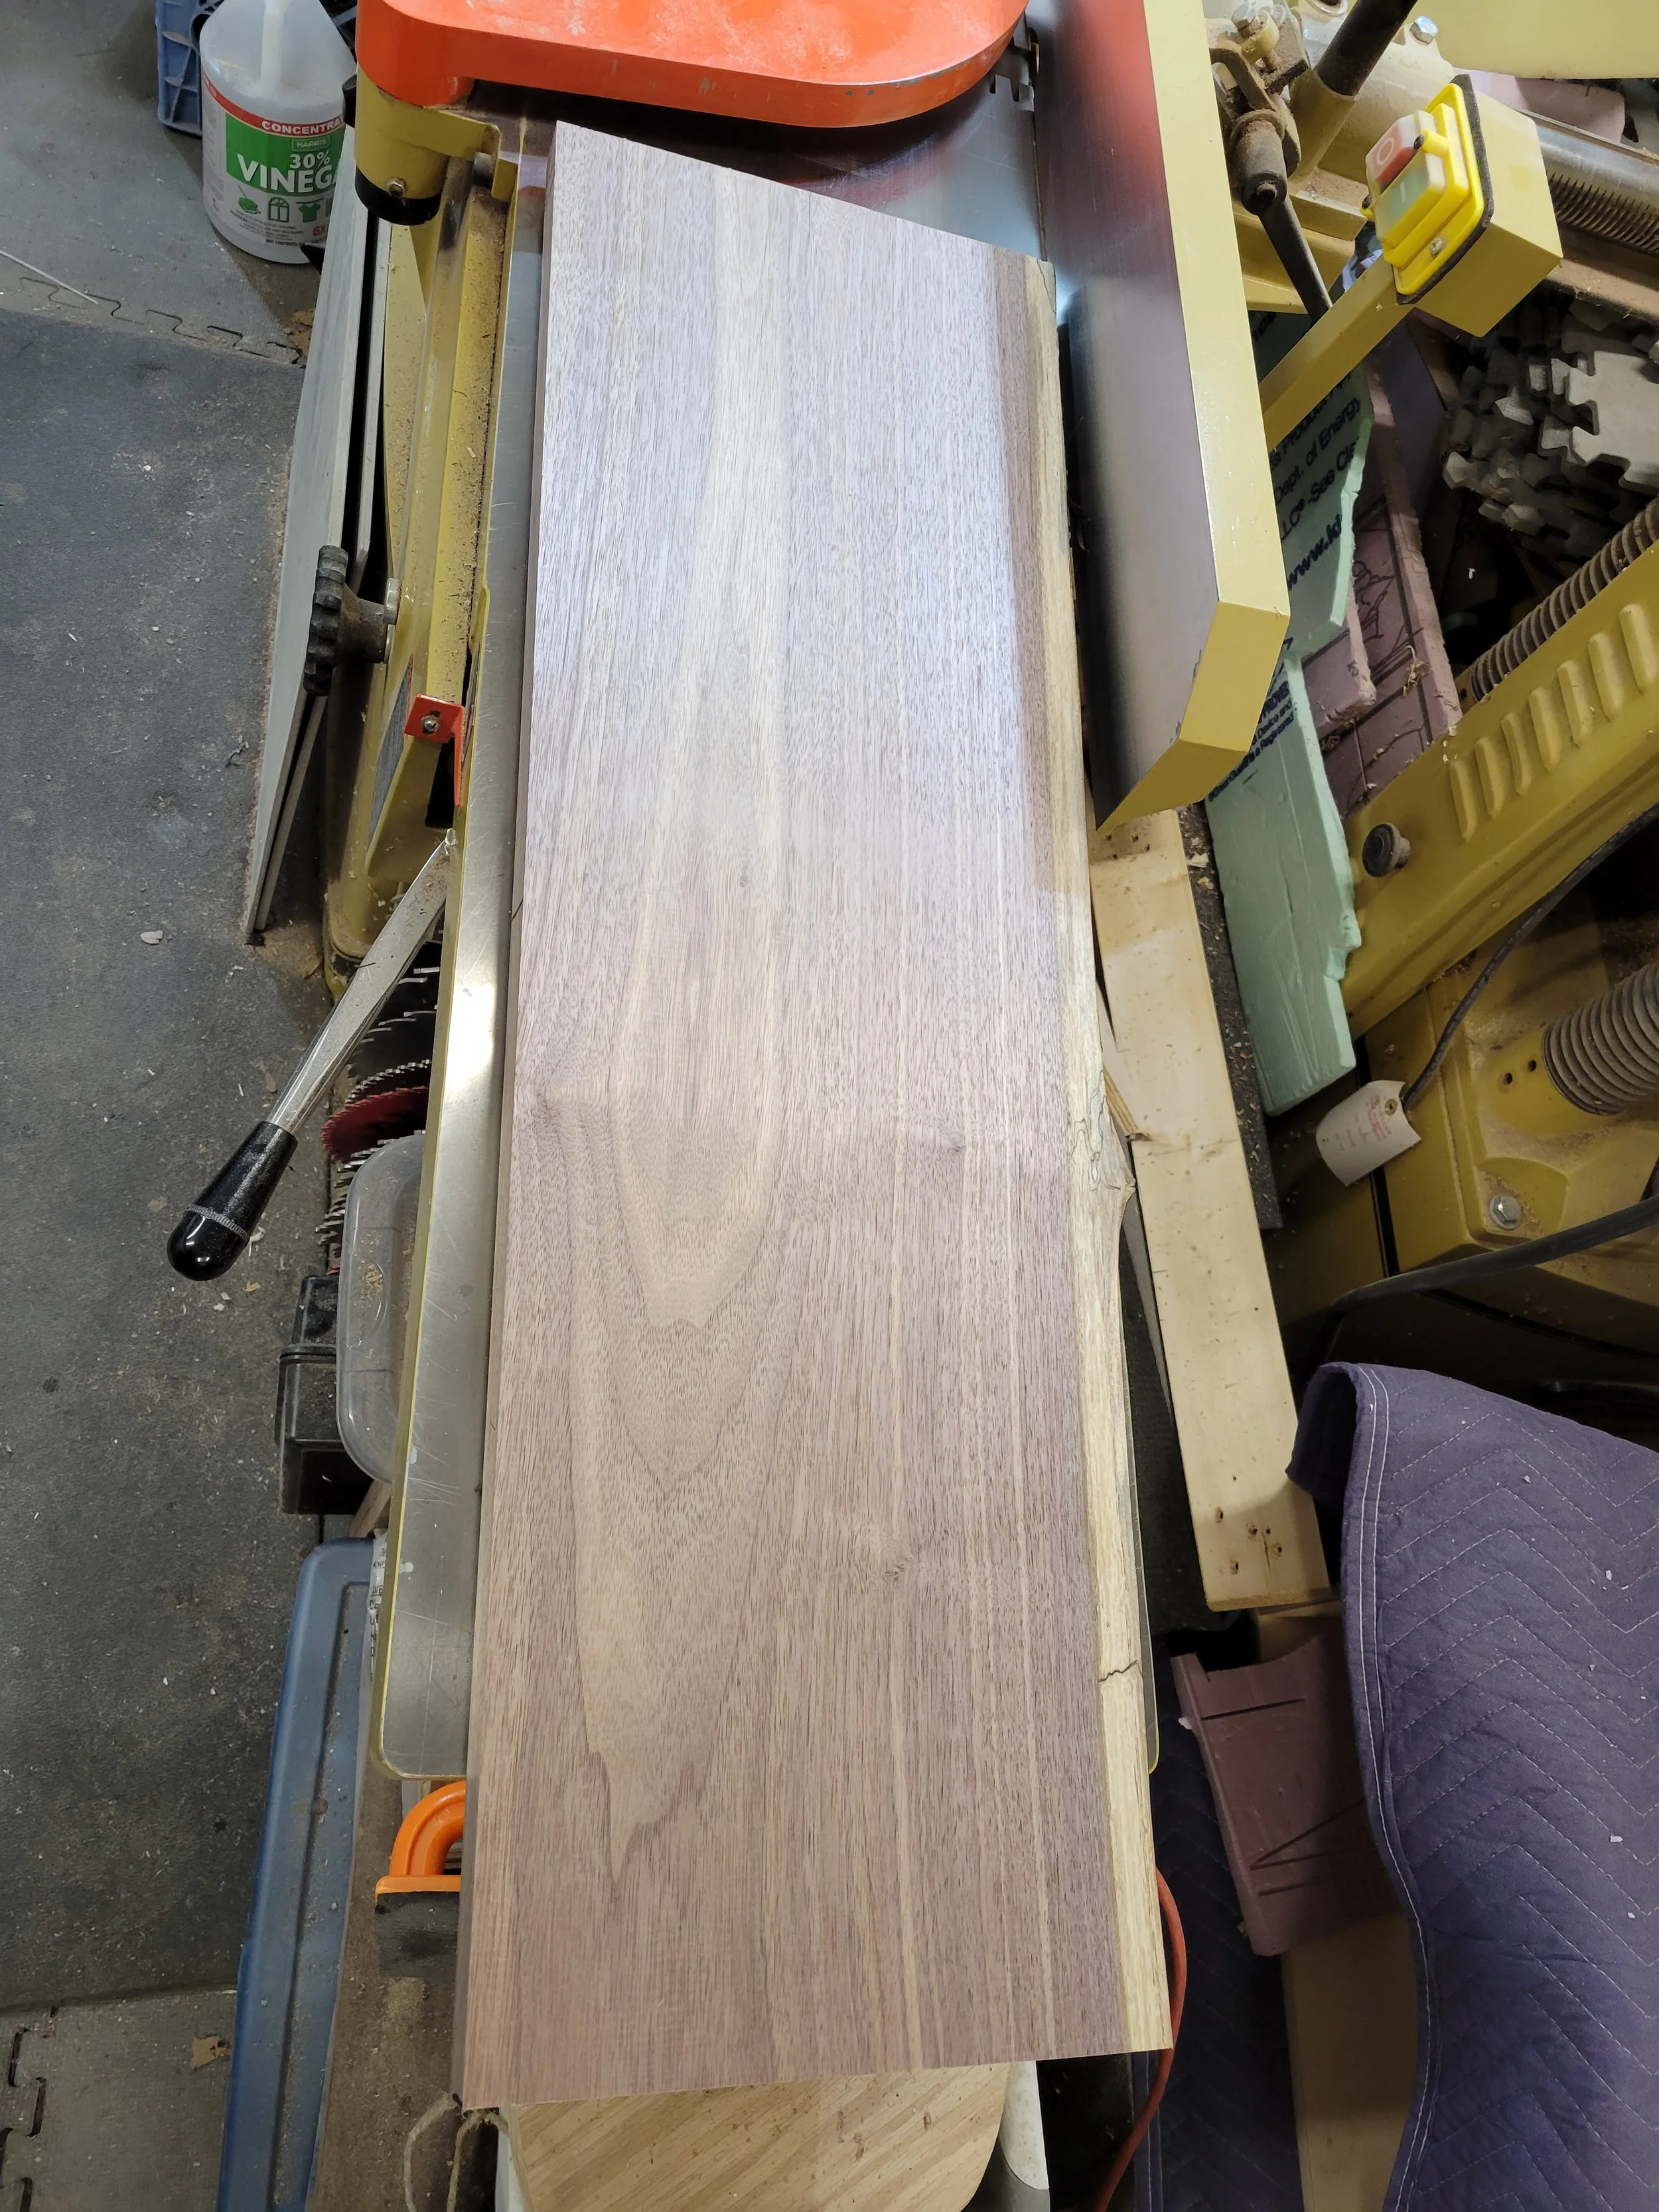
Milling the Wood
Like we looked at on our zoom call, this is the single live edge walnut board. It definitely looks different when it comes from the mill and after it goes through all the machining. The top row shows me using the track saw to cut the bottom straight edge. I then do a similar process to cut the slab into 3 large pieces for milling. This board was pretty cupped as you can see by the frown face on the left photo of the 3rd row, but using the jointer and planer, you can see the process of flattening the bottom and then making the top face parallel to the bottom face.


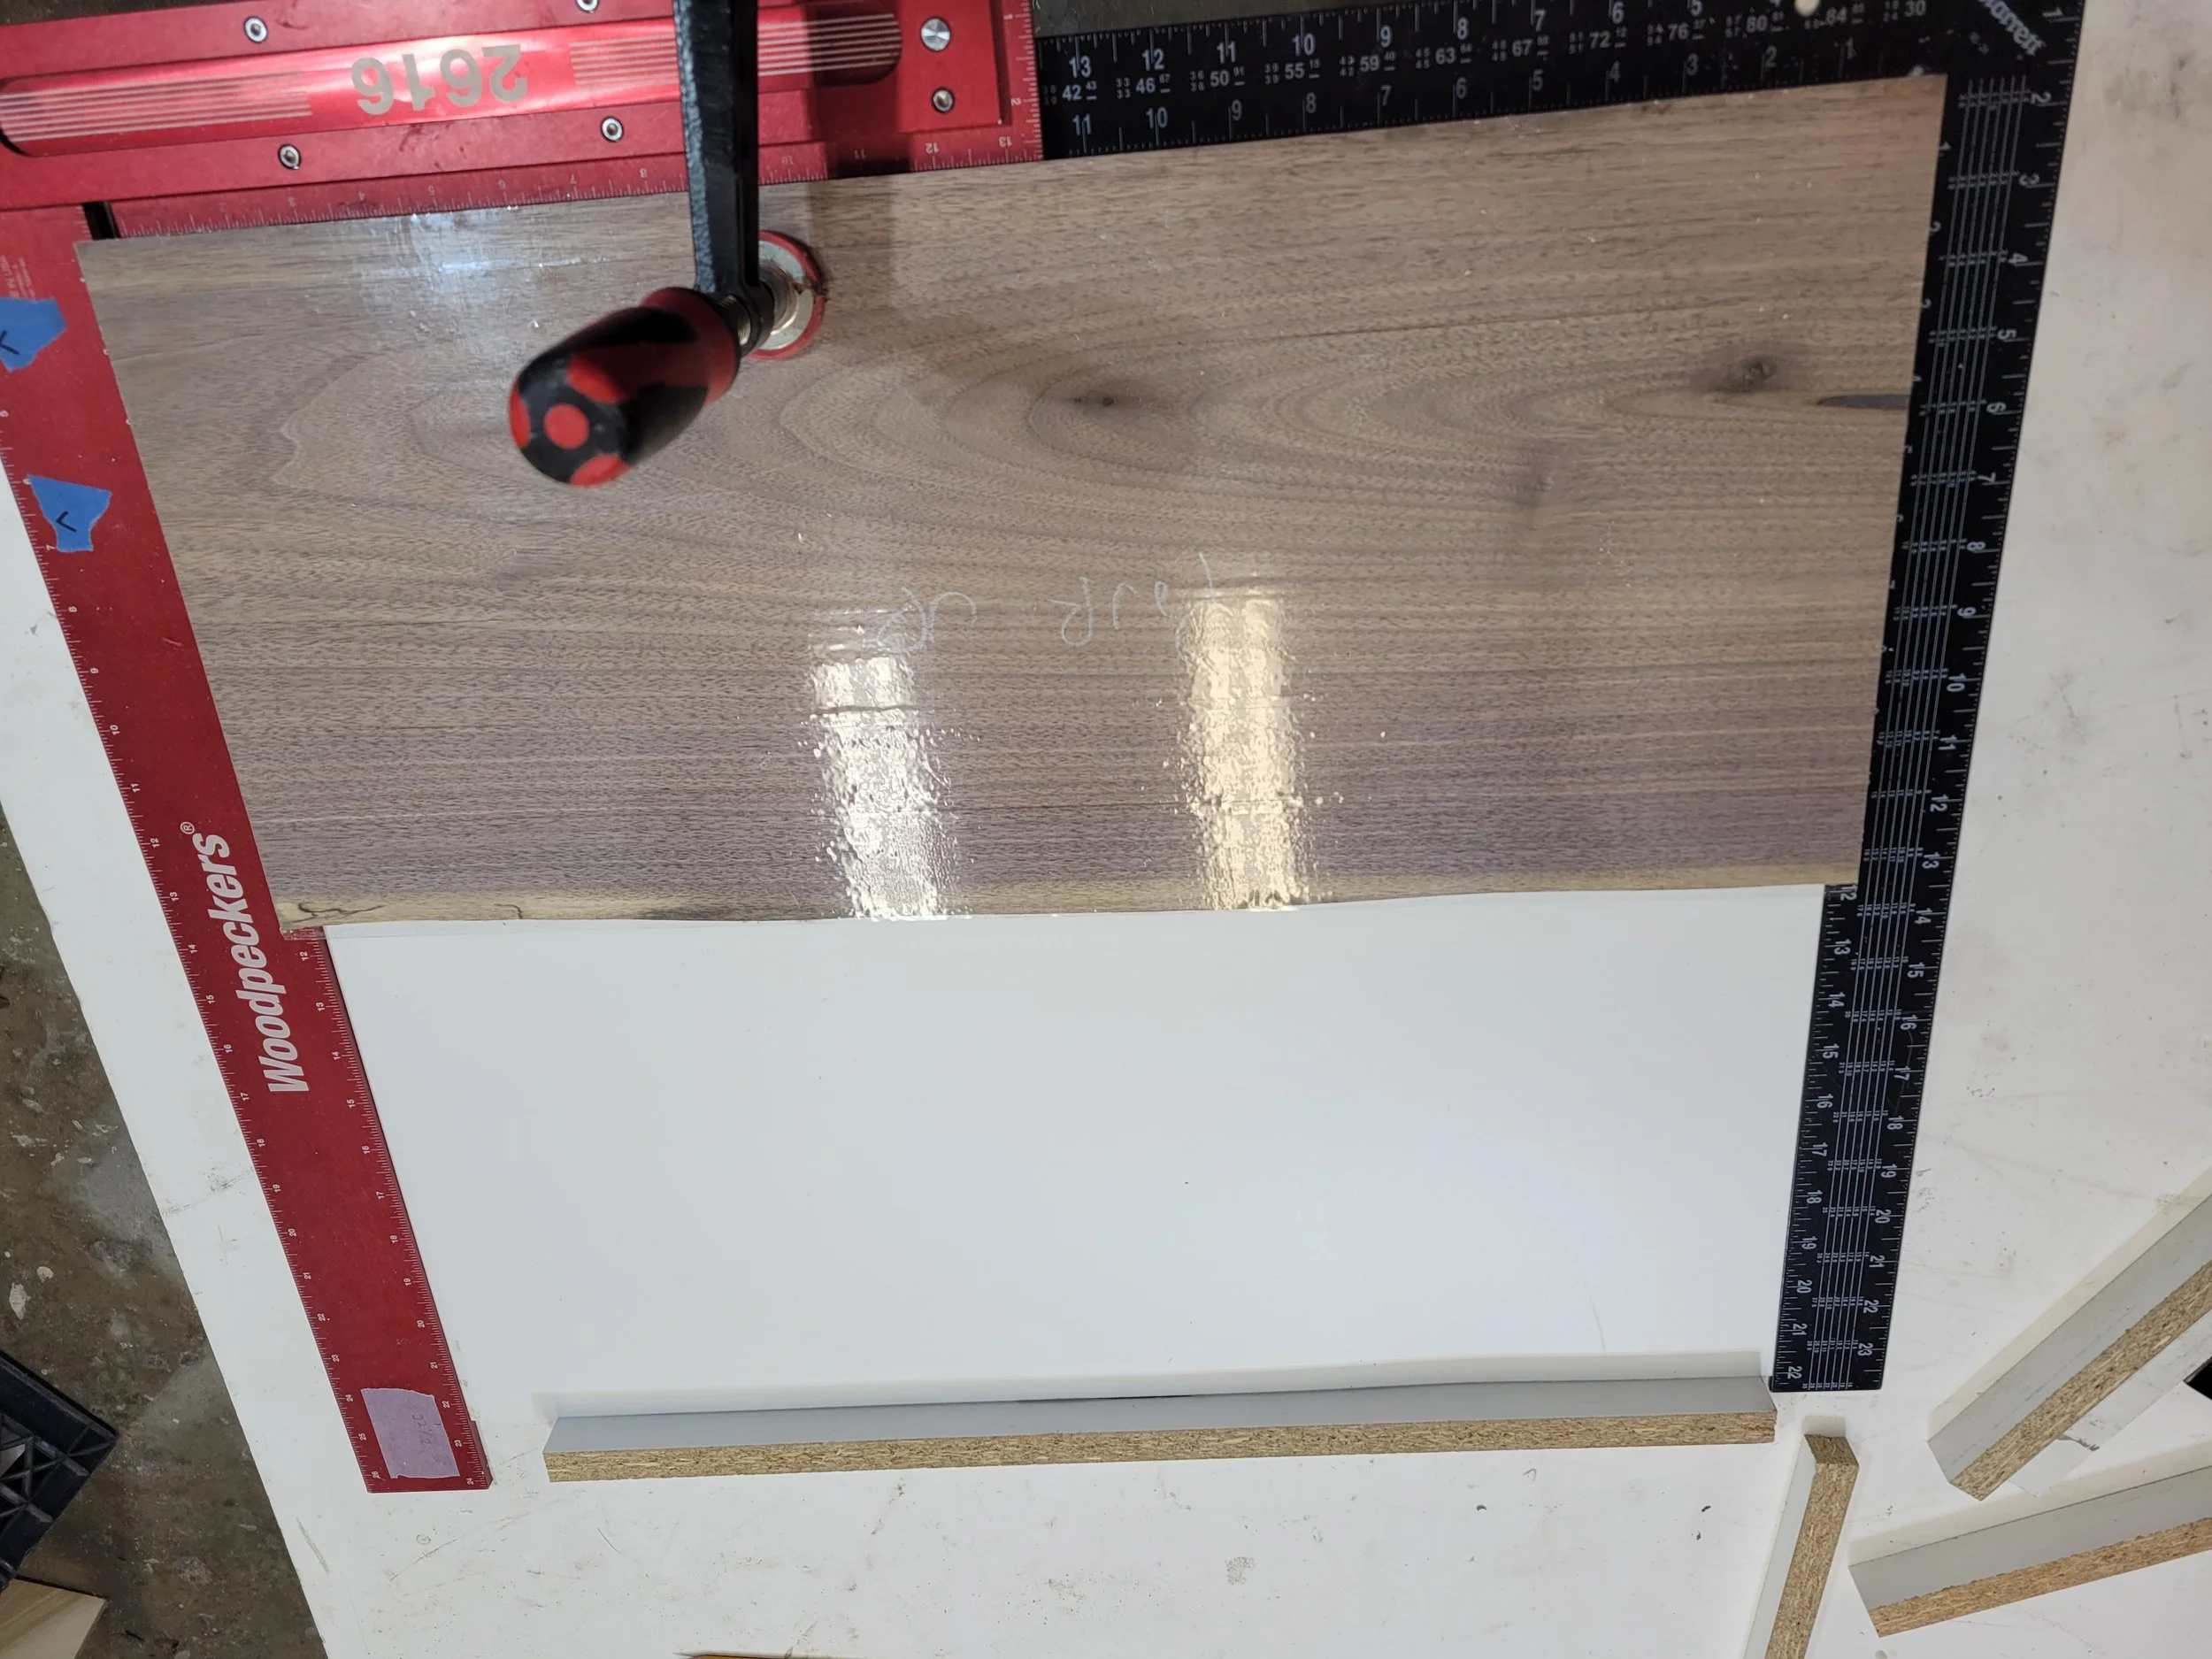
Preparing the Wood for the Concrete
I use the crosscut sled on the table saw to make each of the 4 outer pieces the same length and then the middle piece a bit longer (top row). Using my grandfather’s Draw Knife, I remove the bark off of the live edge and then clean up the rest with one of my favorite hand tools in the shop, the Spokeshave.


Making the Concrete Form
I want the concrete to be 1/8” thinner than the wood so that it is set back slightly and gives depth to the piece. To do this, I use PVC board. I slide the board underneath the live edge piece, trace the live edge, and then cut the line on the bandsaw. I then cut edges of the form out of melamine (this is pretty boring, so there aren’t any images of that). To make a nice round-over on the concrete edges, I use a caulk gun to apply caulk to the corners, then a rounded ball tool (they use the same ones in cake decorating) to make the caulk into a round over, wait for it to dry, and peel it off. Now we are ready to pour some concrete.


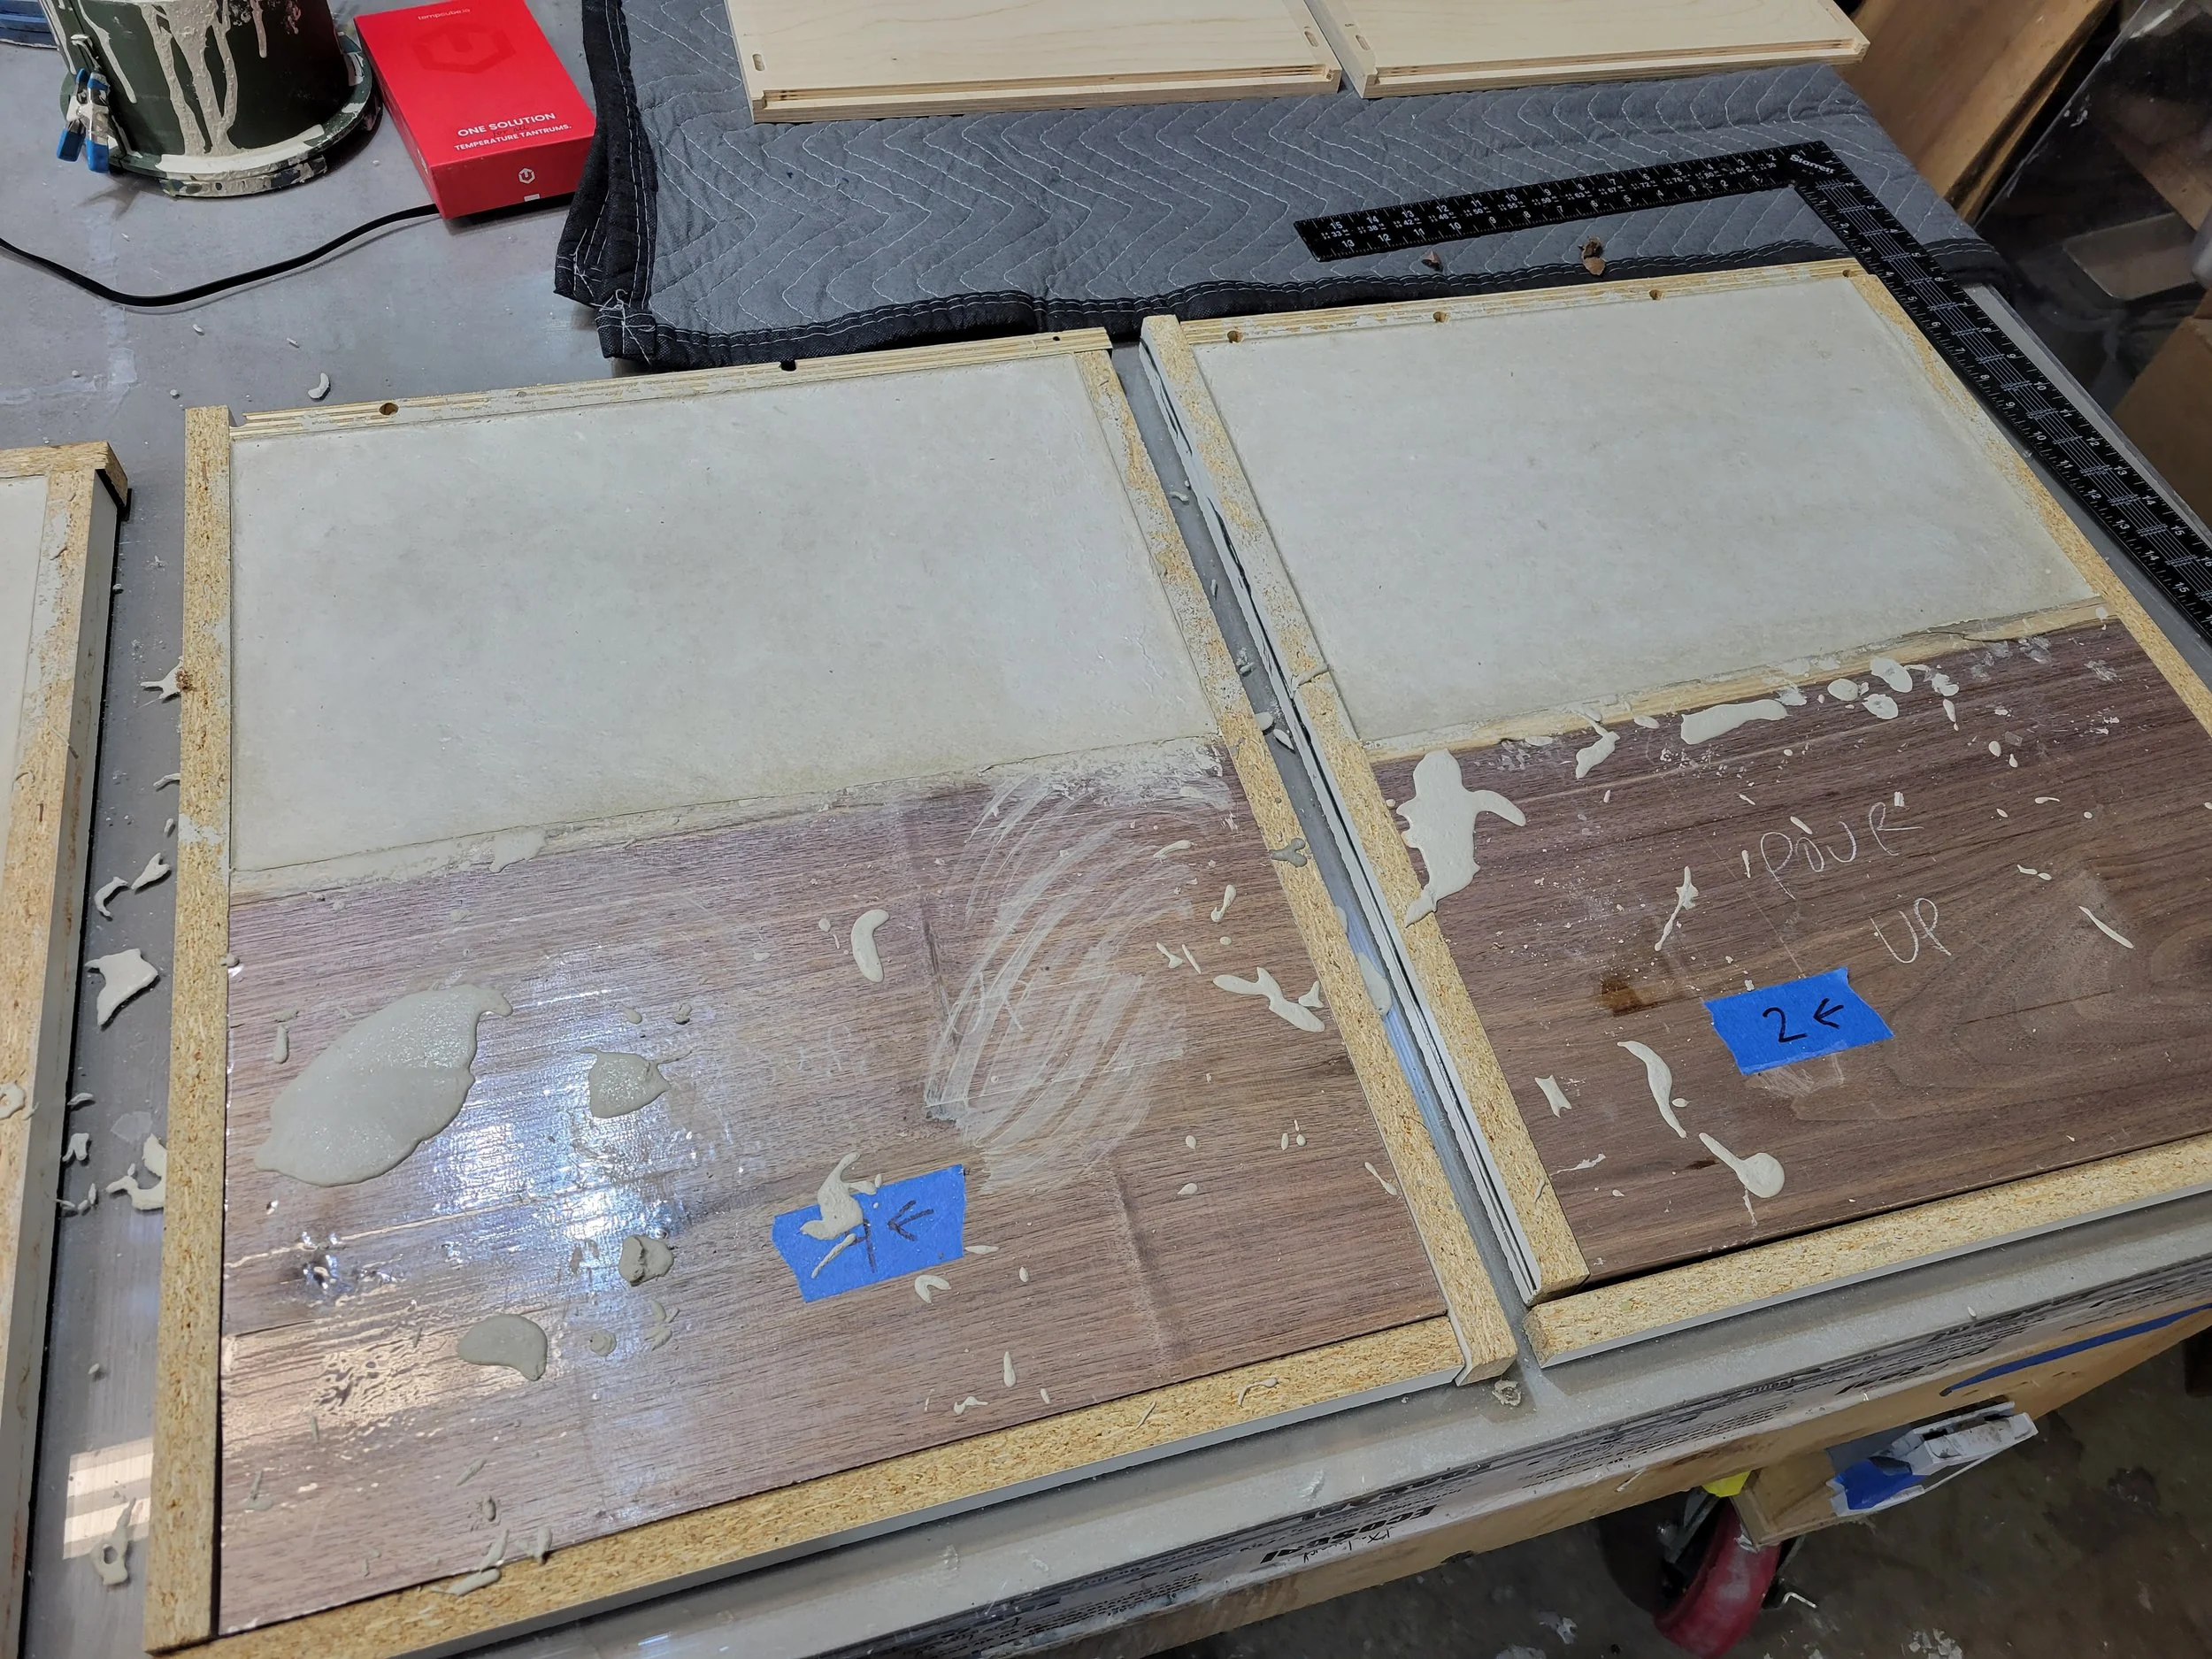
Pouring the Concrete
This is always a fun day! I measure everything out ahead of time so that it can be as close to a baking show as possible when I pour each ingredient into the concrete mix. I start with ice and the color then add the cement, sand, some unicorn mixes of ingredients, and fibers. I have 2 different buckets for each of the 2 colors, then mix them in a small bowl before pouring them into each of the forms. The concrete will set up for the next 48 hours and then it will be Christmas morning opening them!


What’s next….
I’ll take the concrete out of the molds, let that sit for another day, then start wet grinding and processing the concrete. The wood will get sanded and finished. As will the concrete. And then I make a back to connect the two together. I’ll add photos of those as I go through those steps.