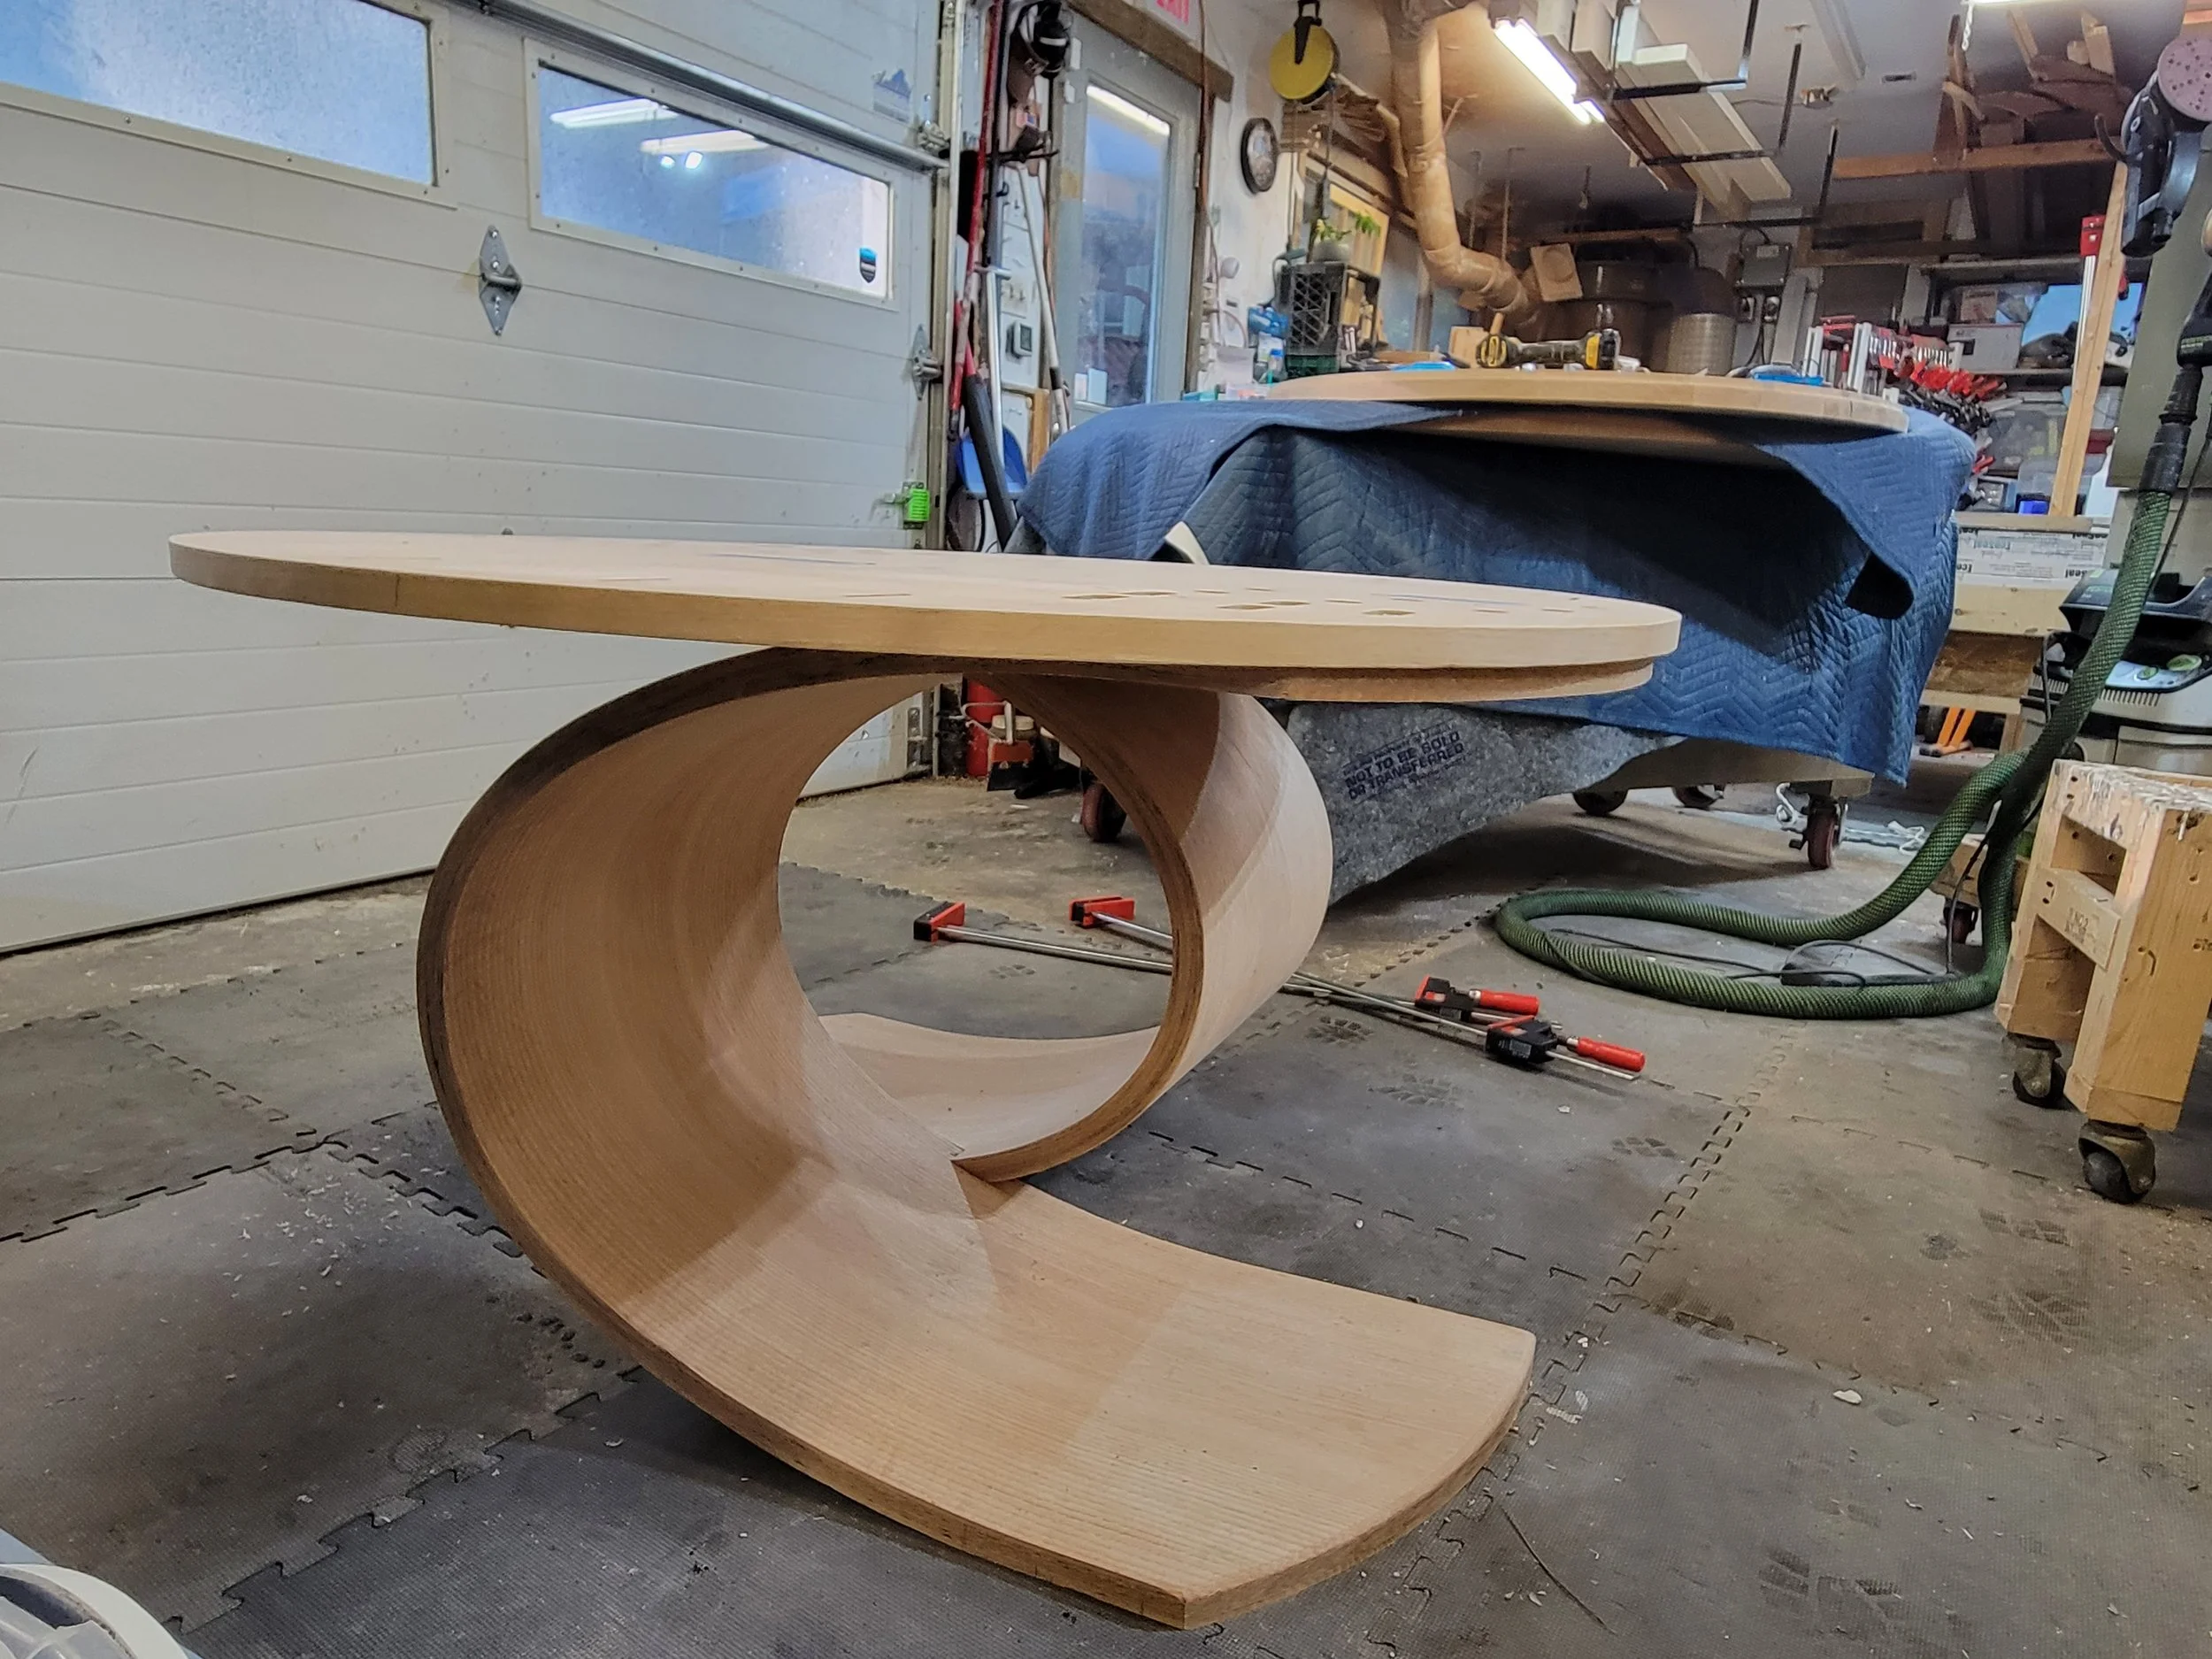
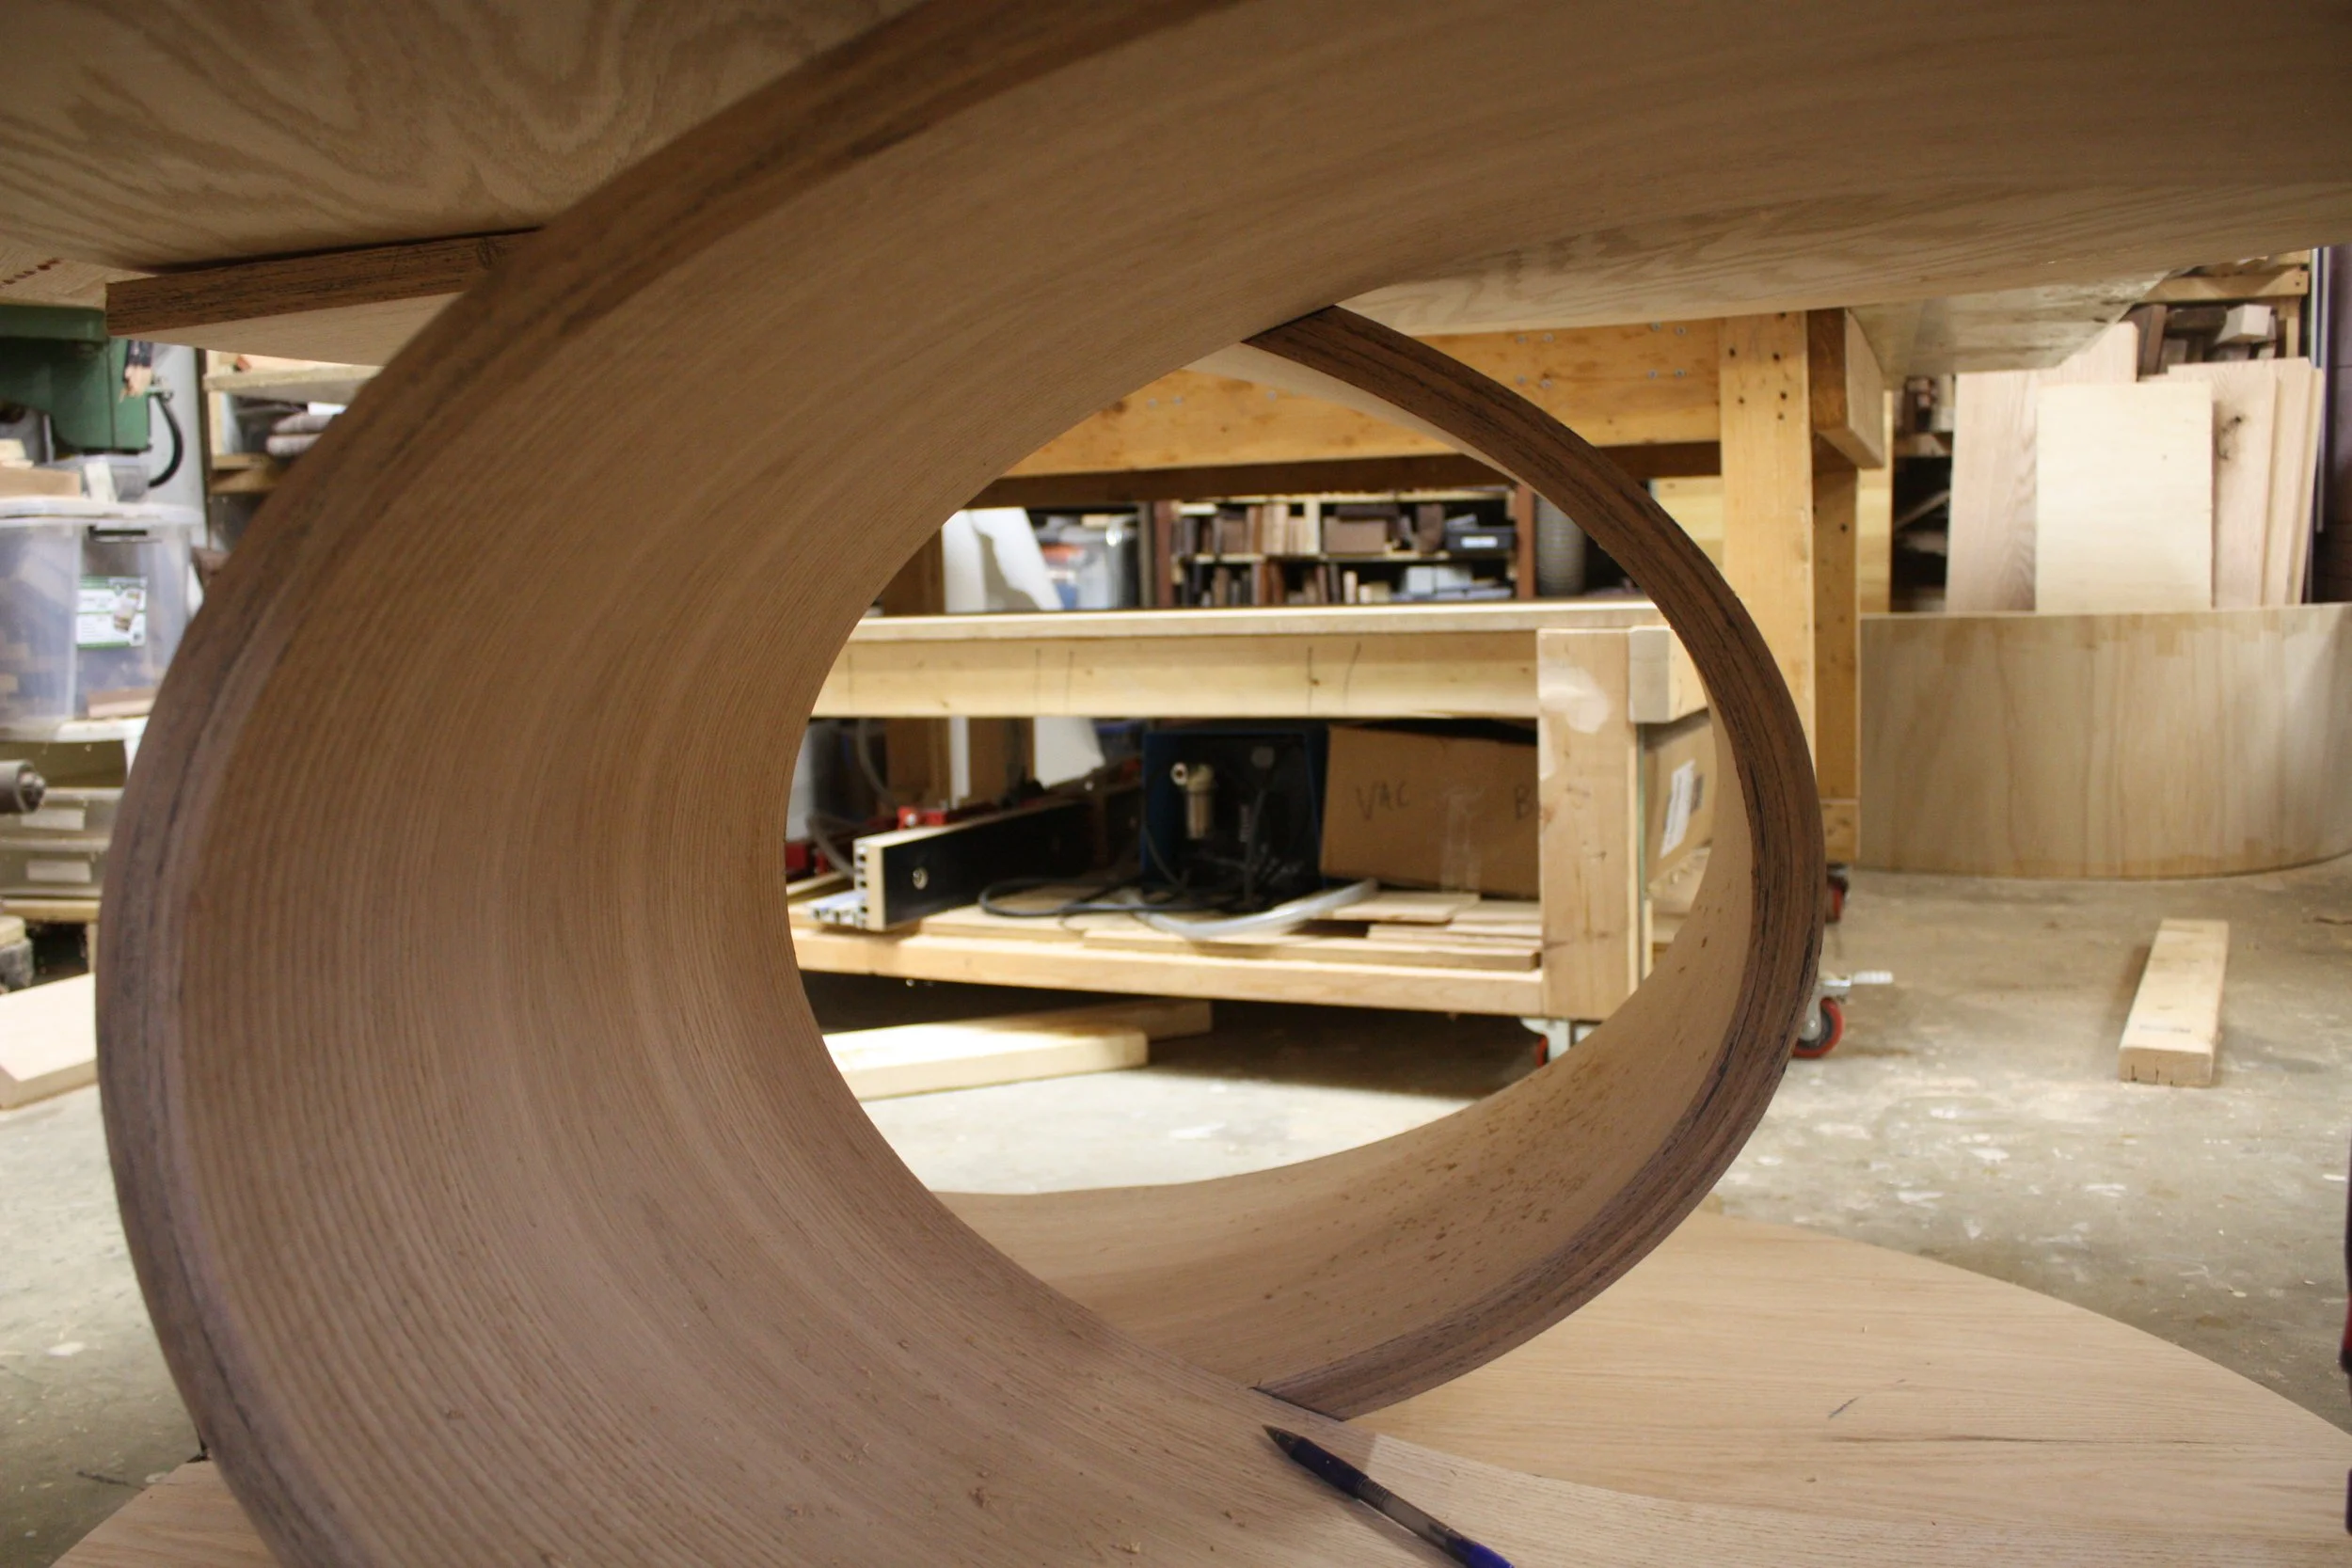
Double C Table in collaboration
with Jennifer Stoner Interiors
Welcome into my shop…
Below are just a few images taken during the making of your Double C Table. I apologize for how long this project has taken, but I do hope you enjoy seeing the progress and steps that go into making a custom table.
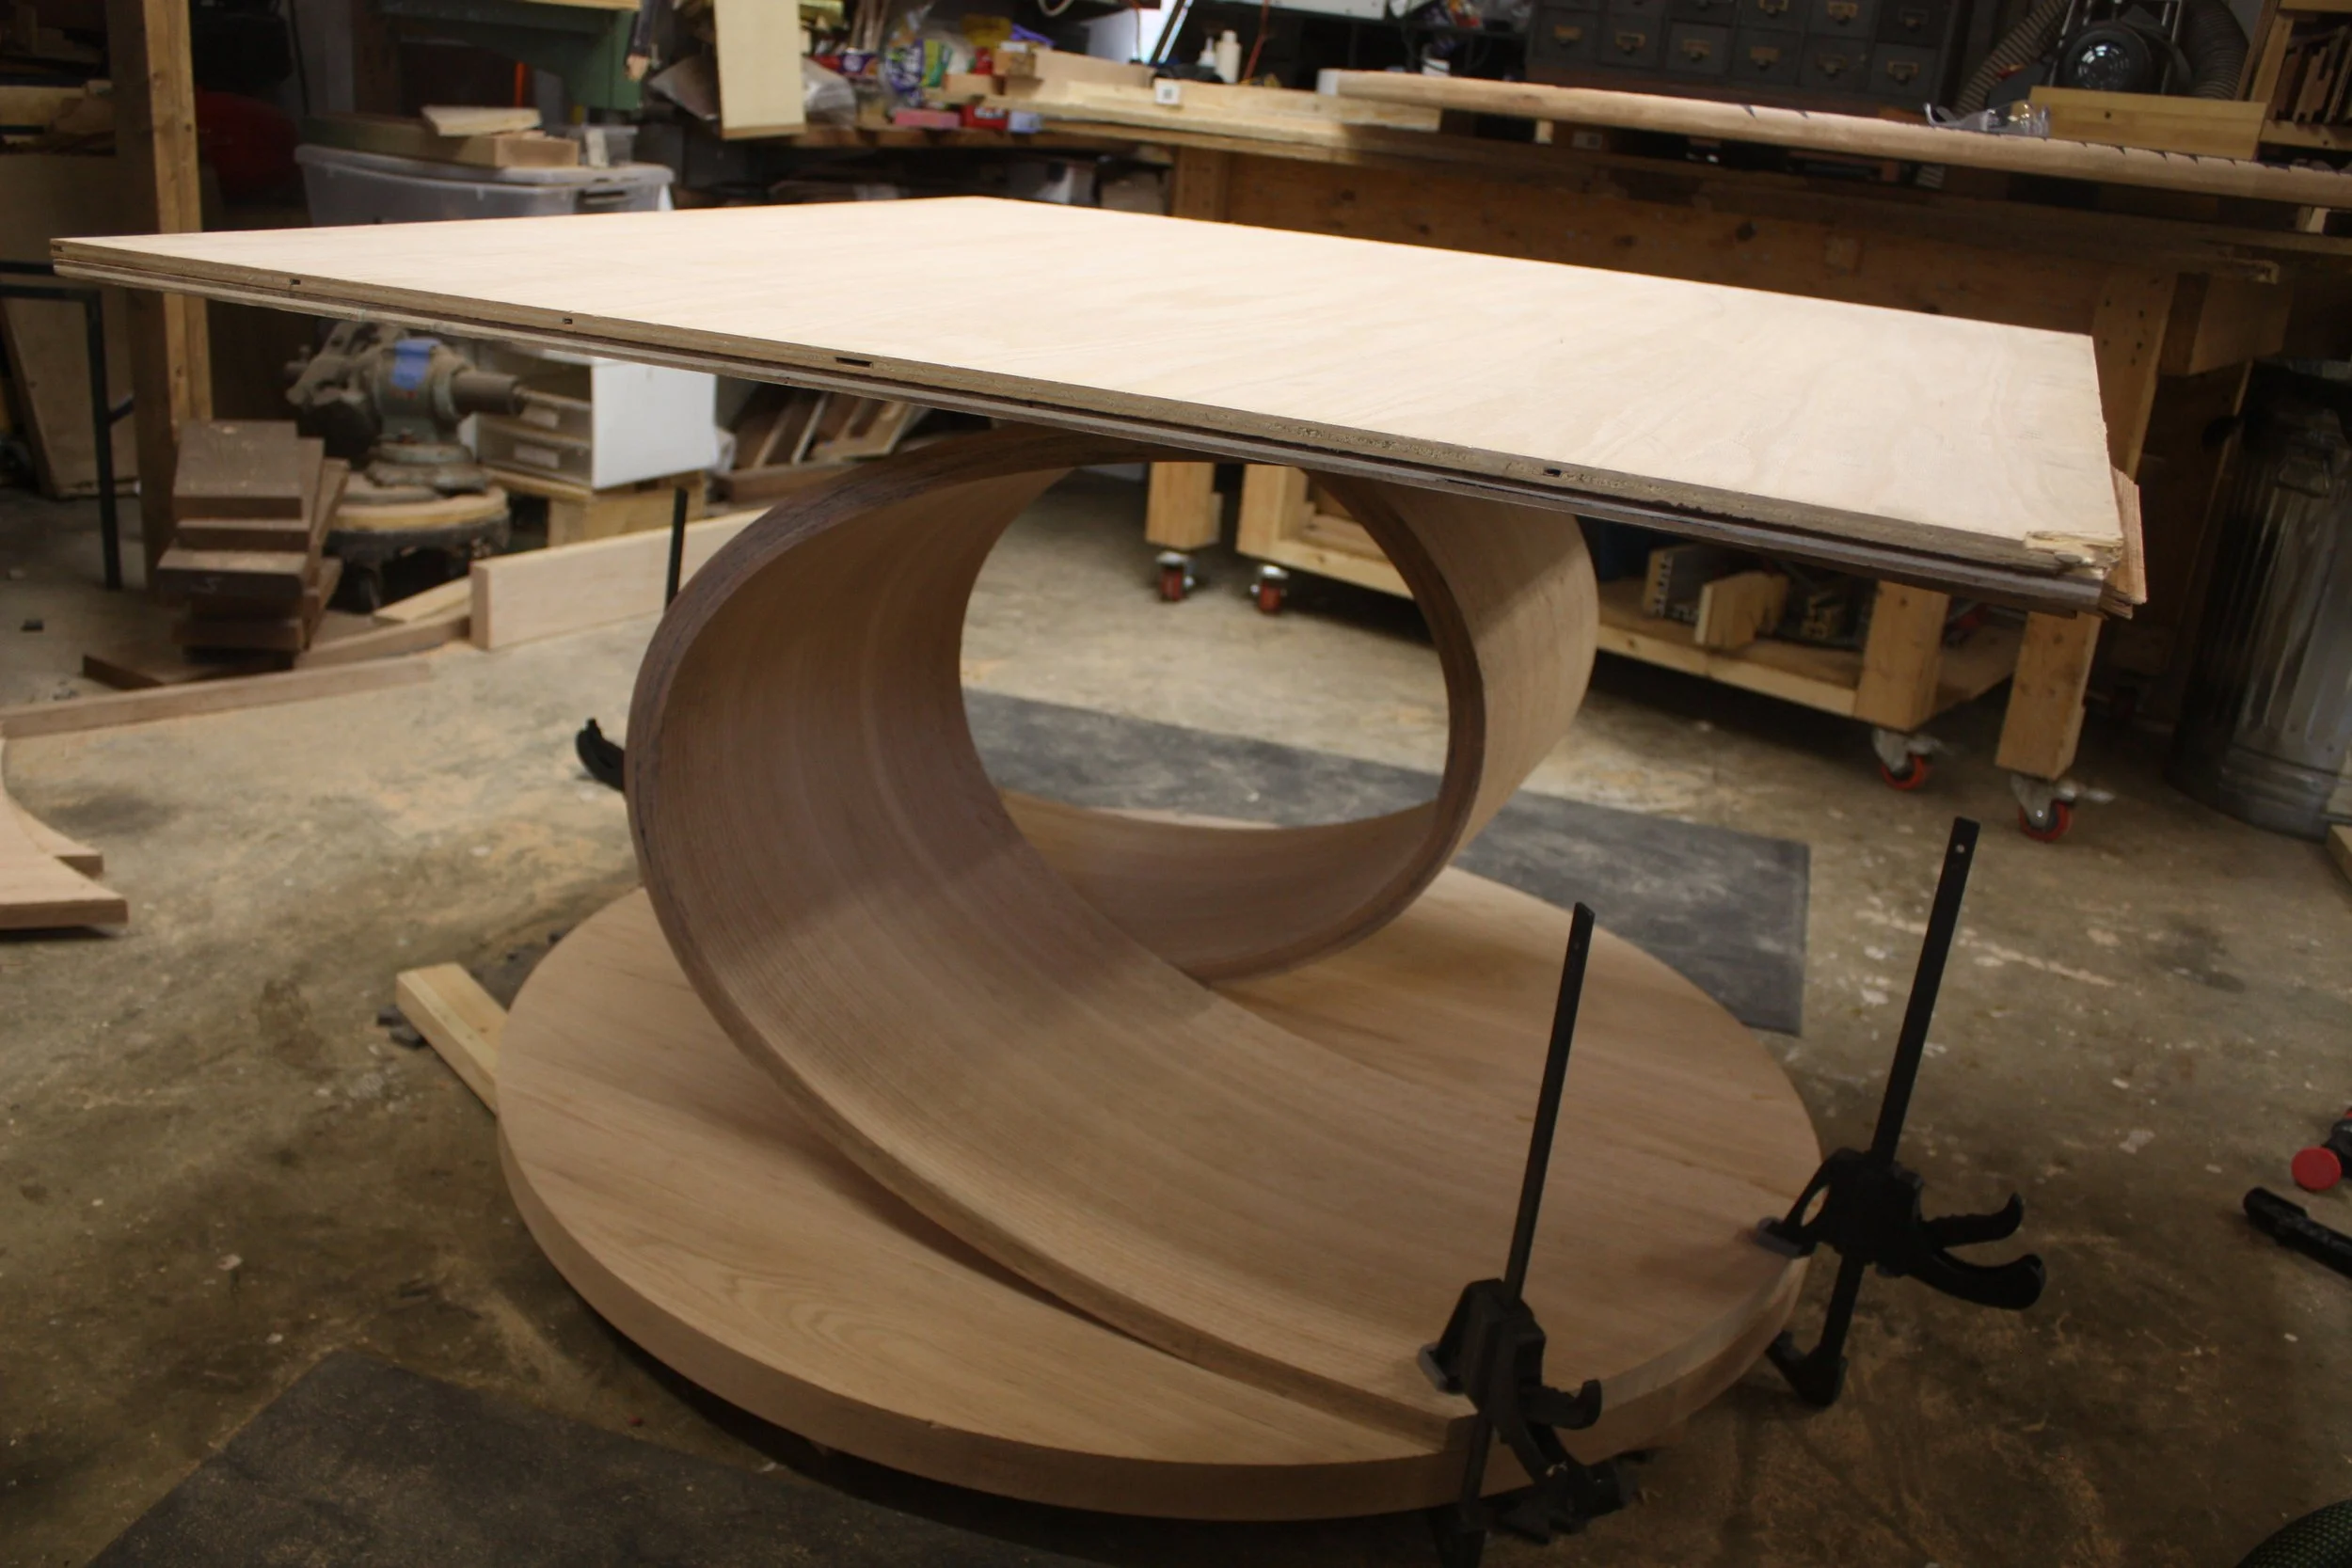
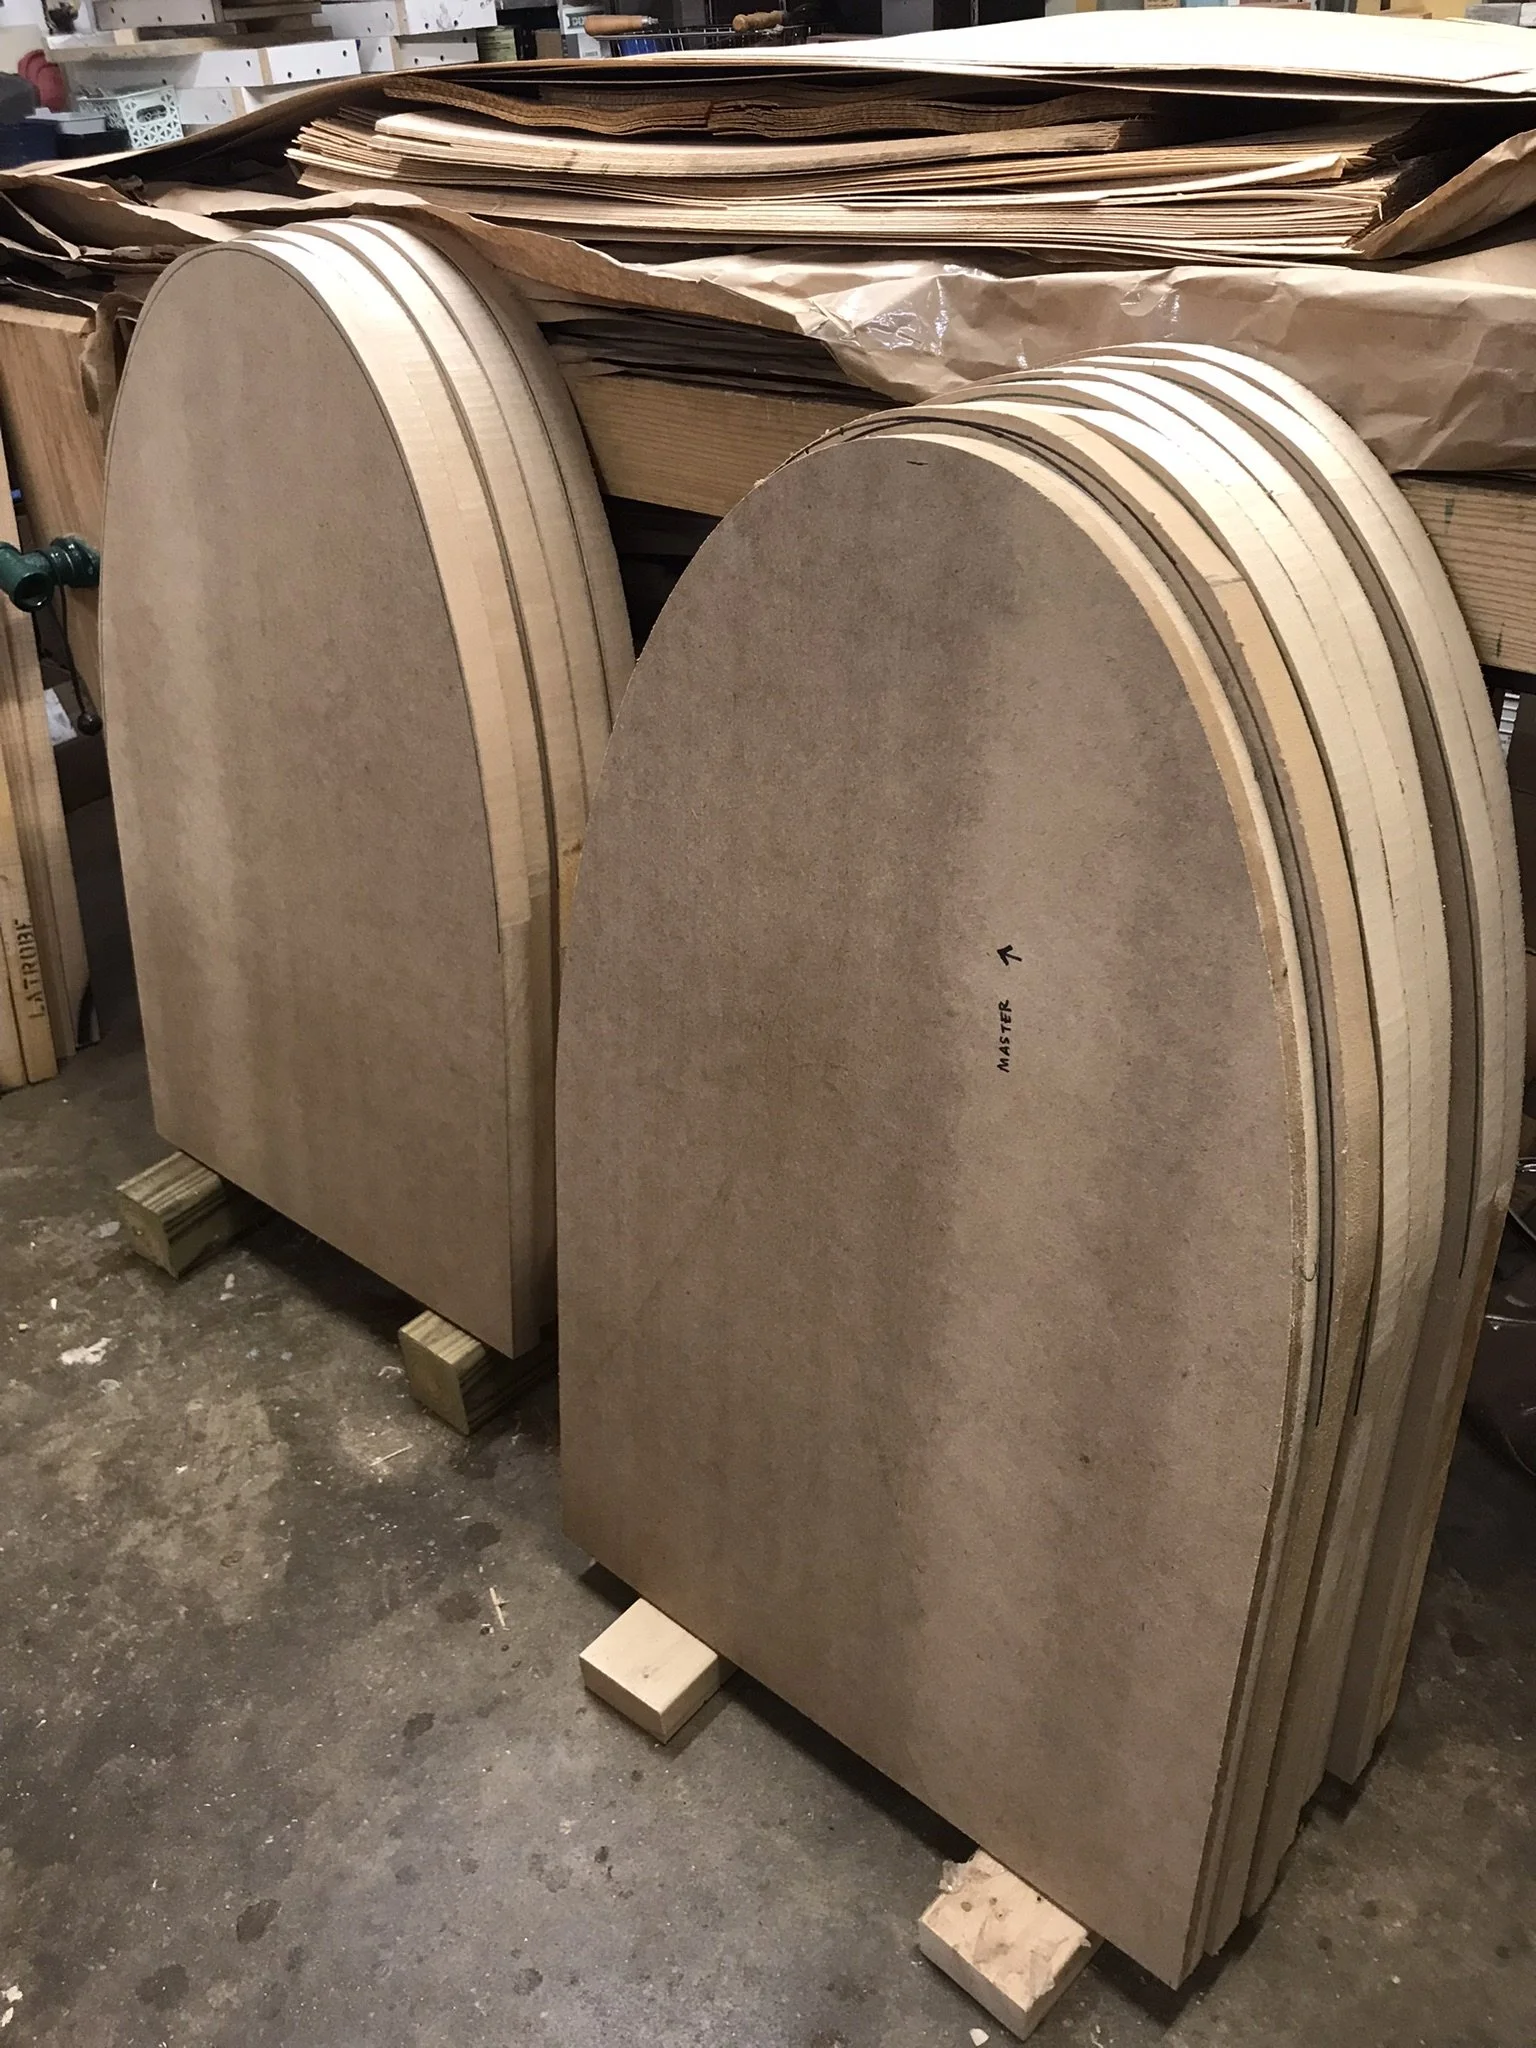
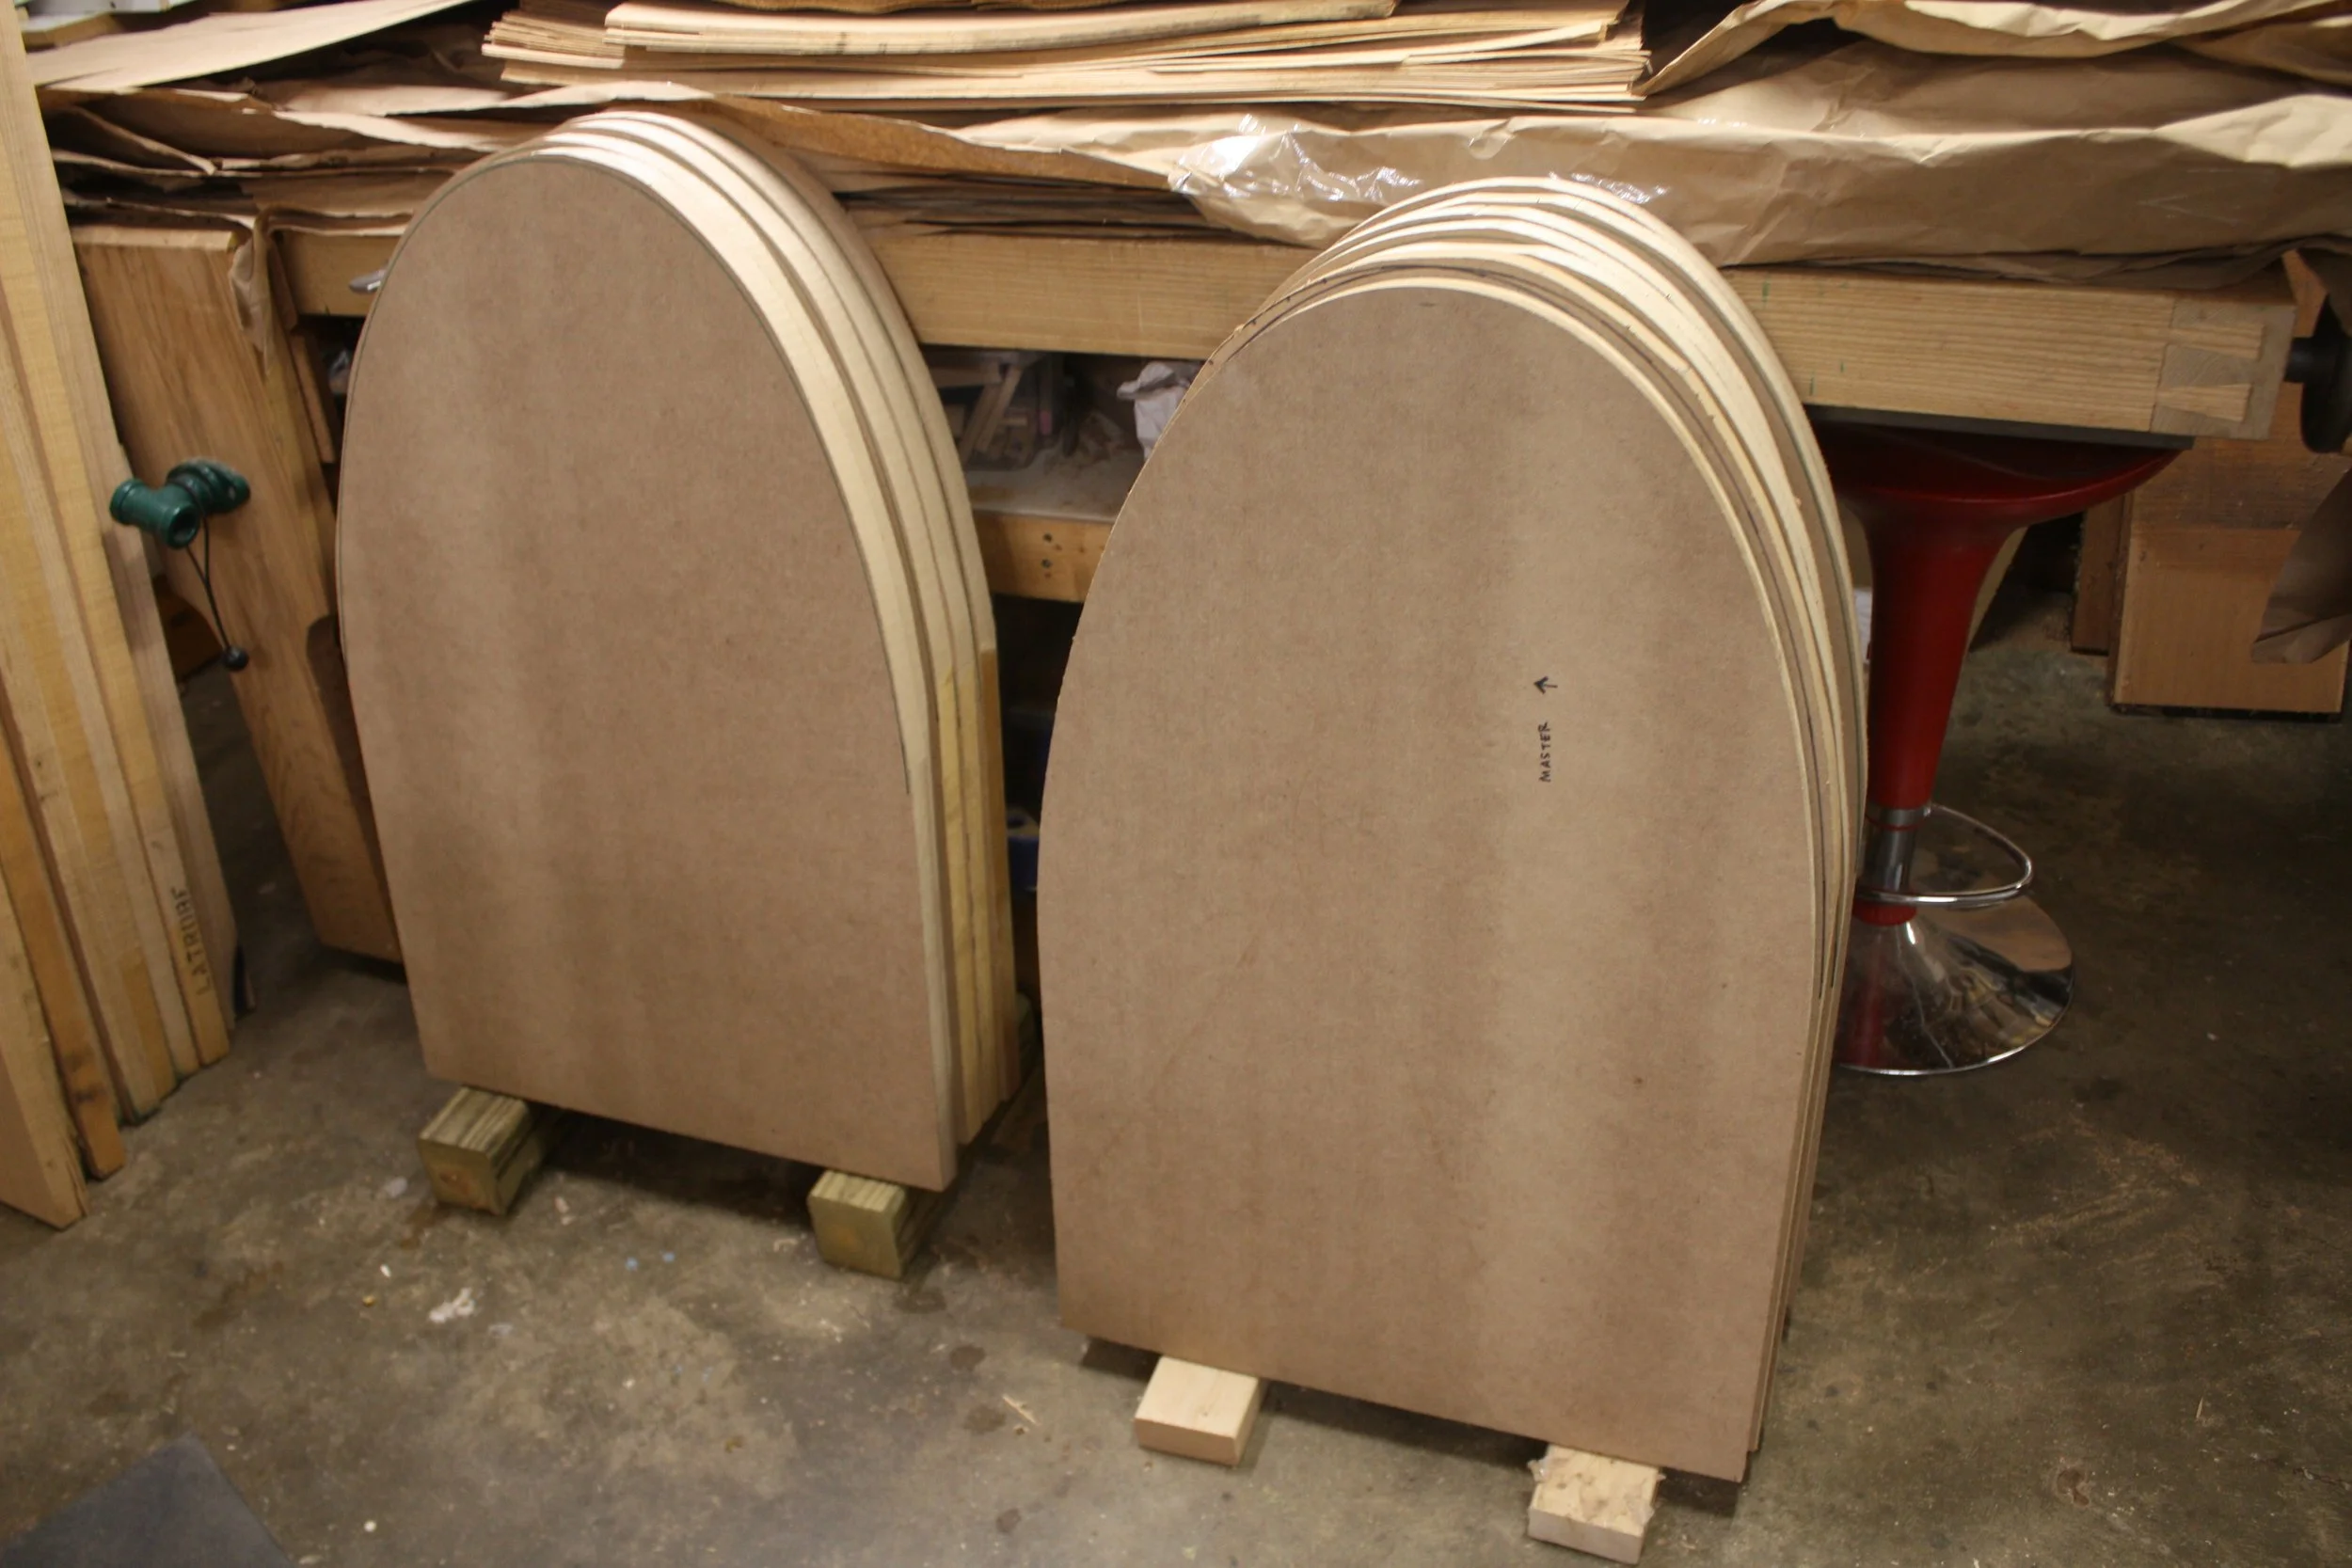
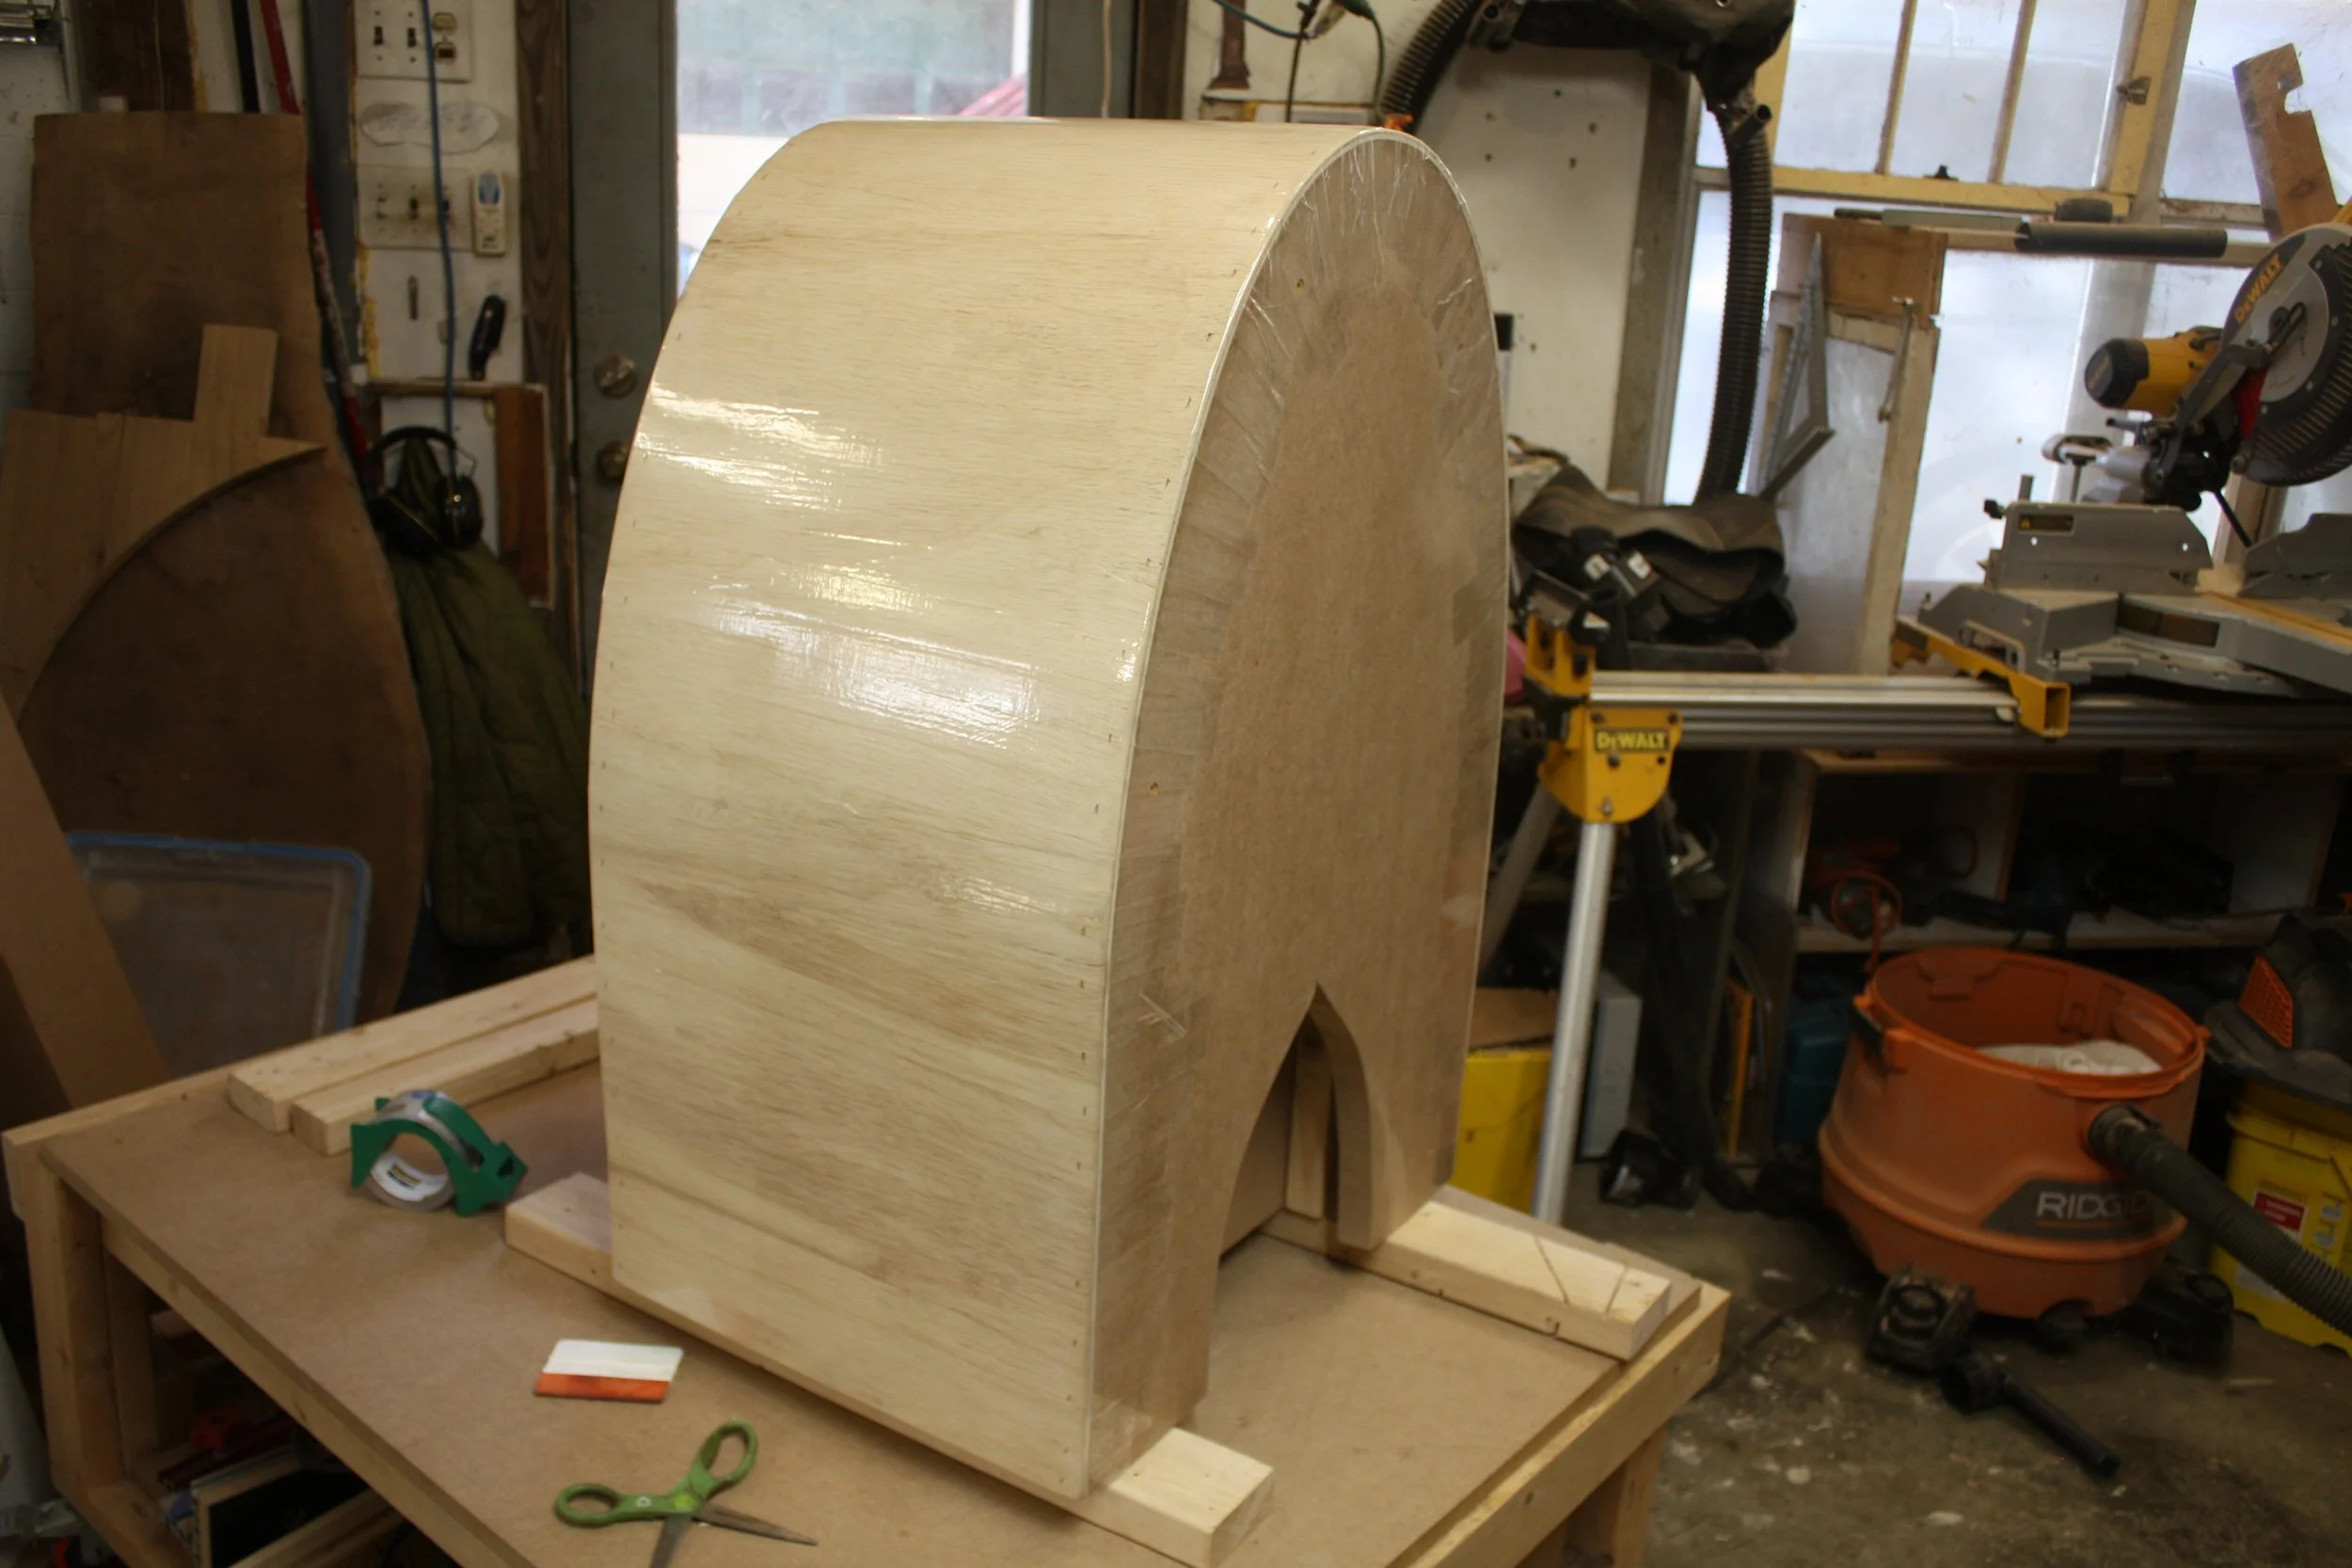
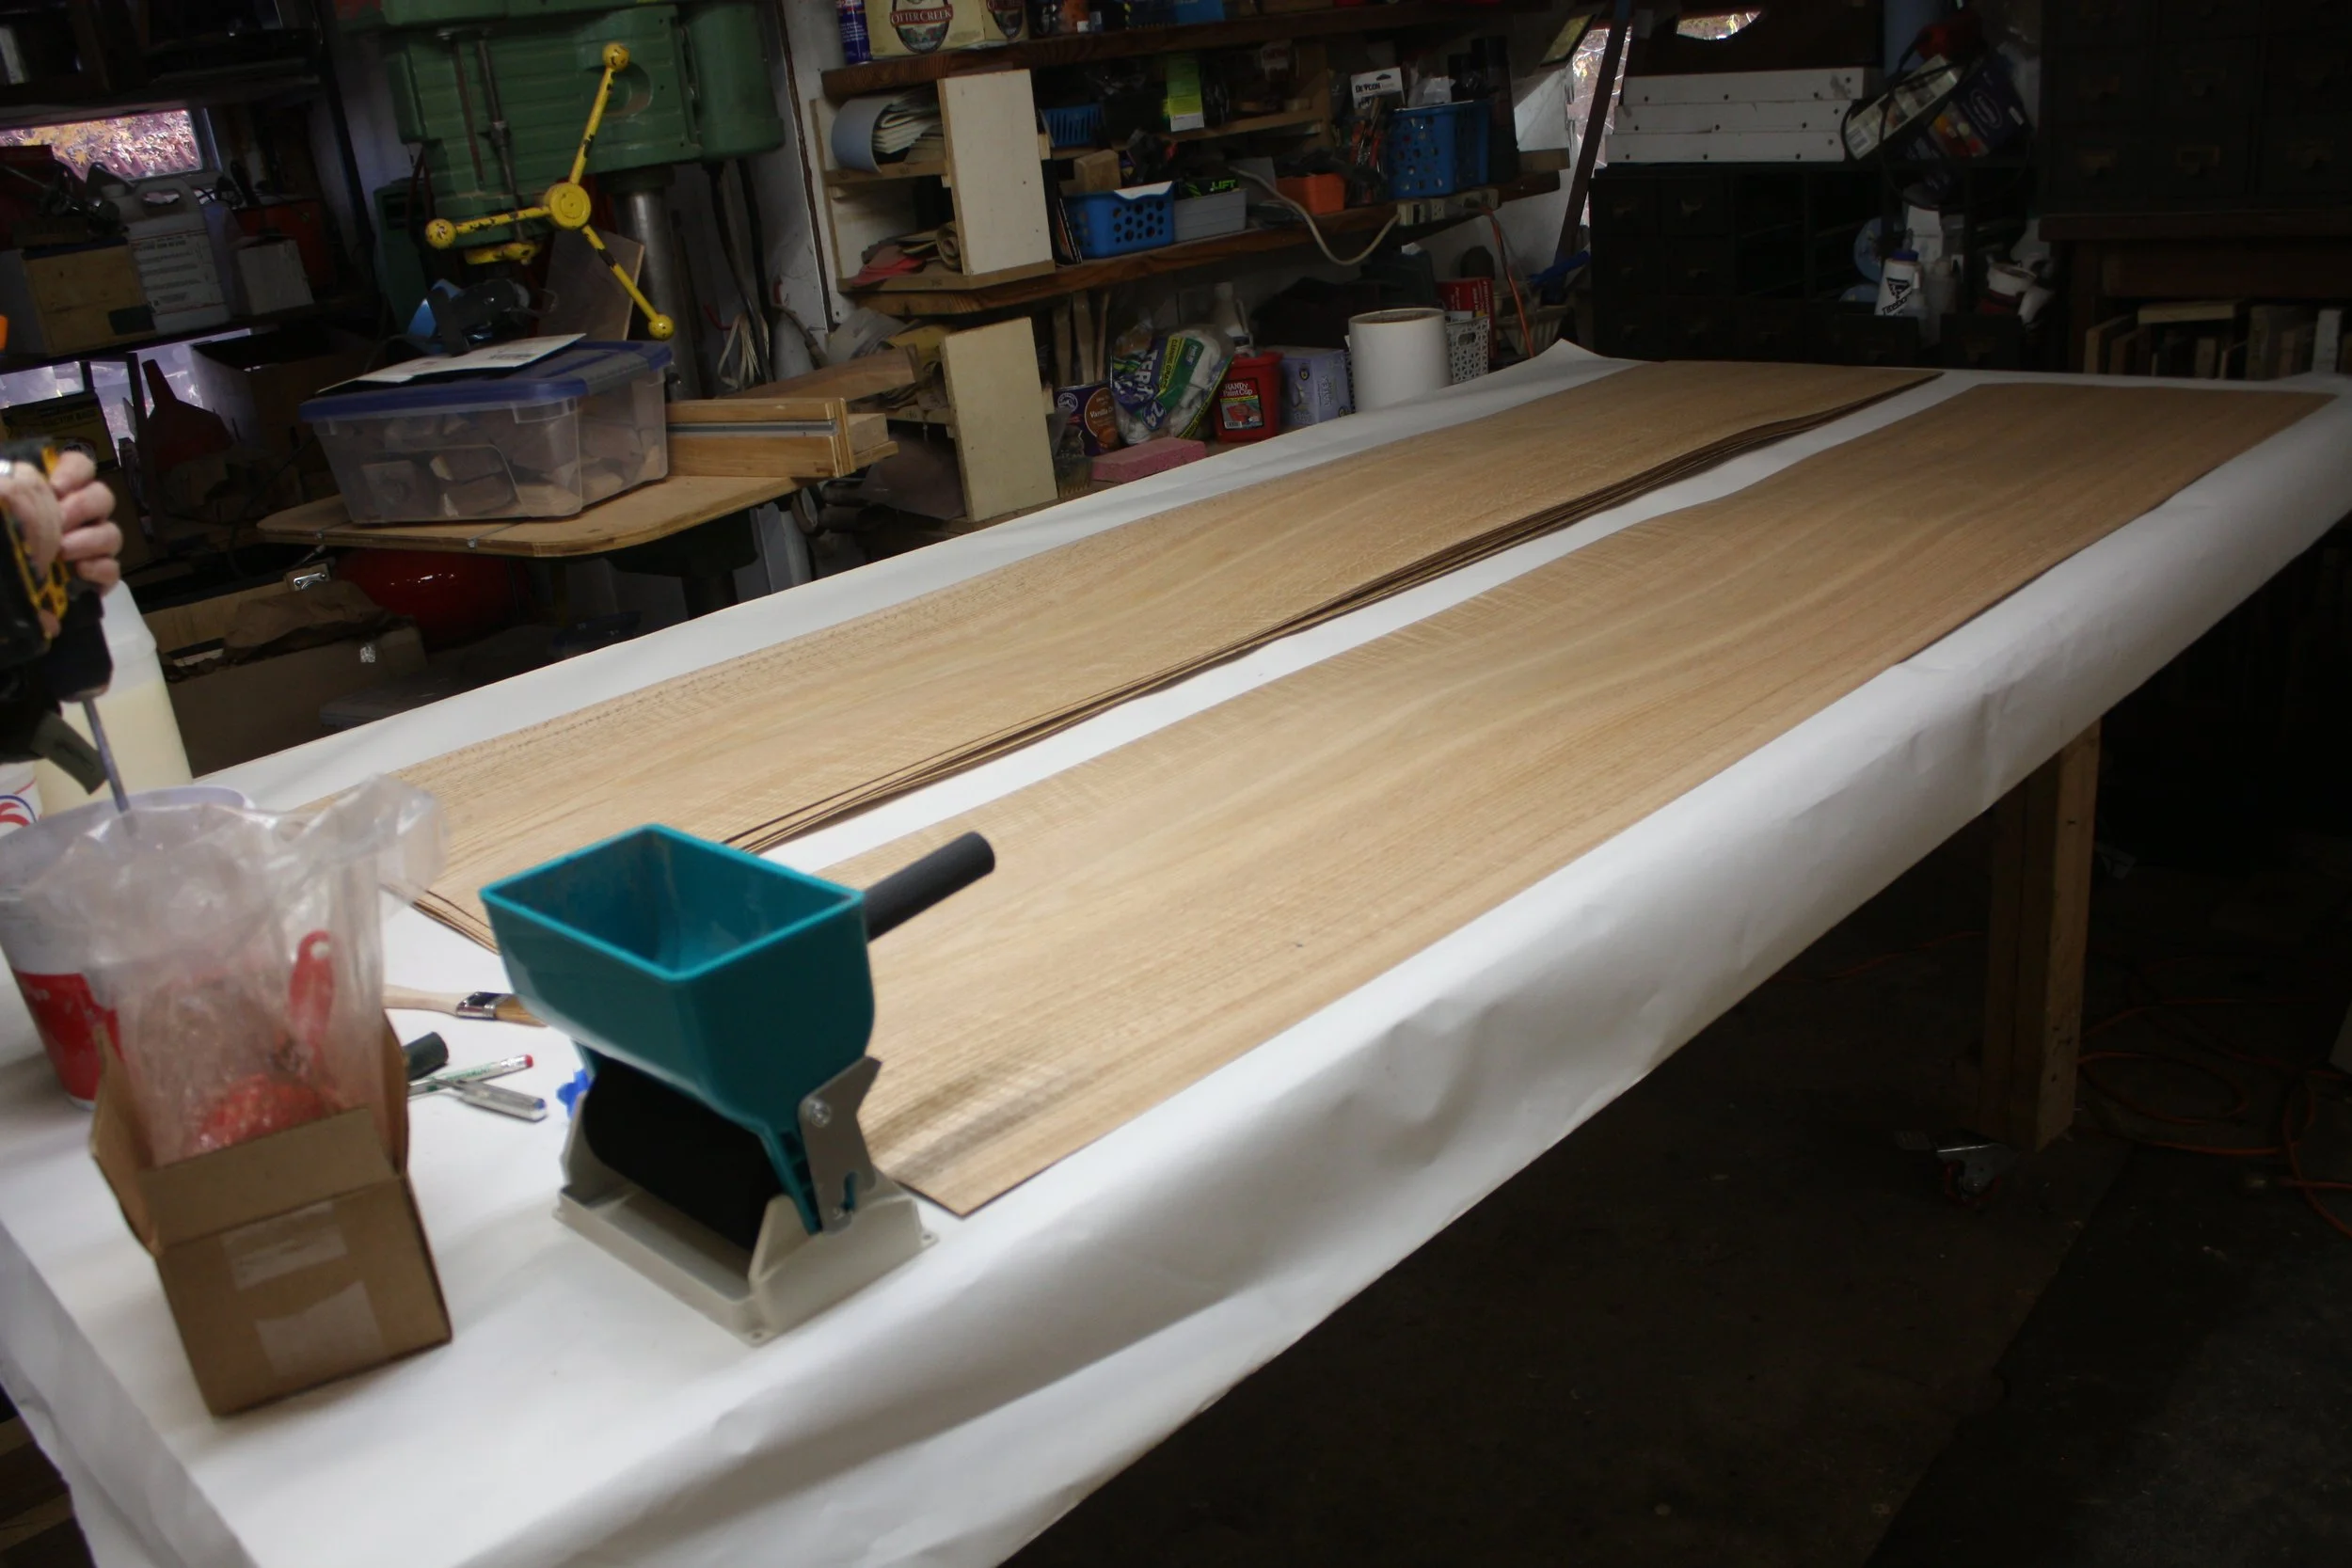
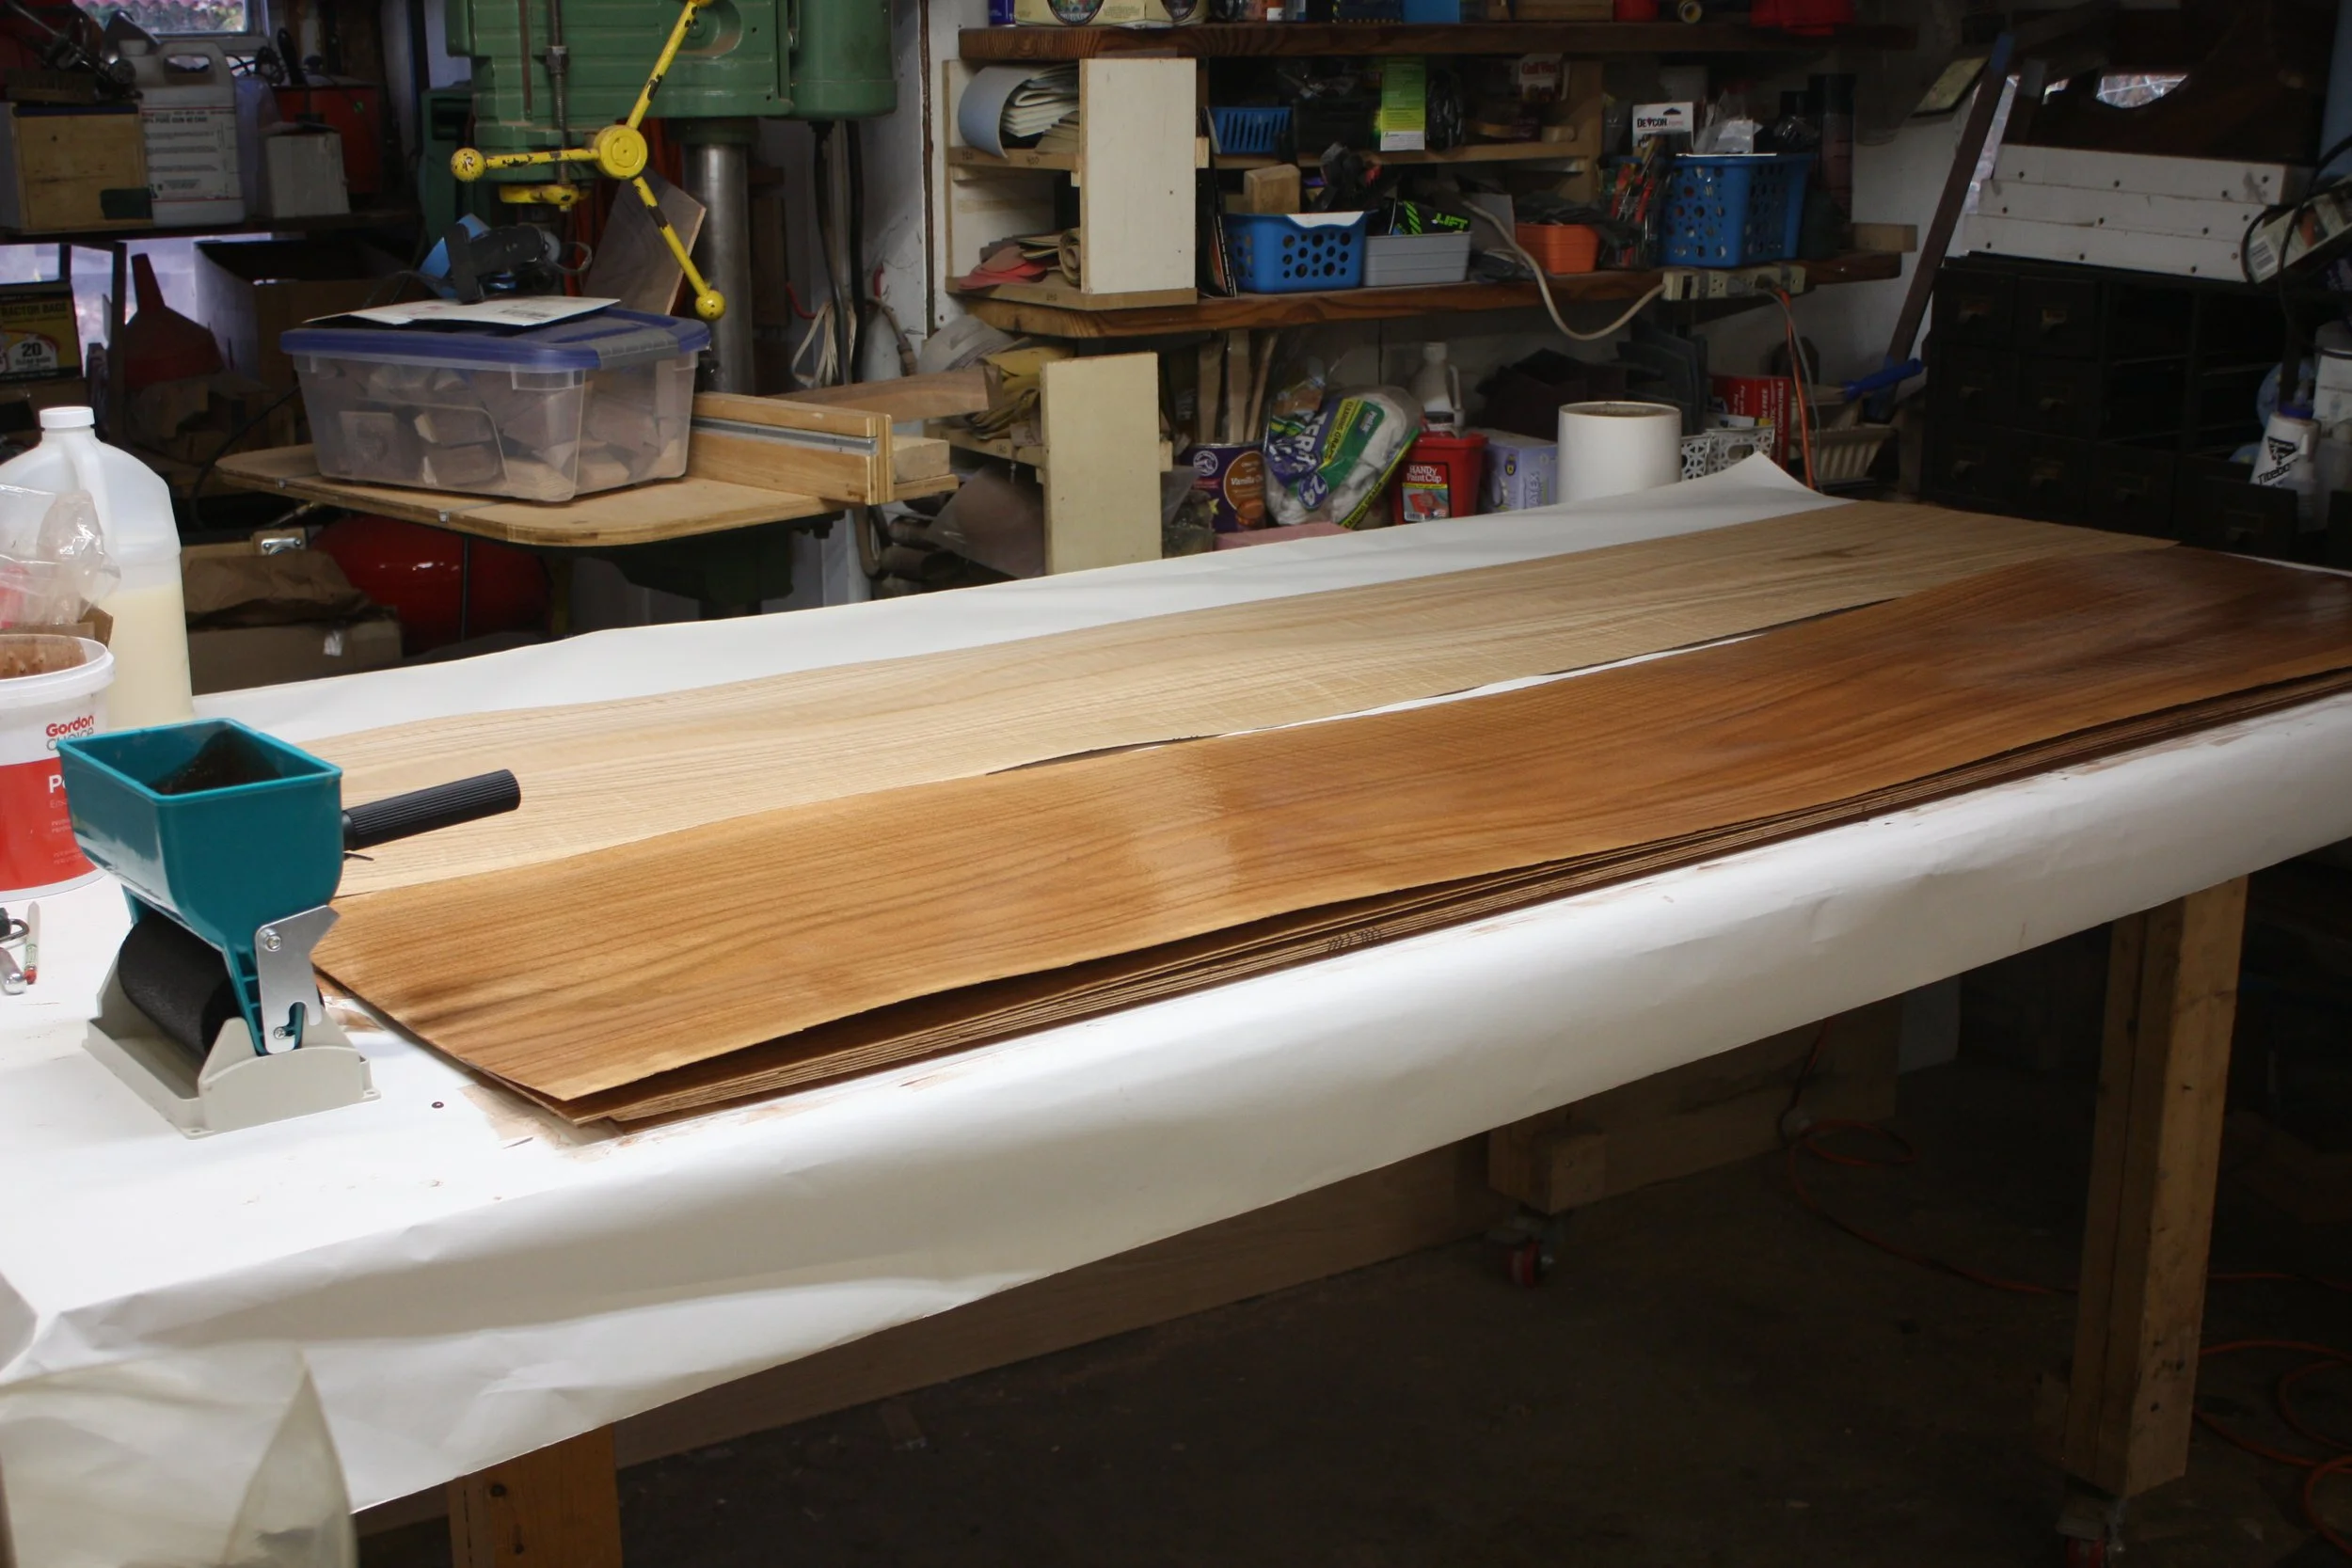
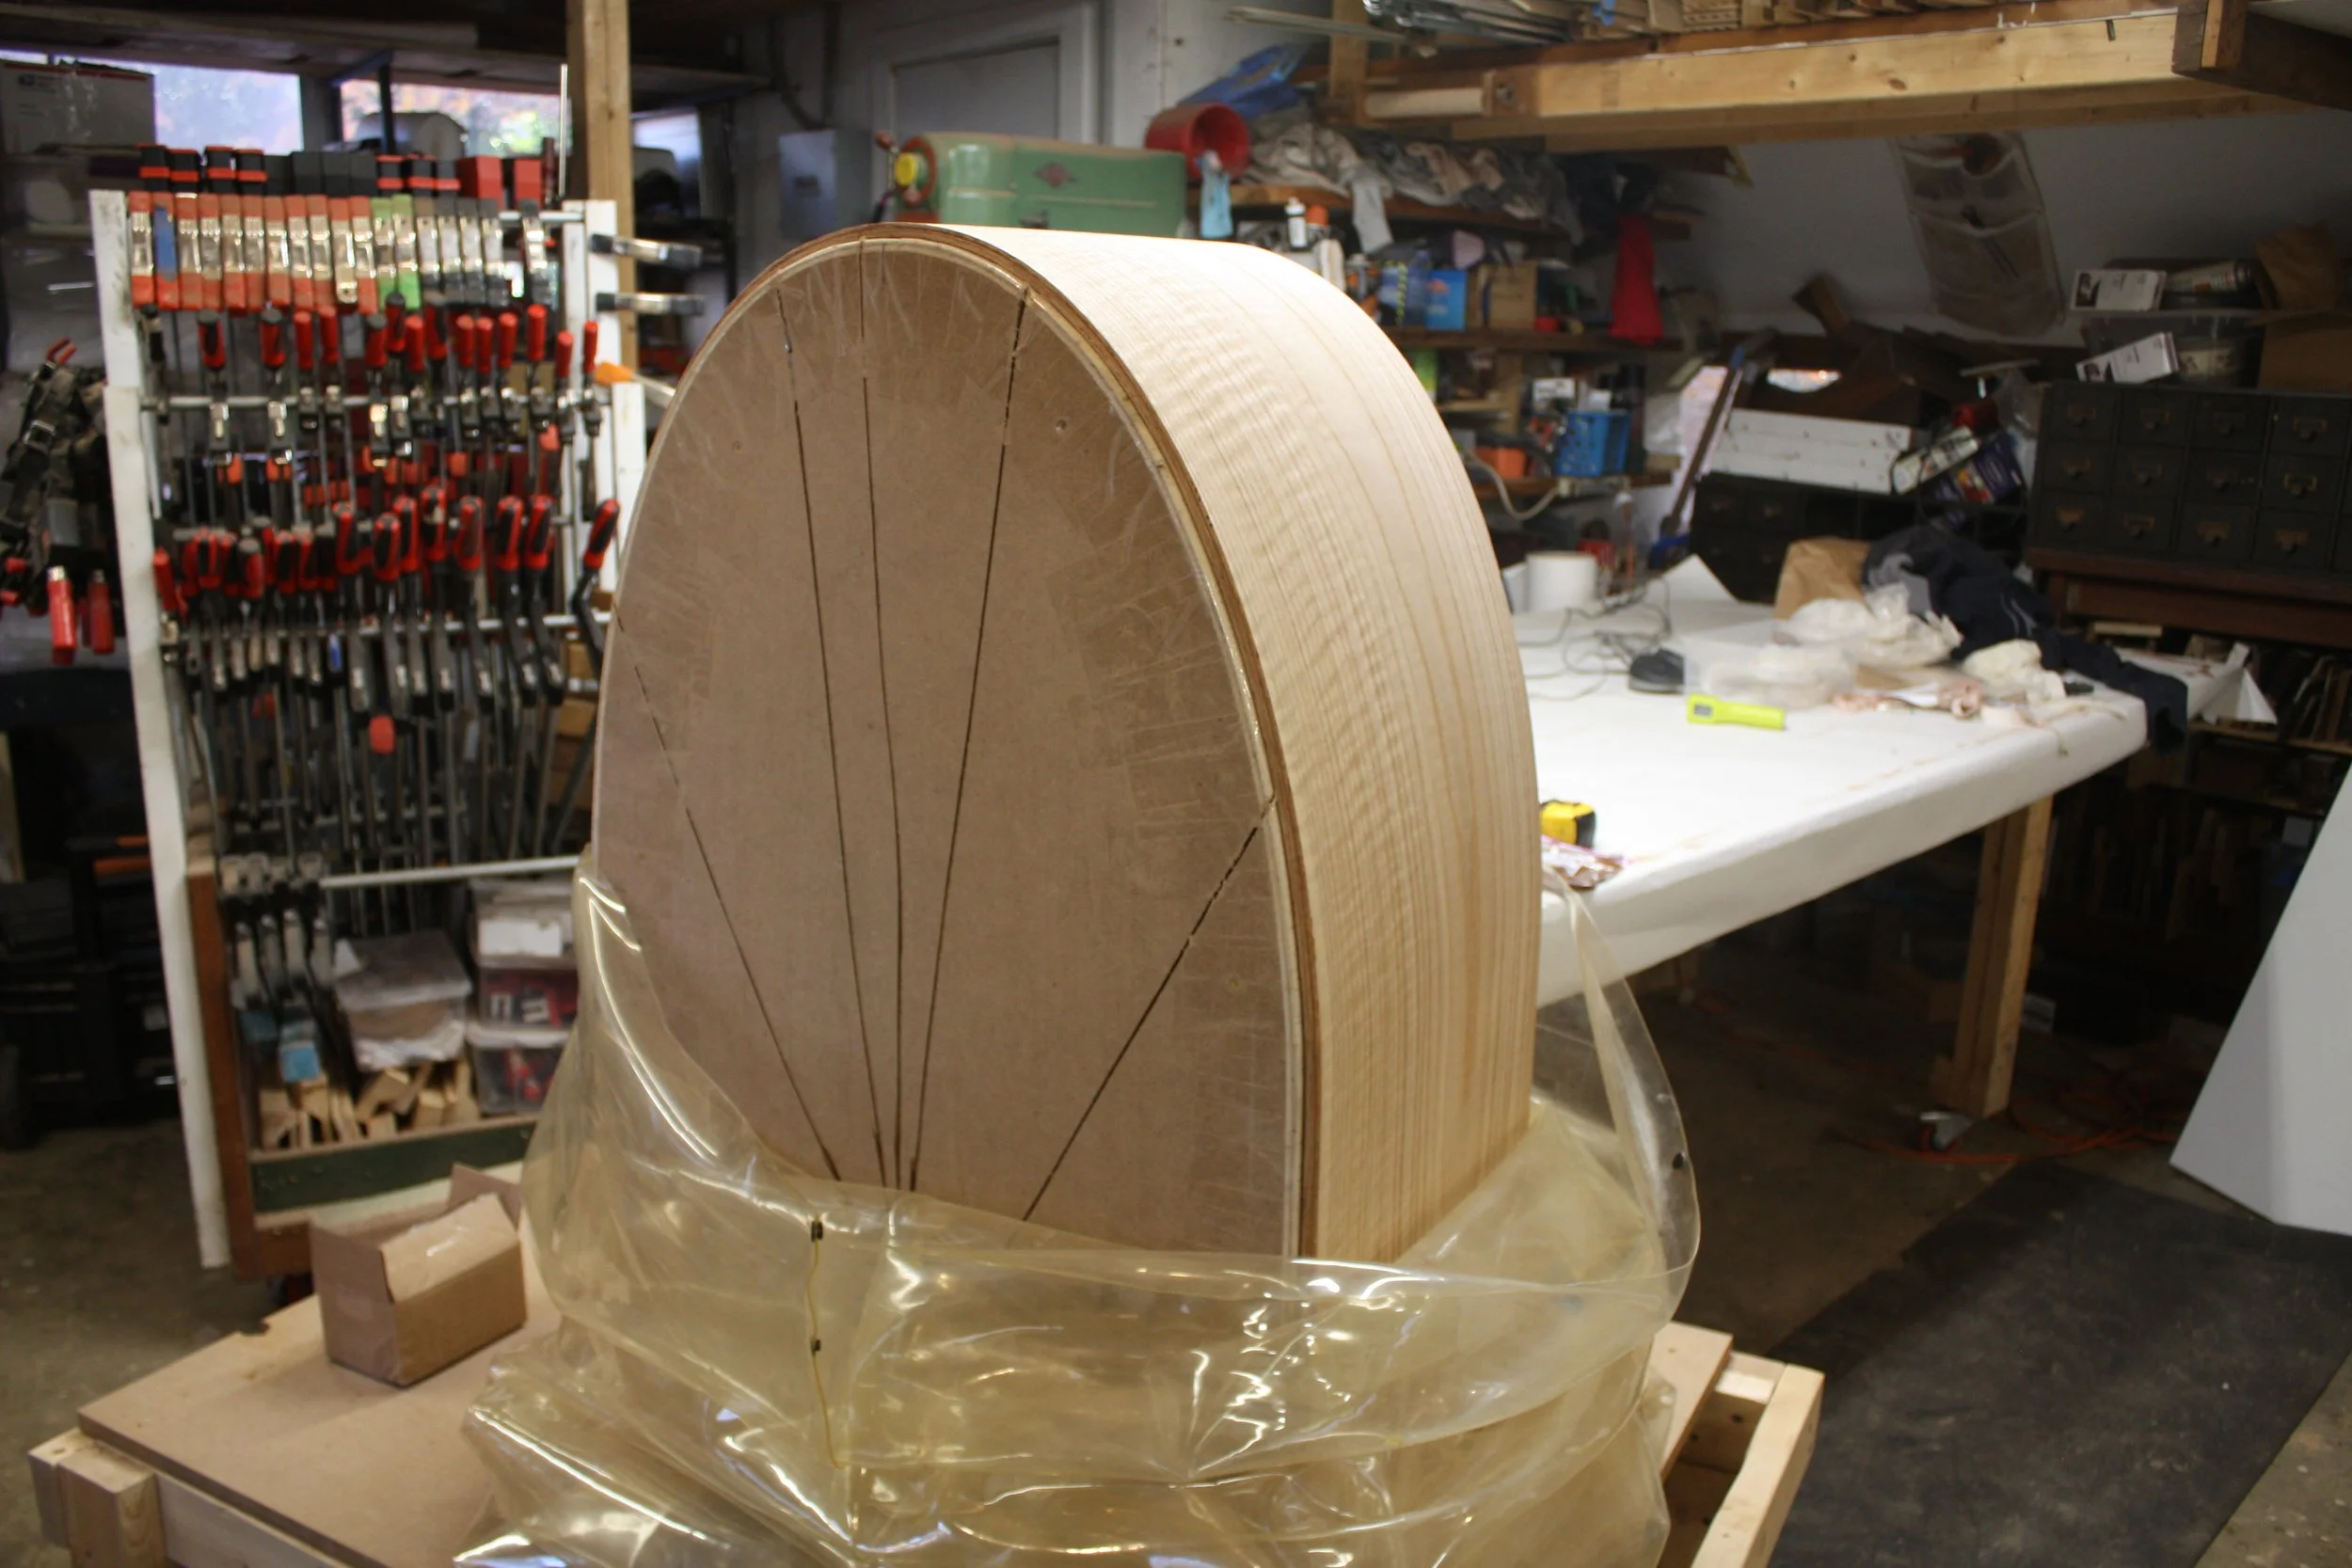
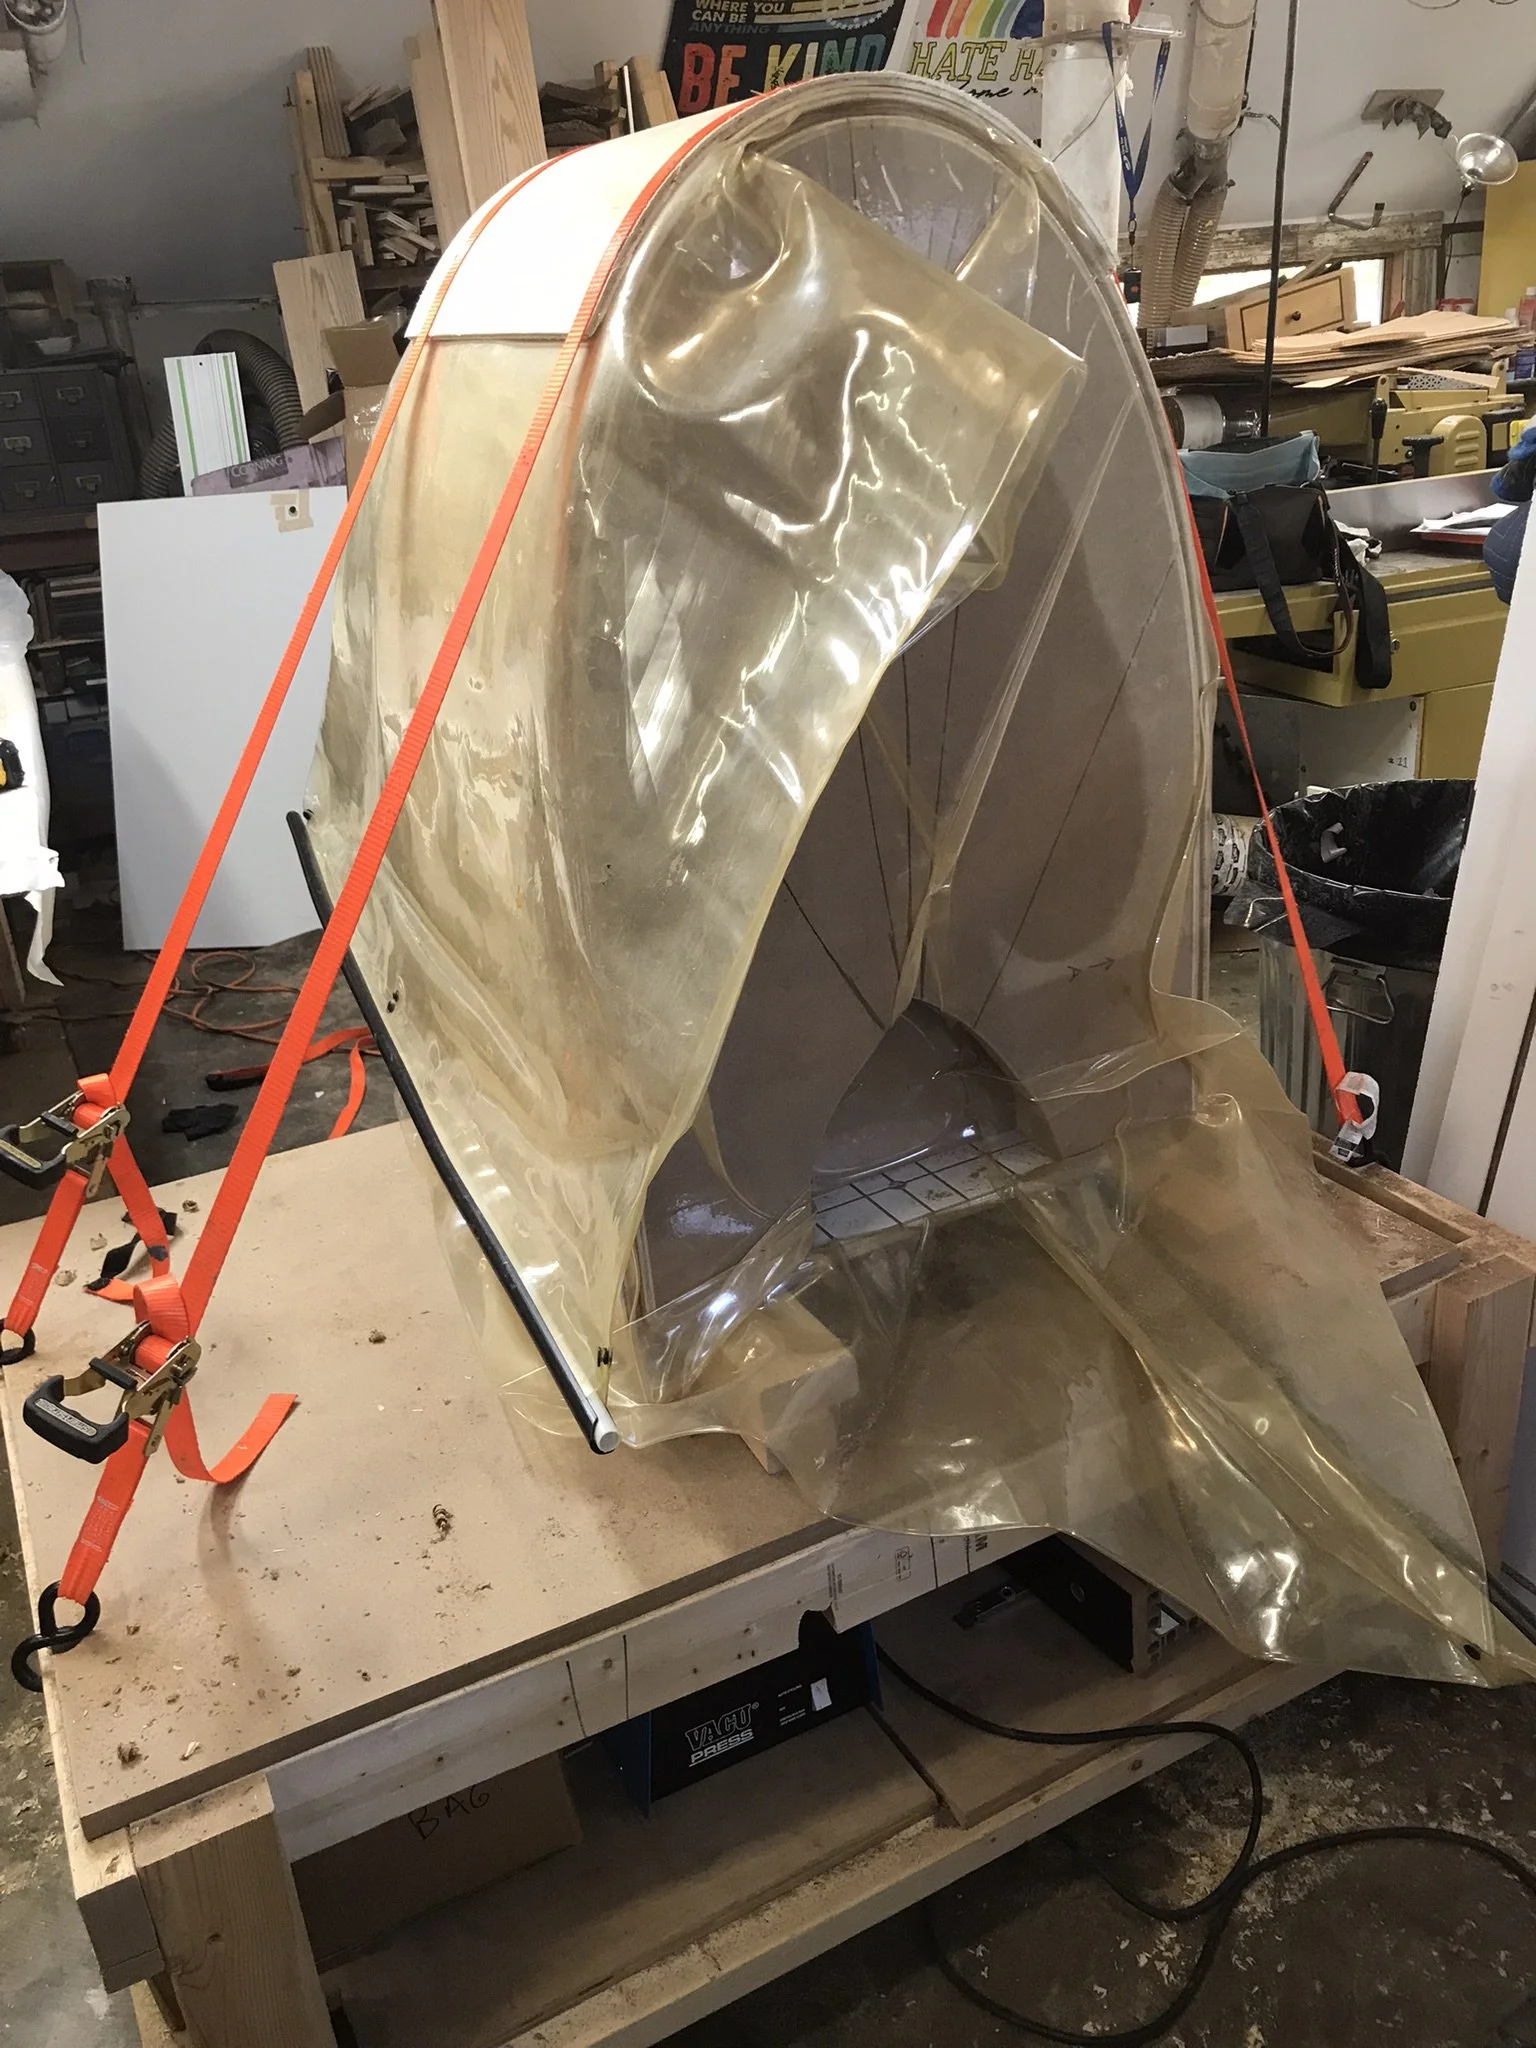
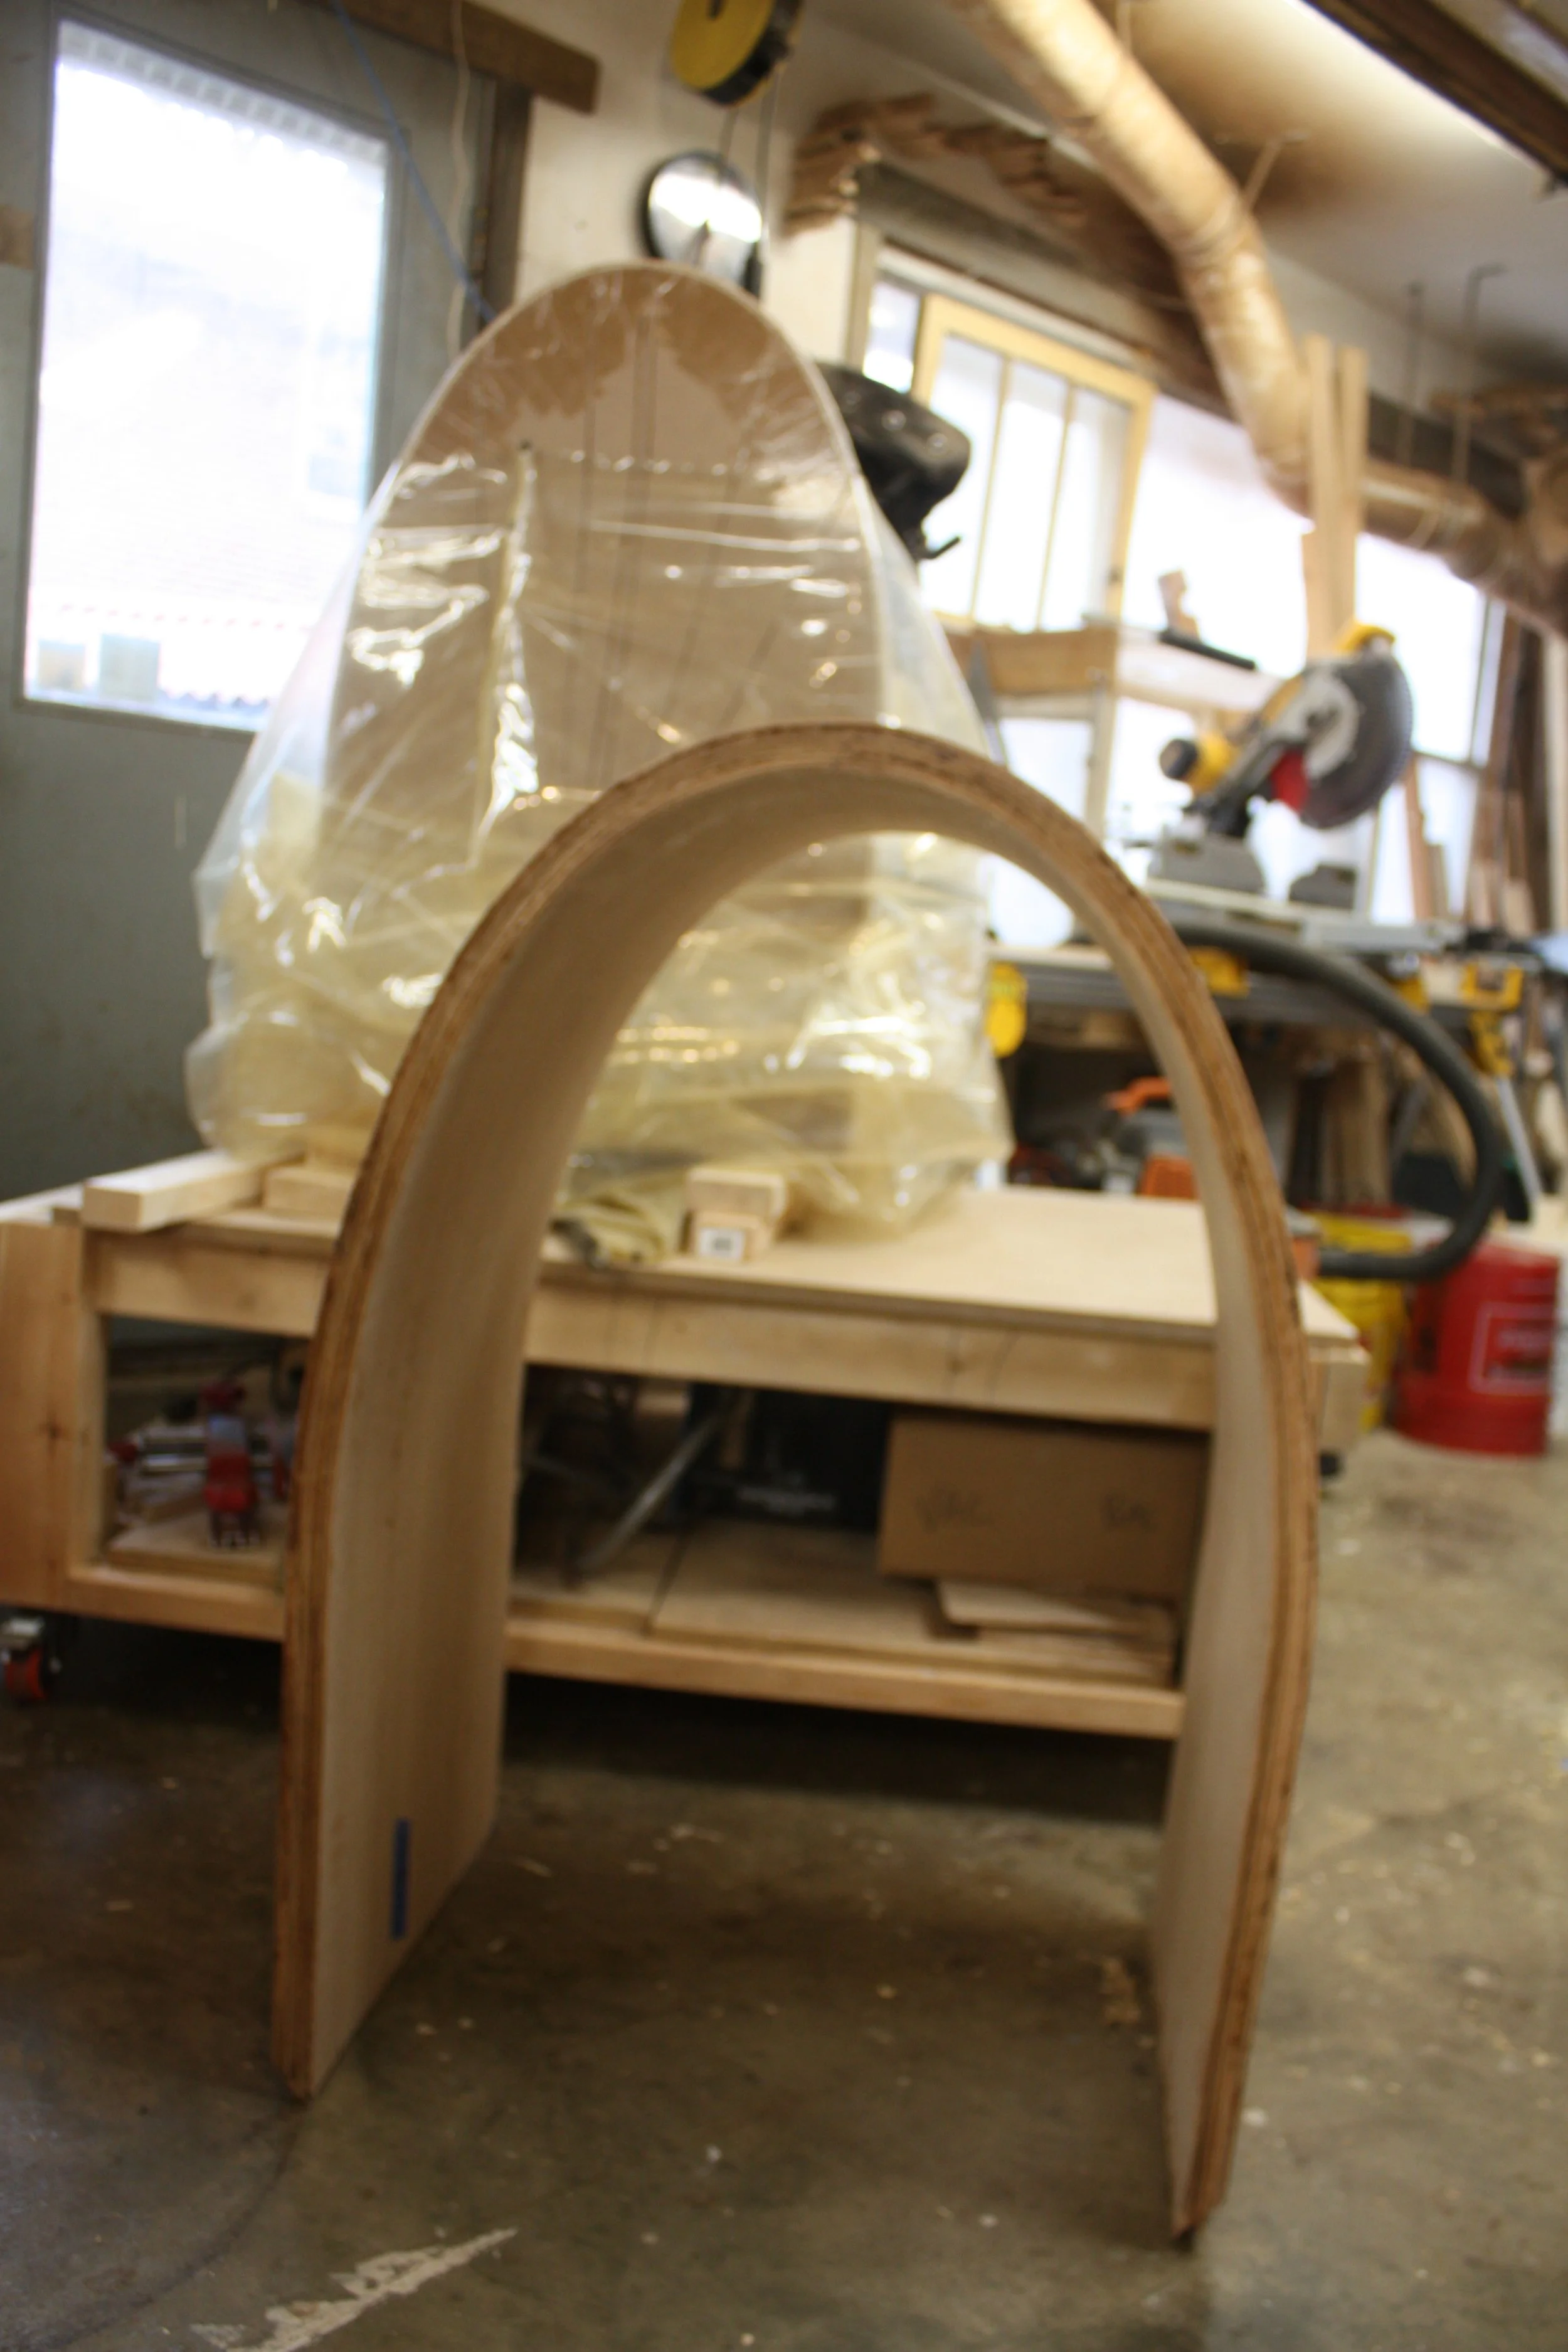
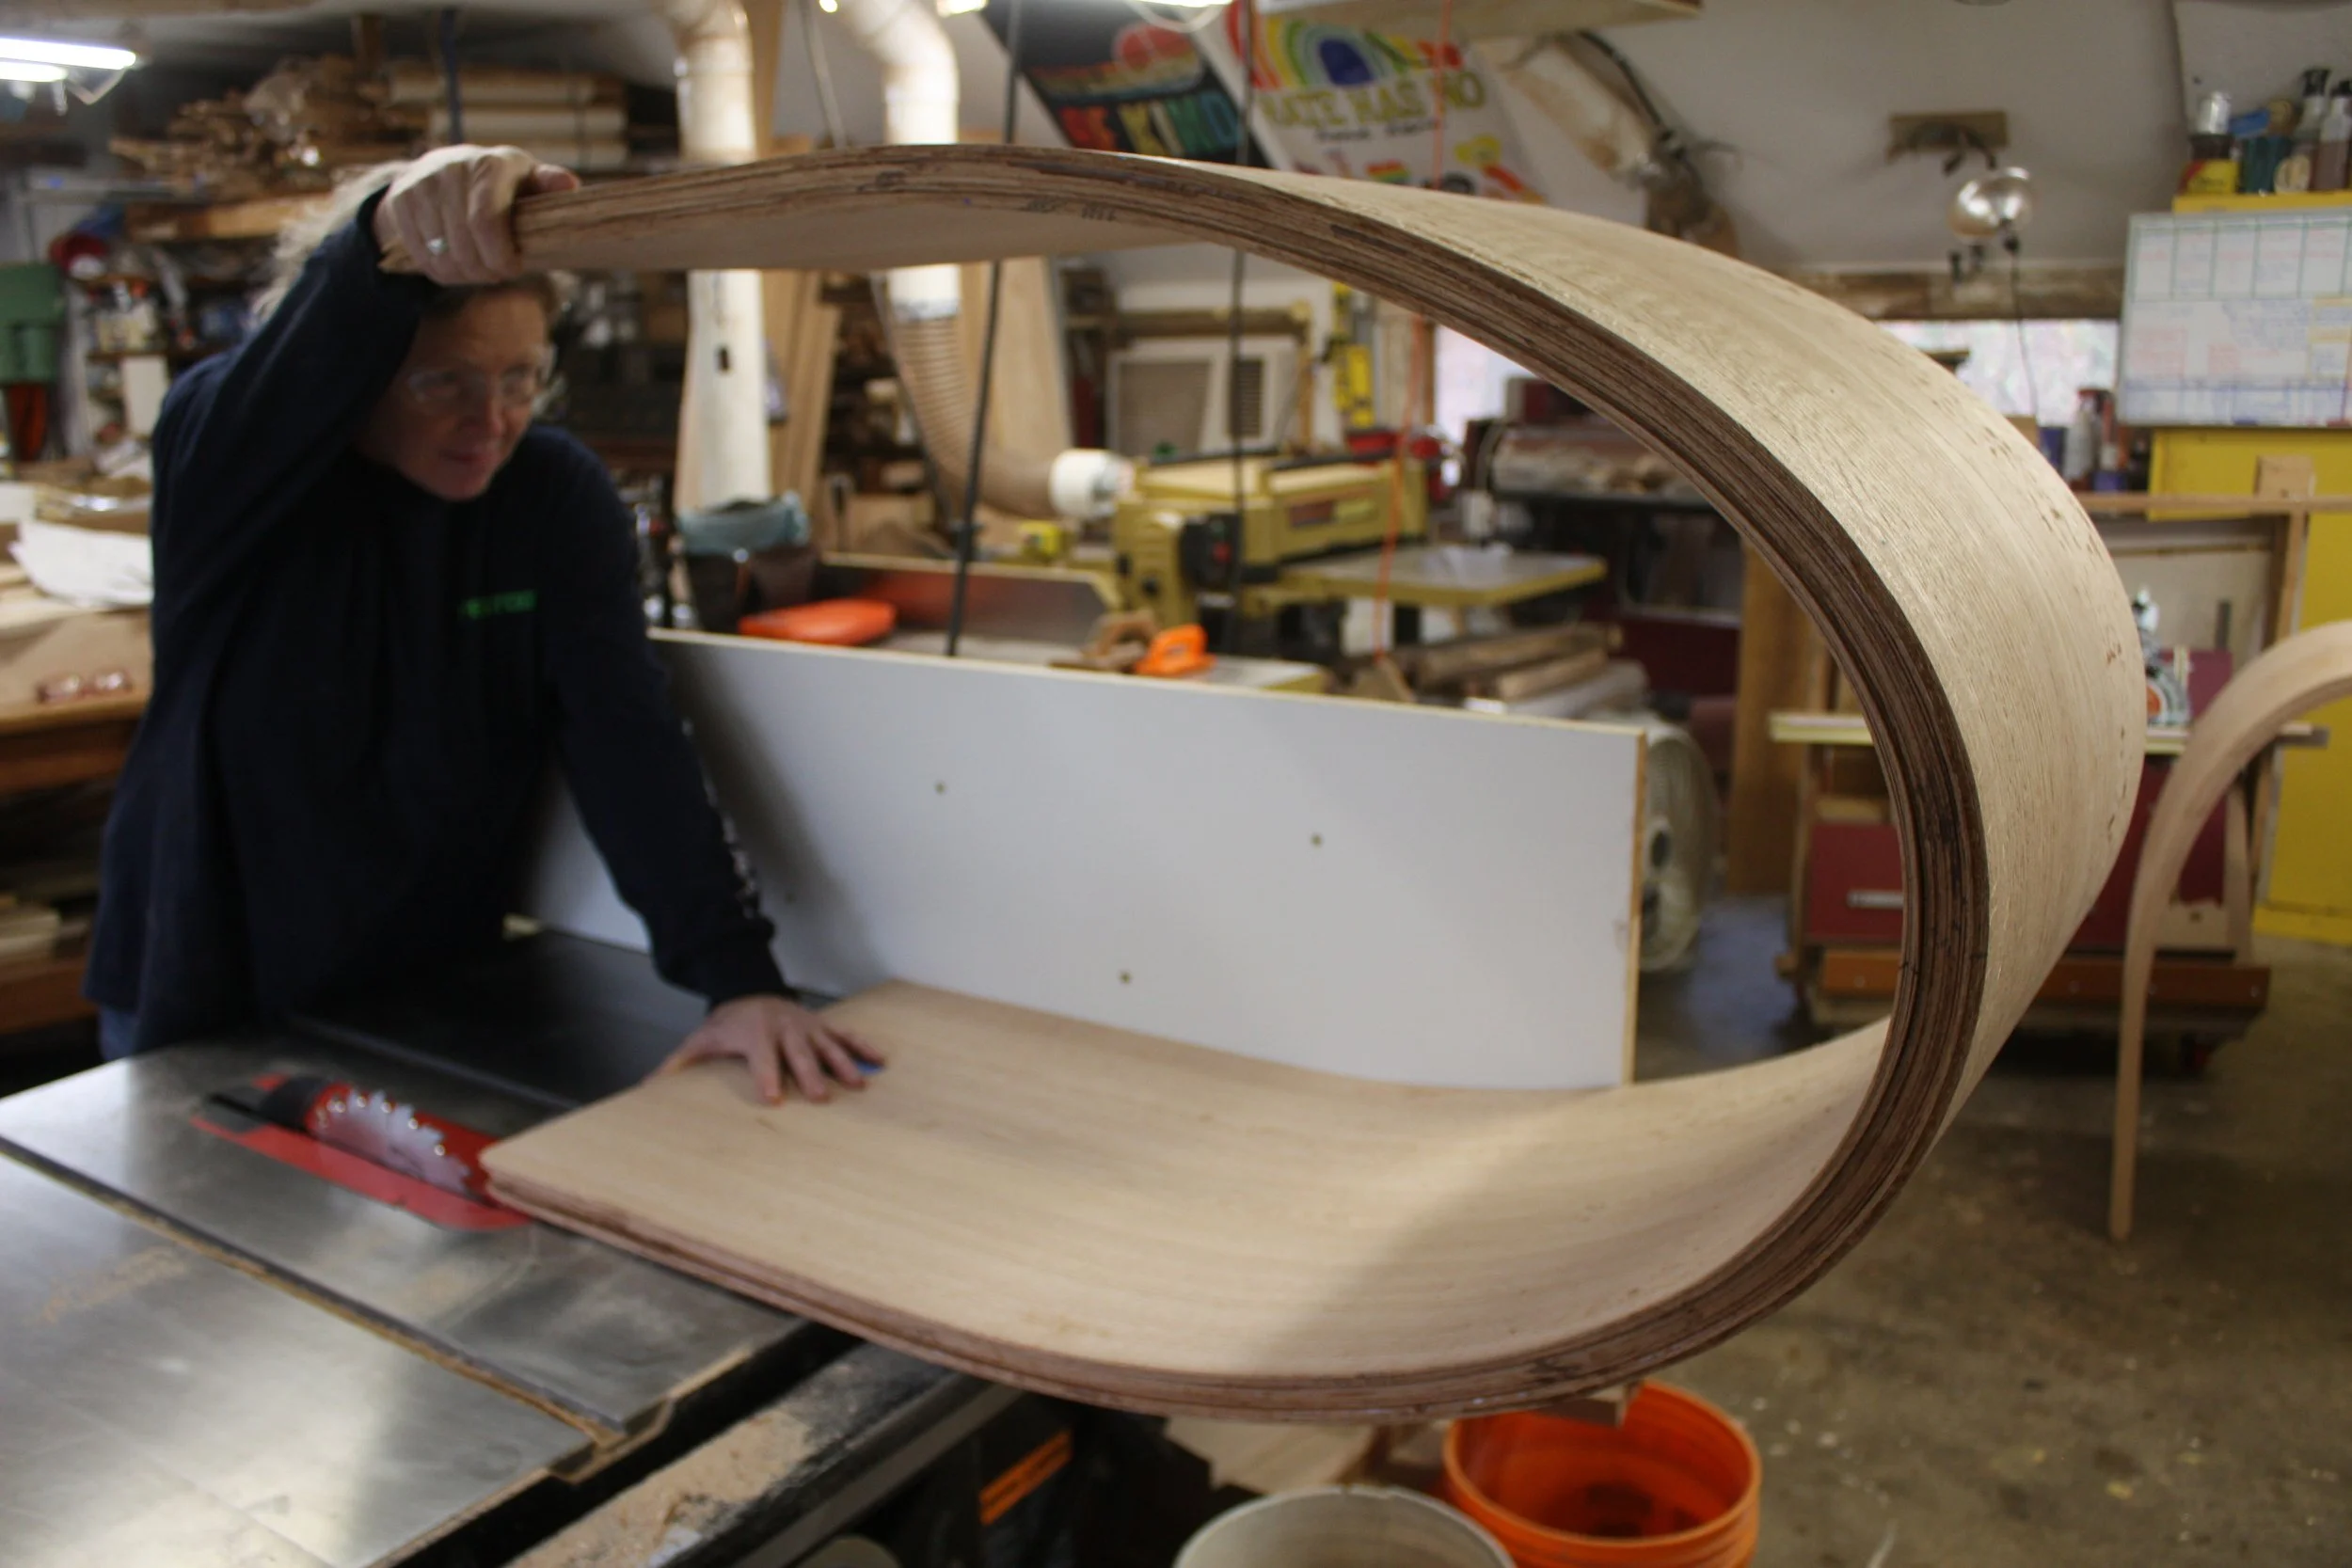
Building the form and gluing the veneers for the base
32 layers of veneer got glued and vacuumed around this form. The form is built from 12 layers of MDF to get the width we need for the base pieces. The veneer gets glued up several layers at a time, sits for 24 hours, and then gets a few more layers applied.


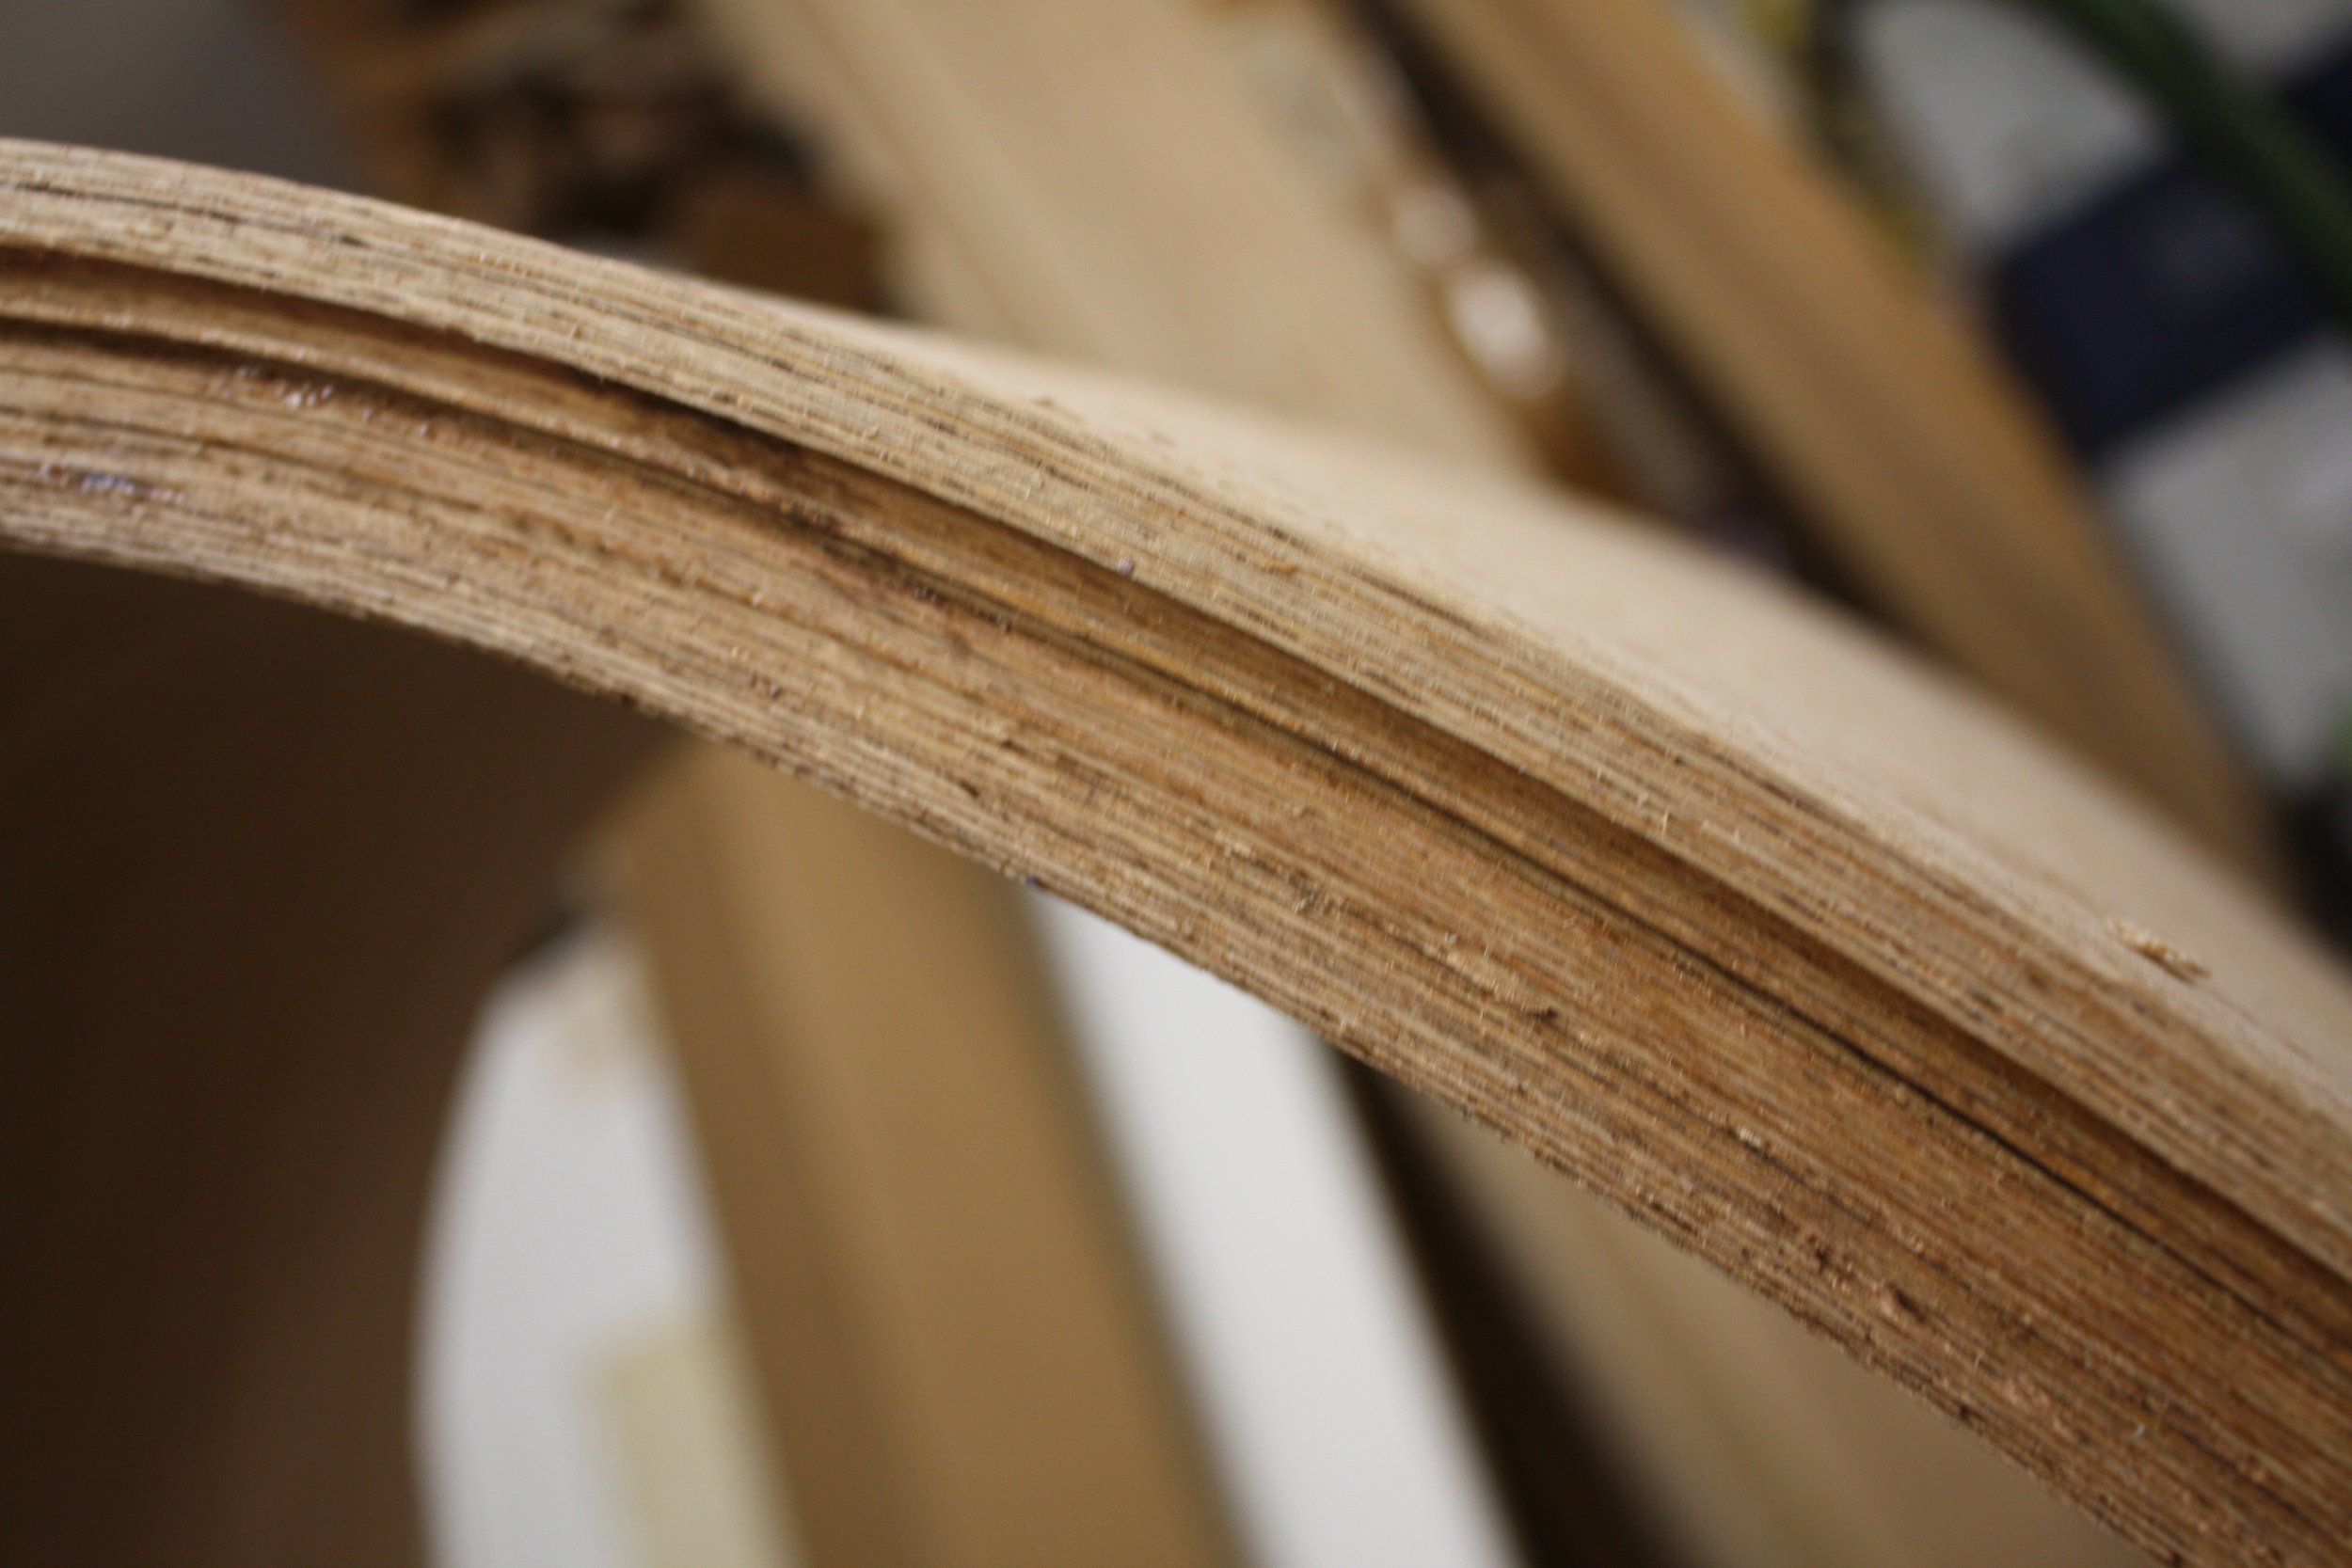
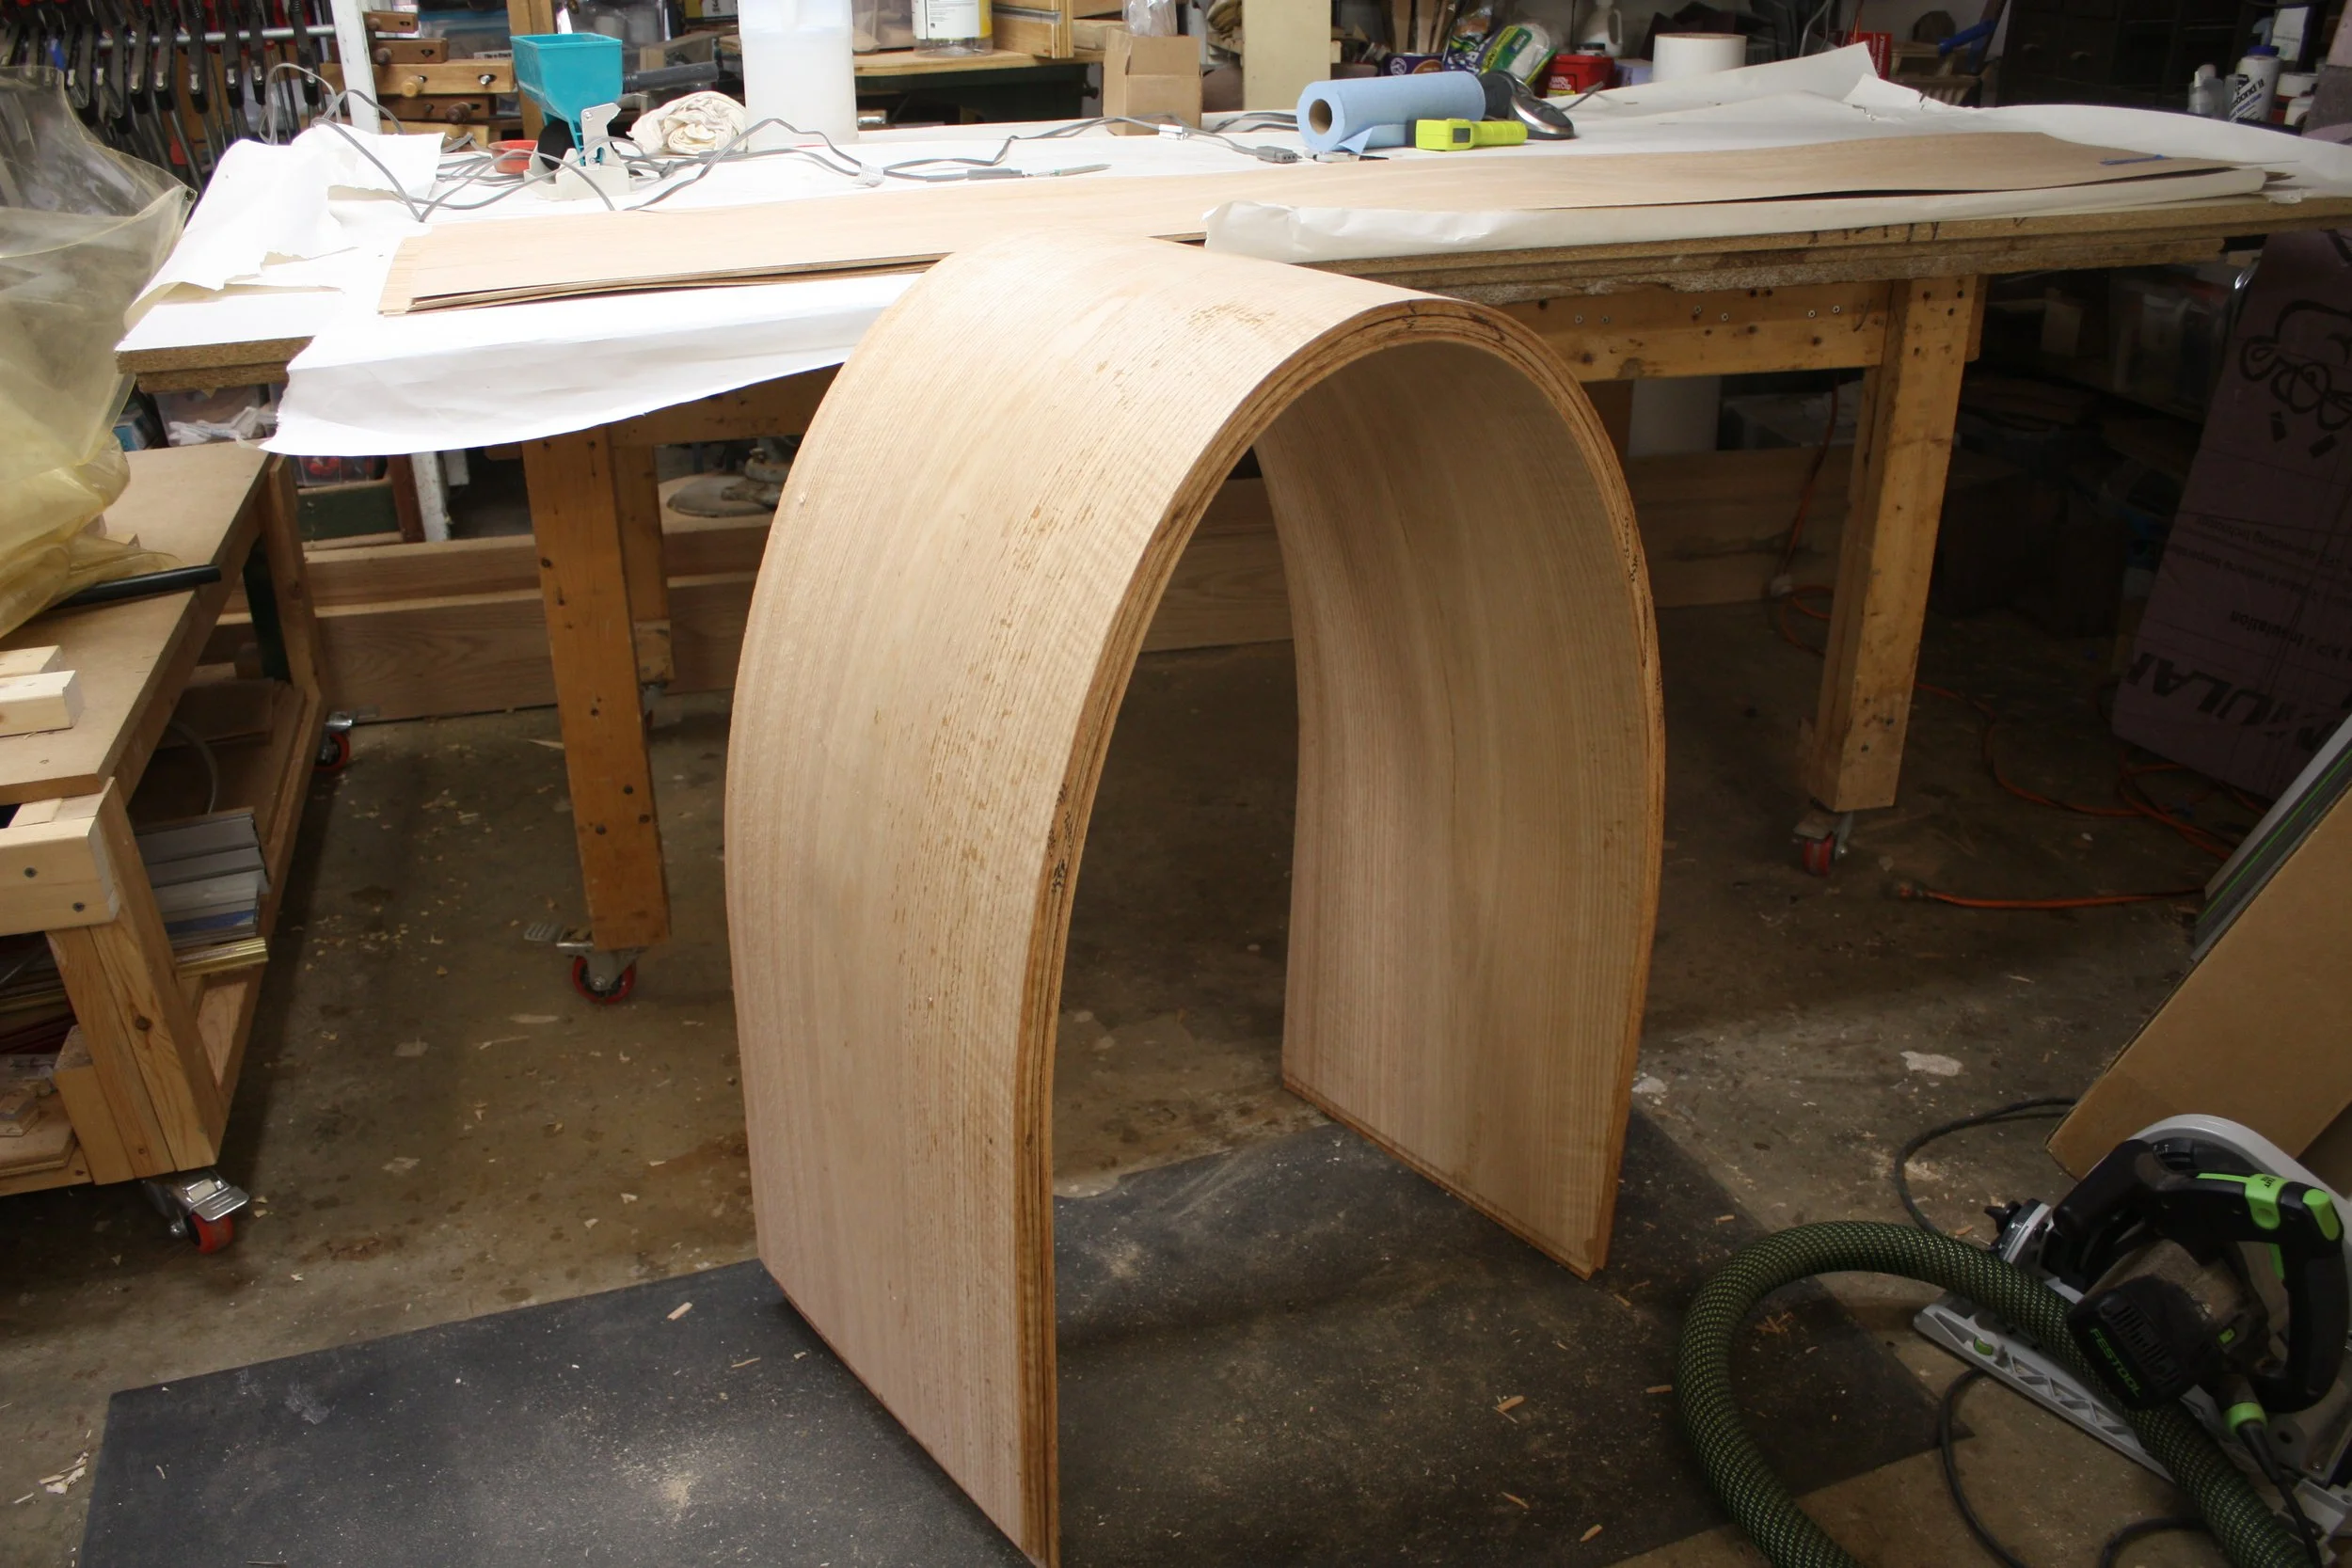

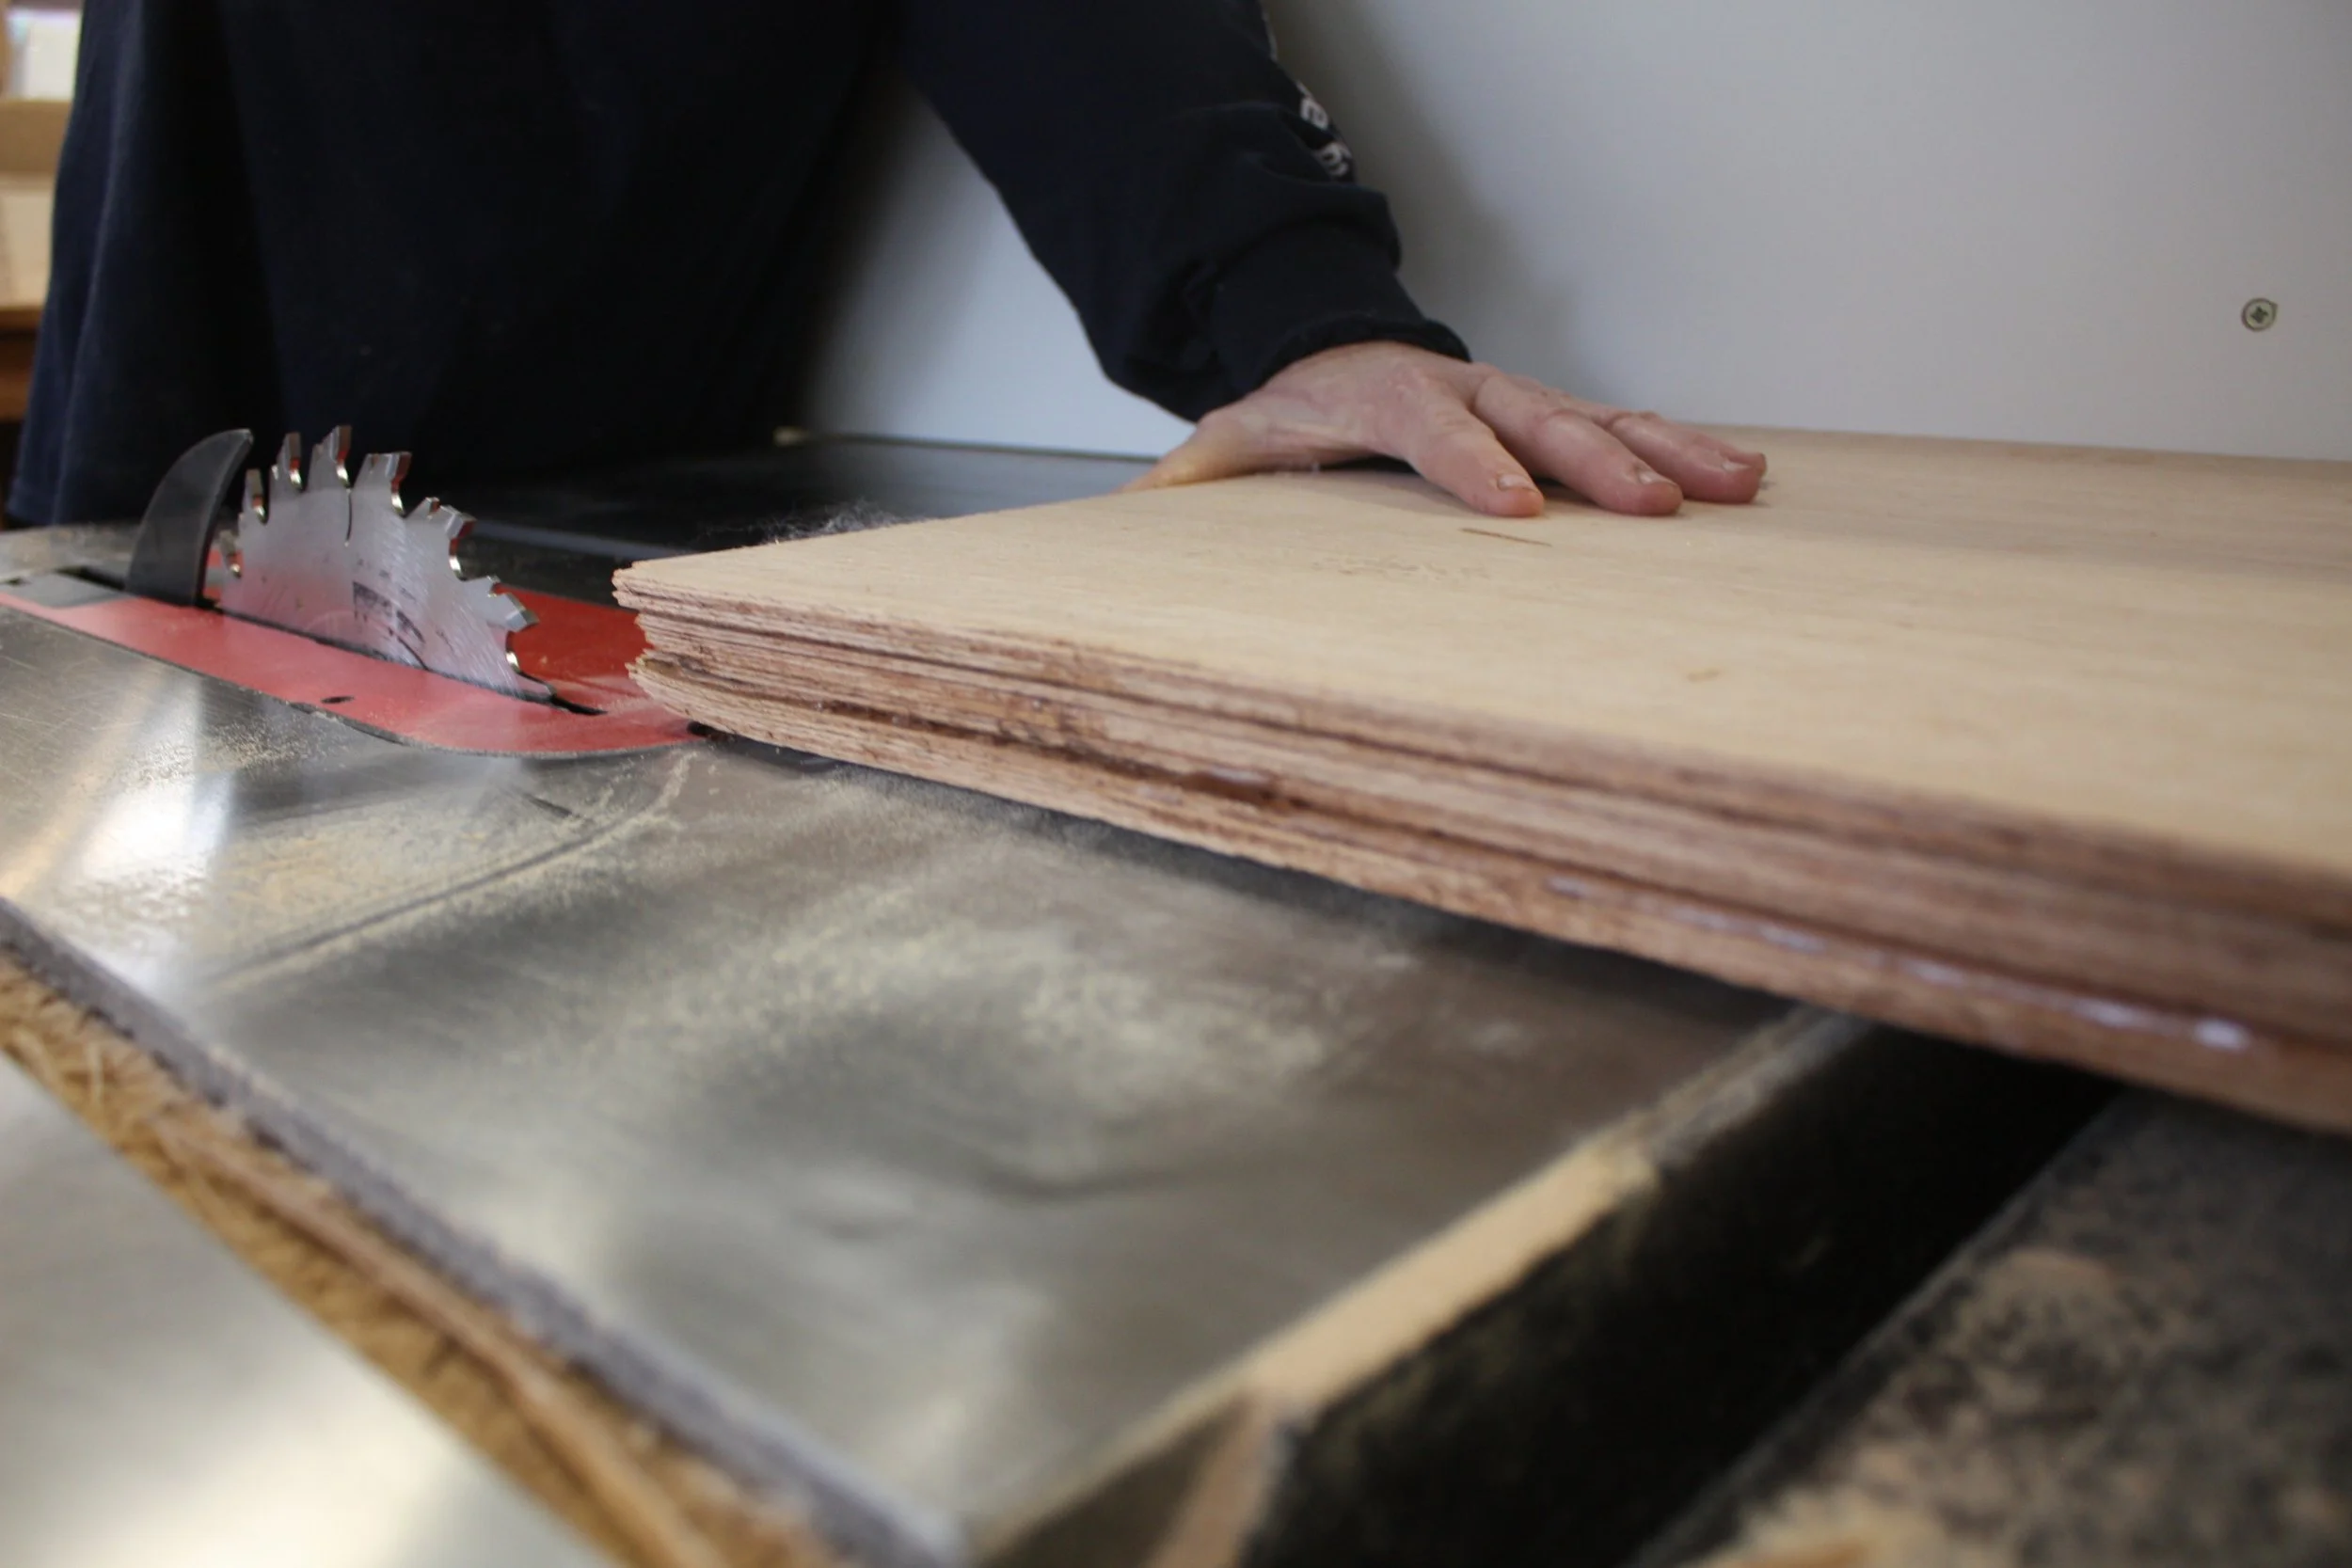
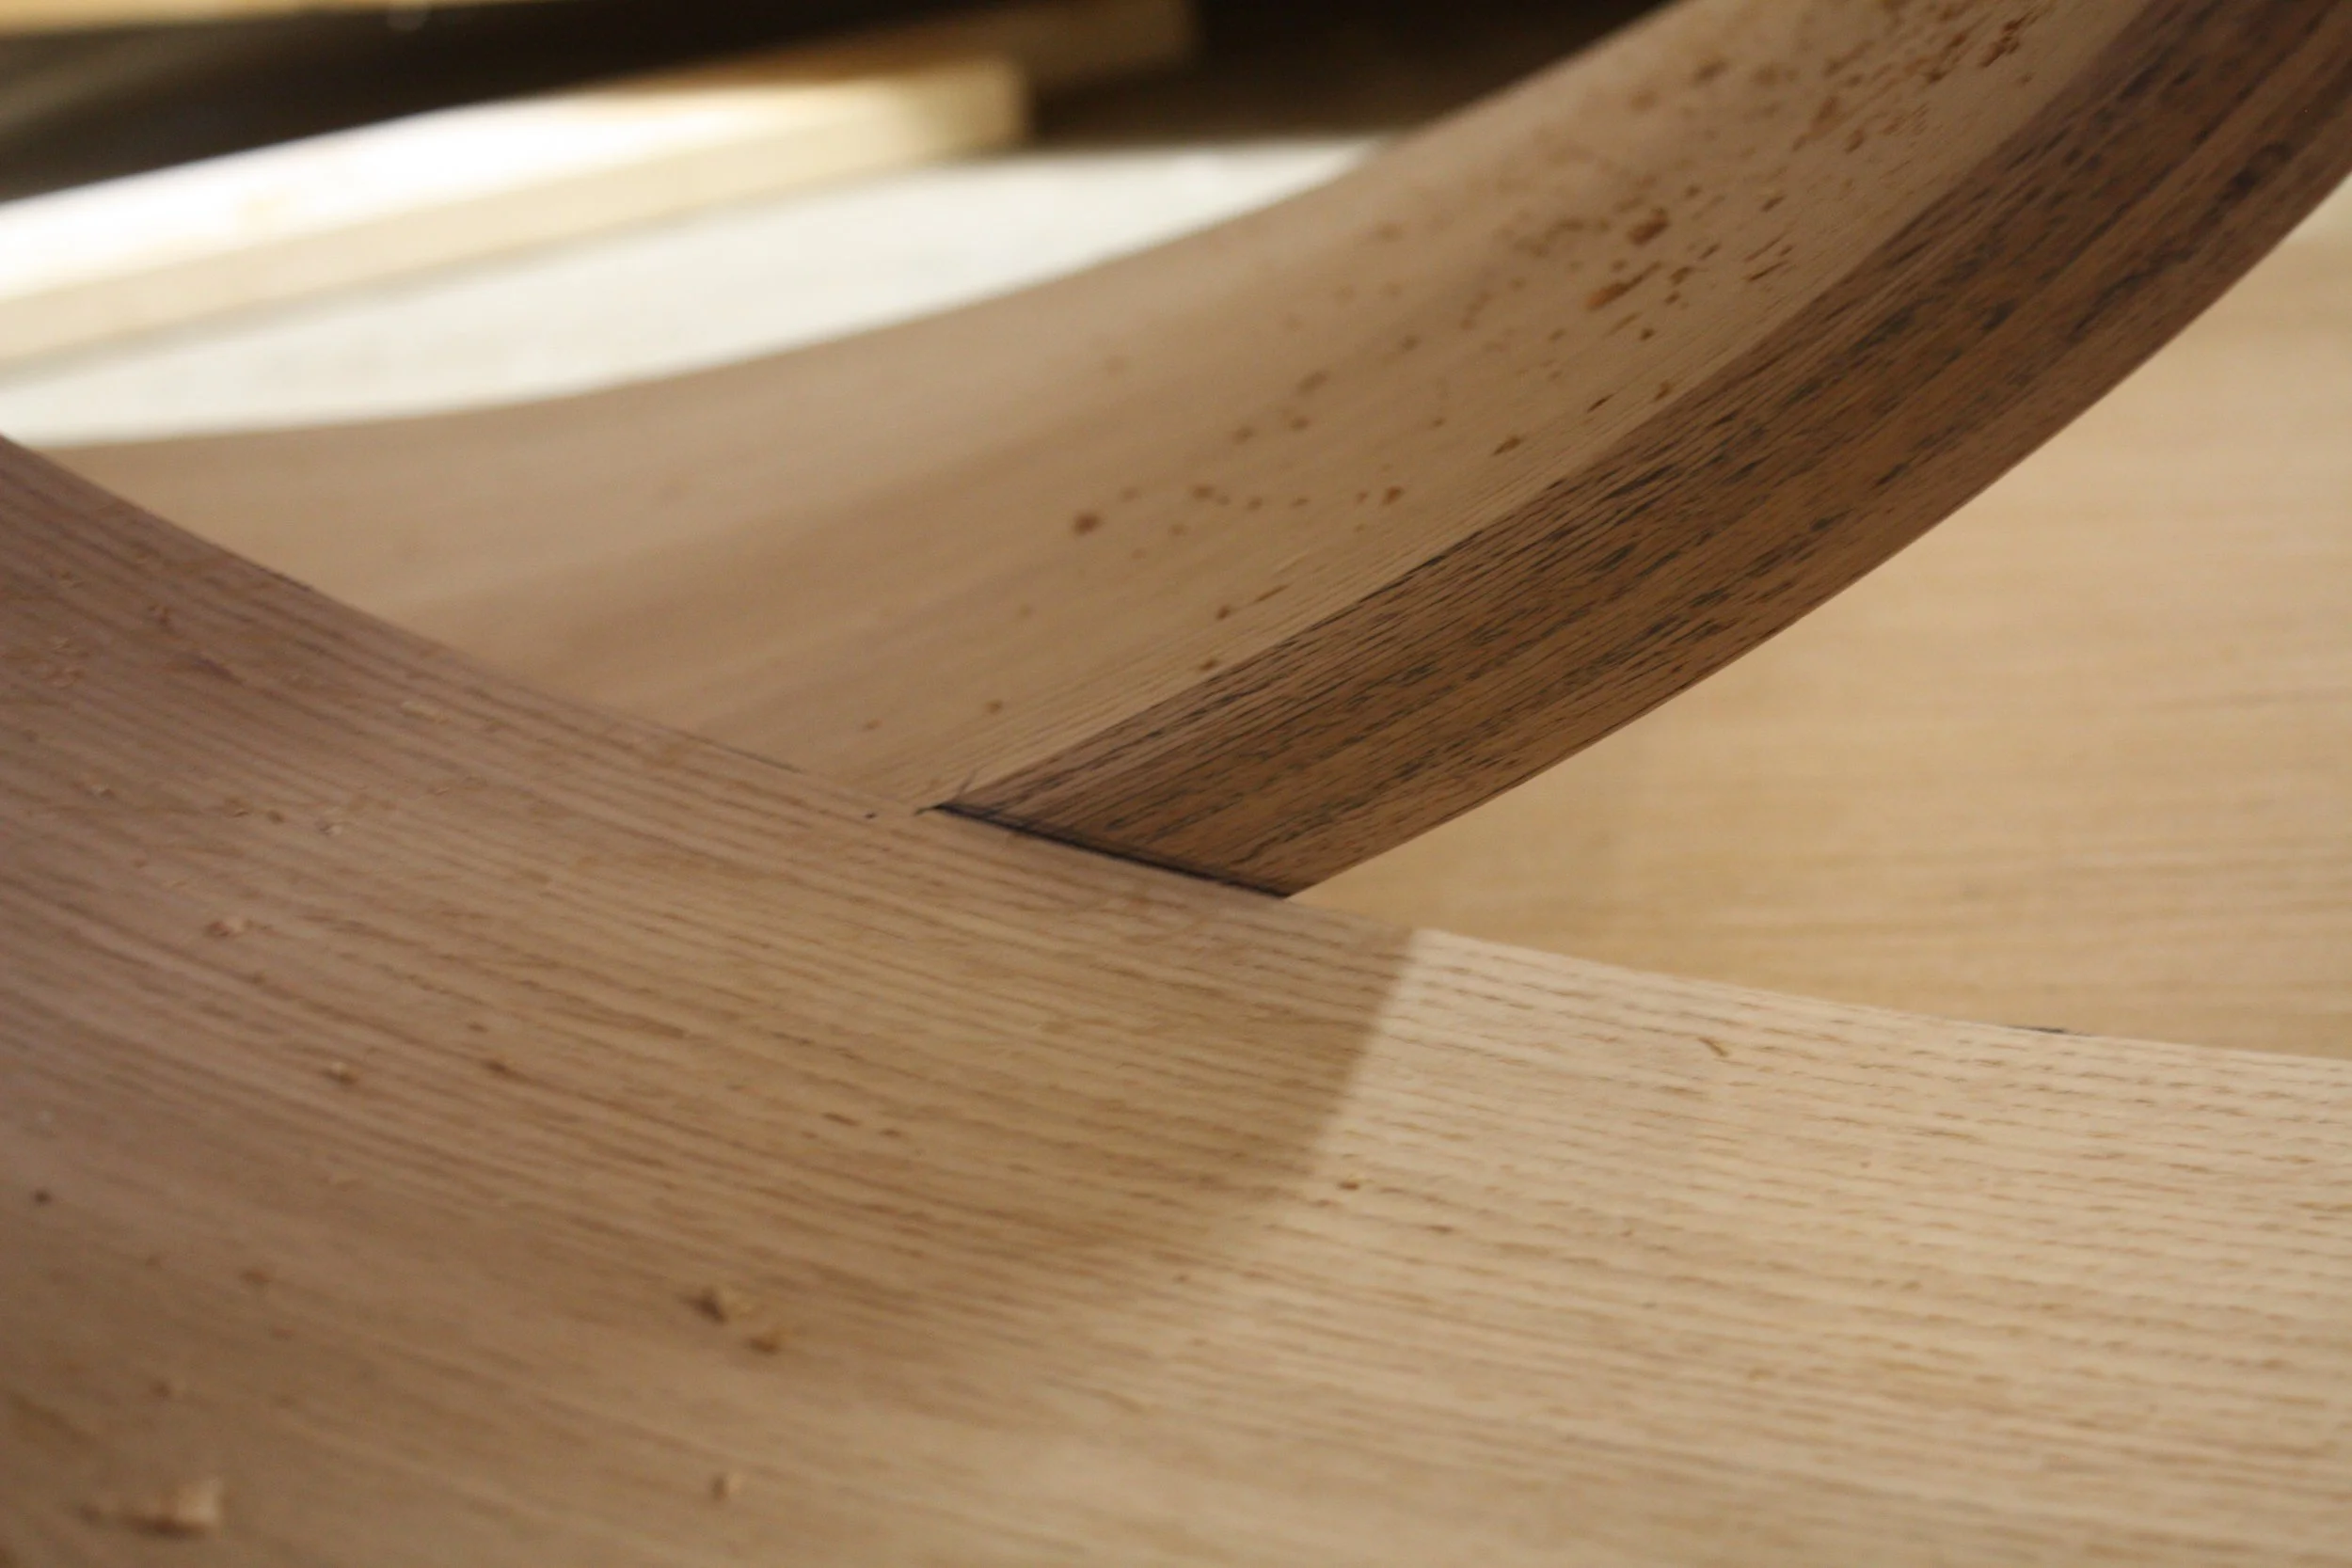
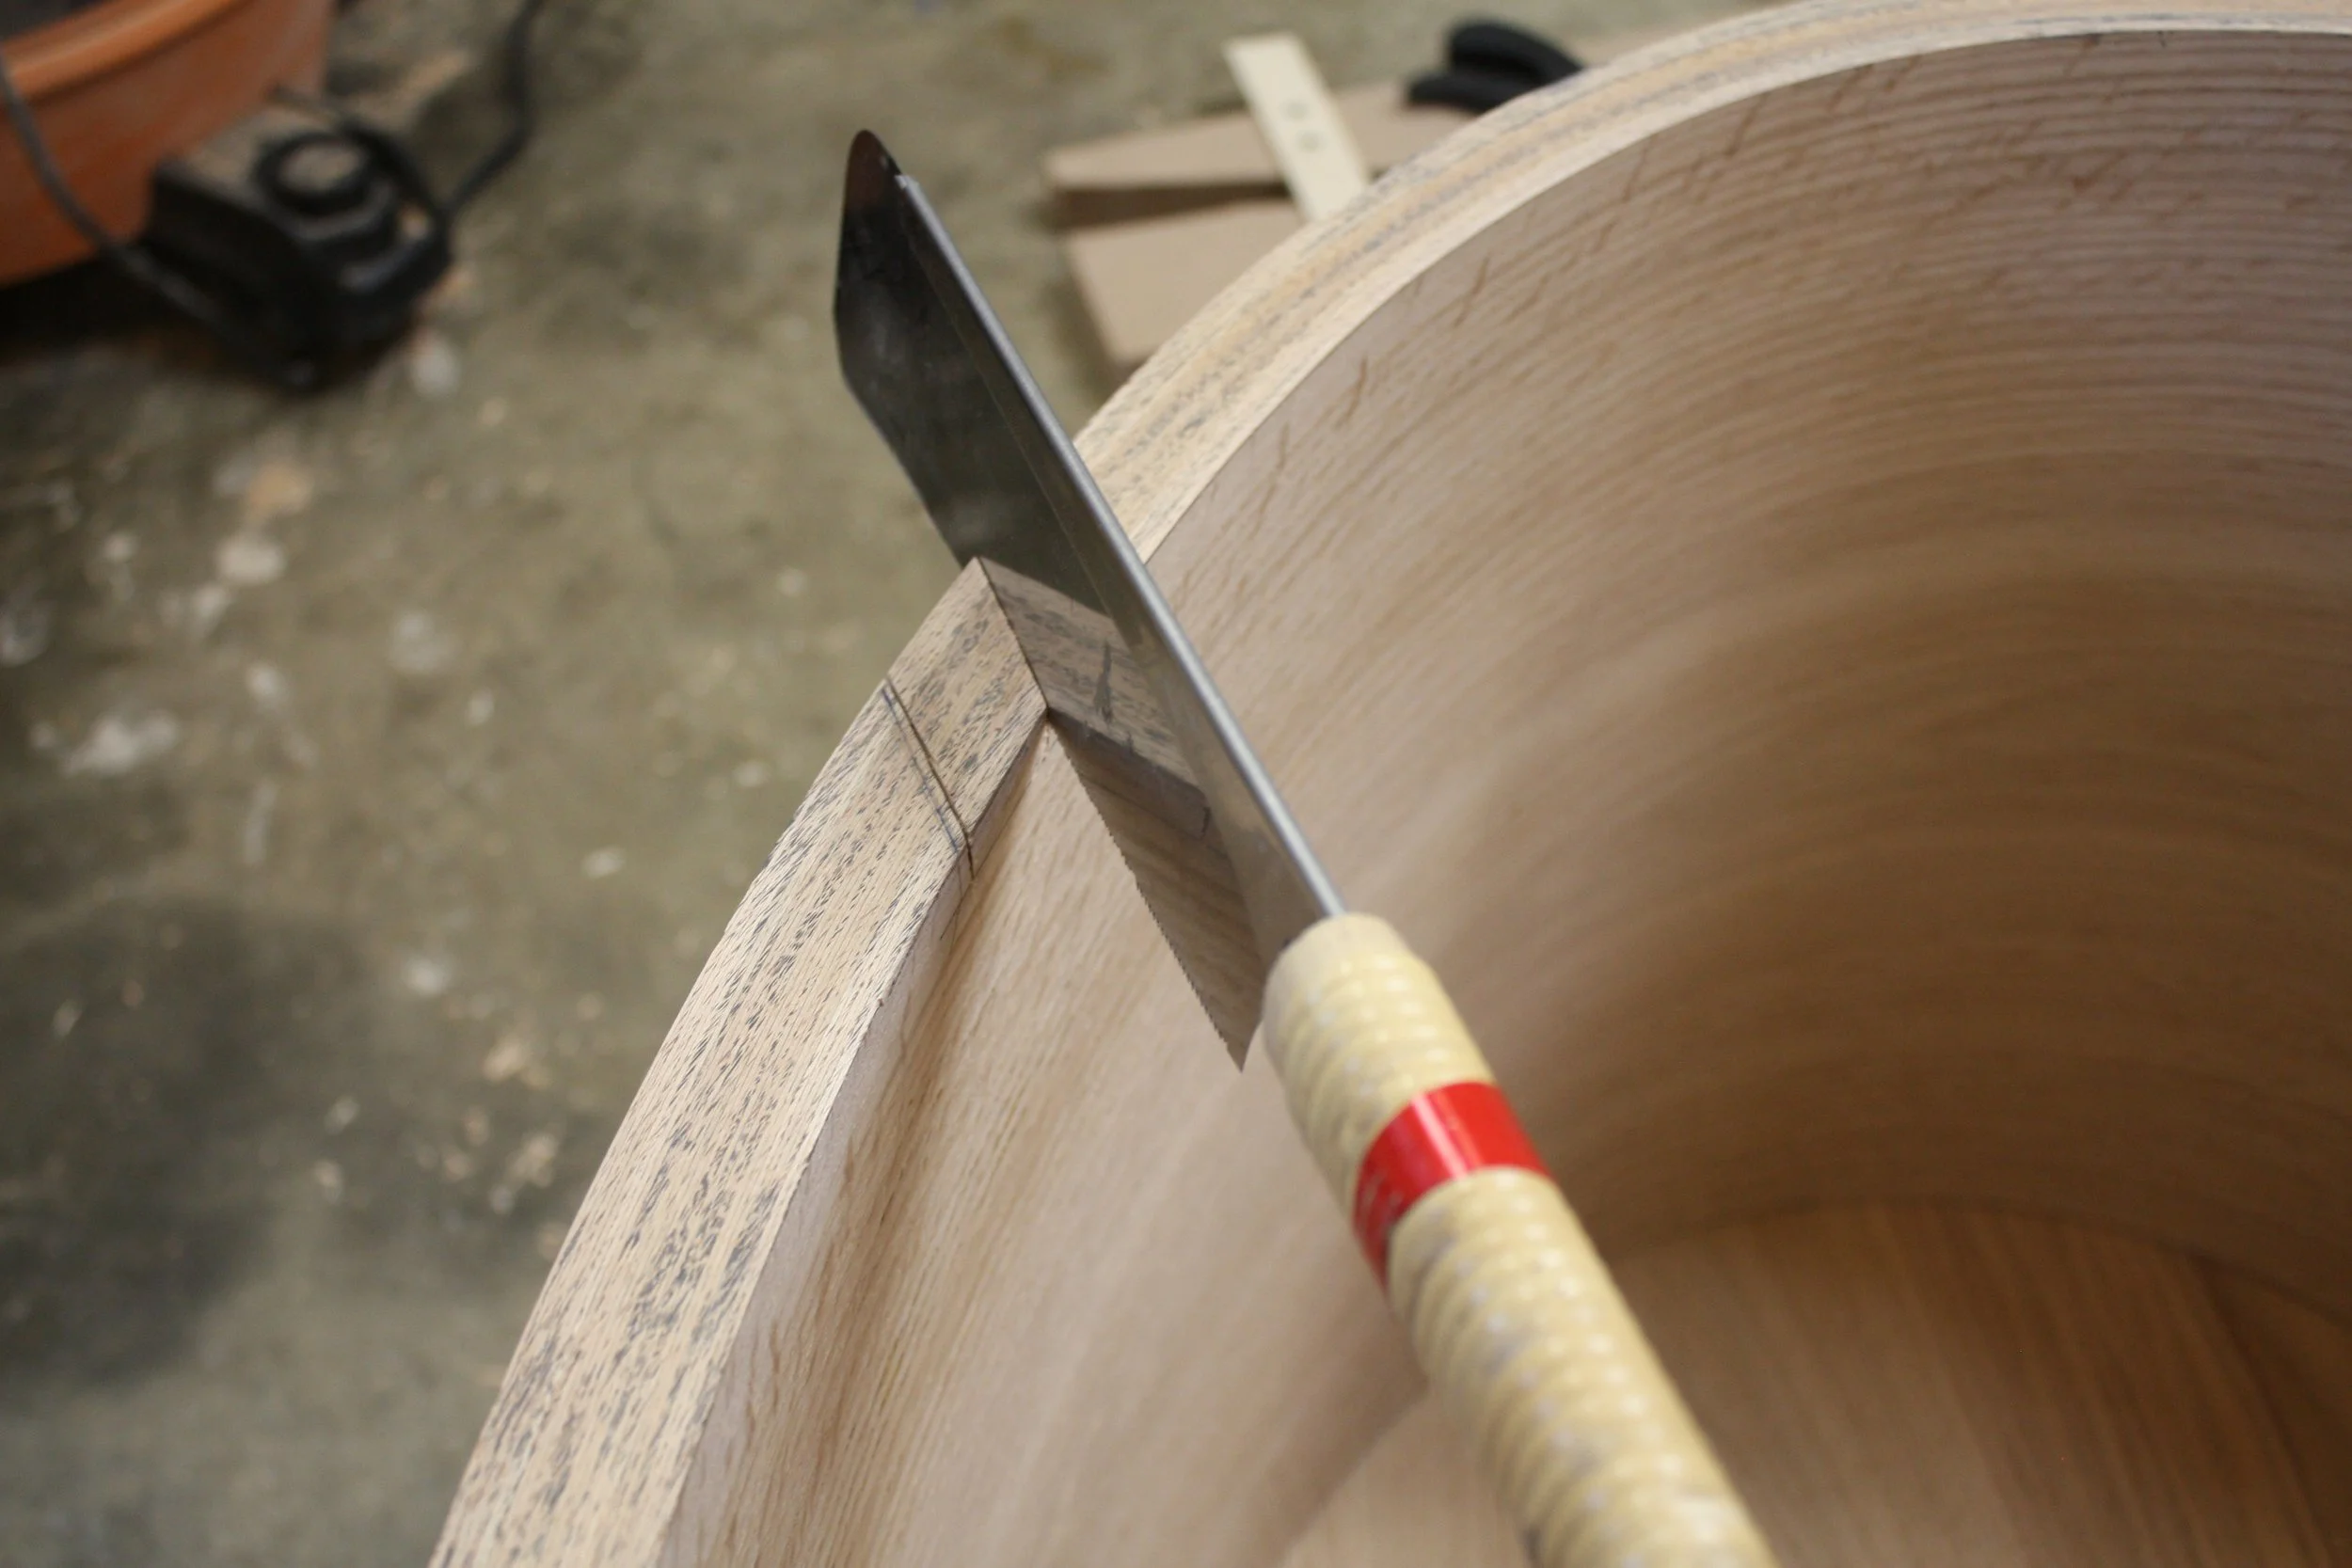
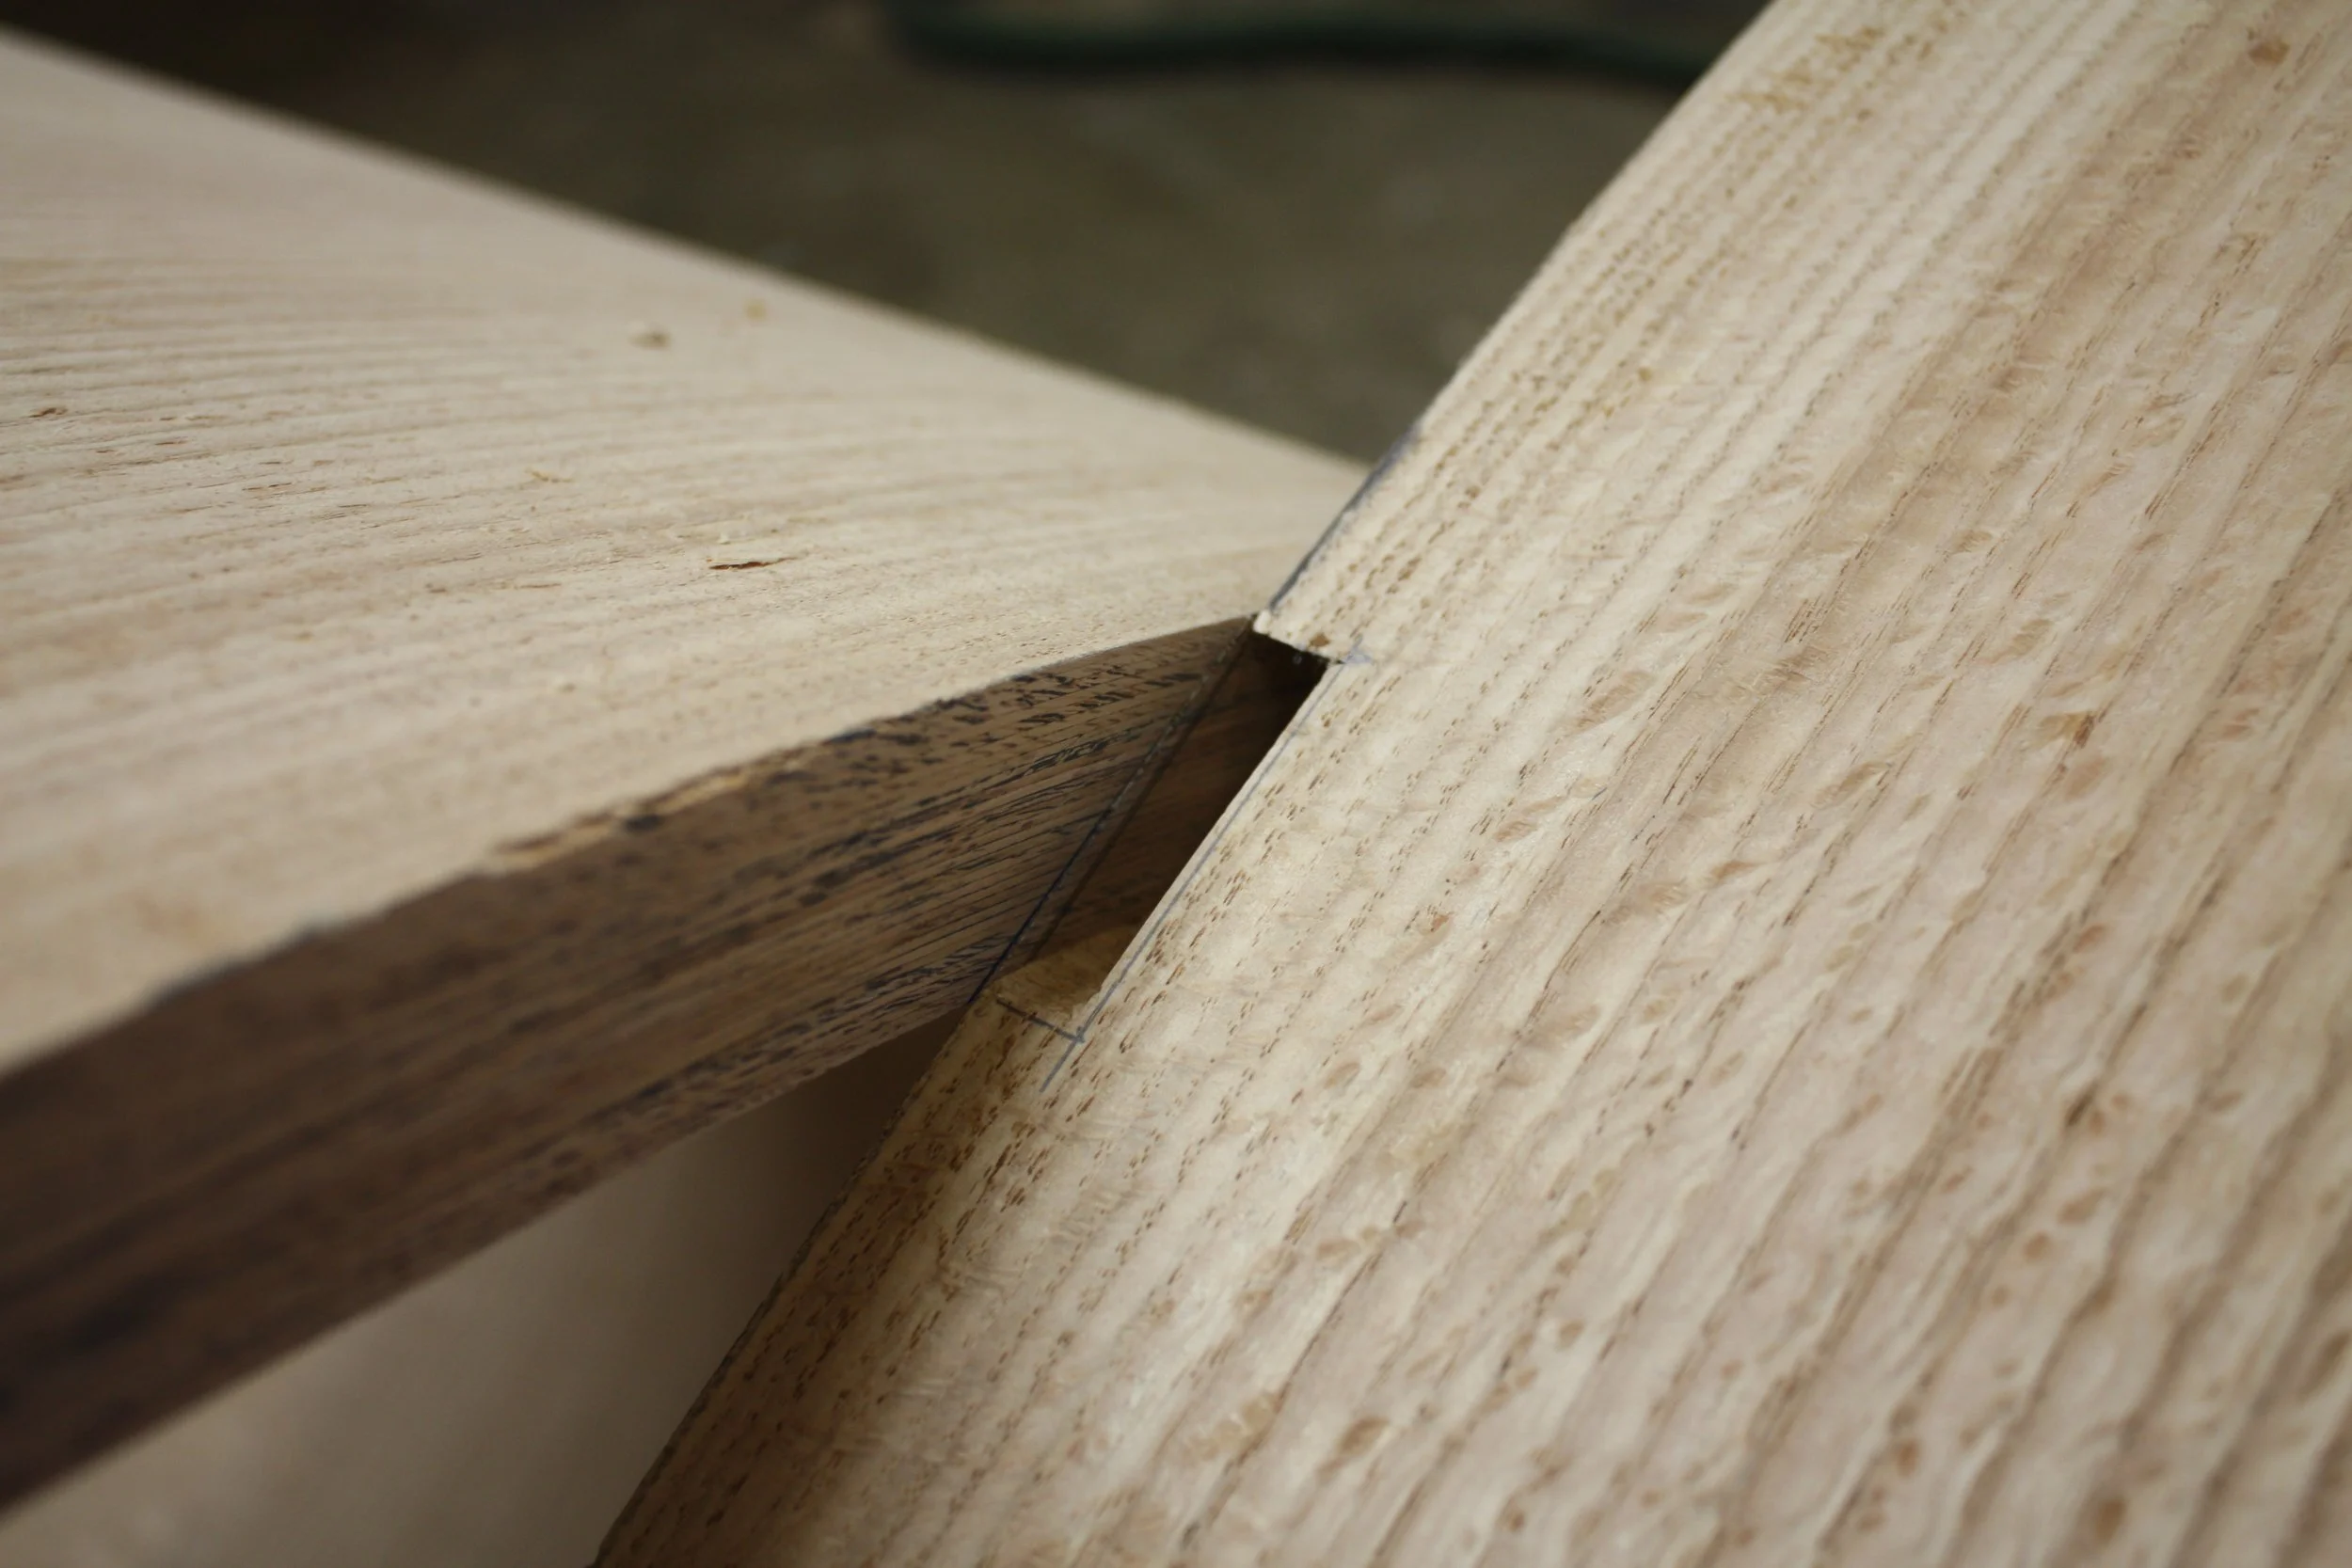
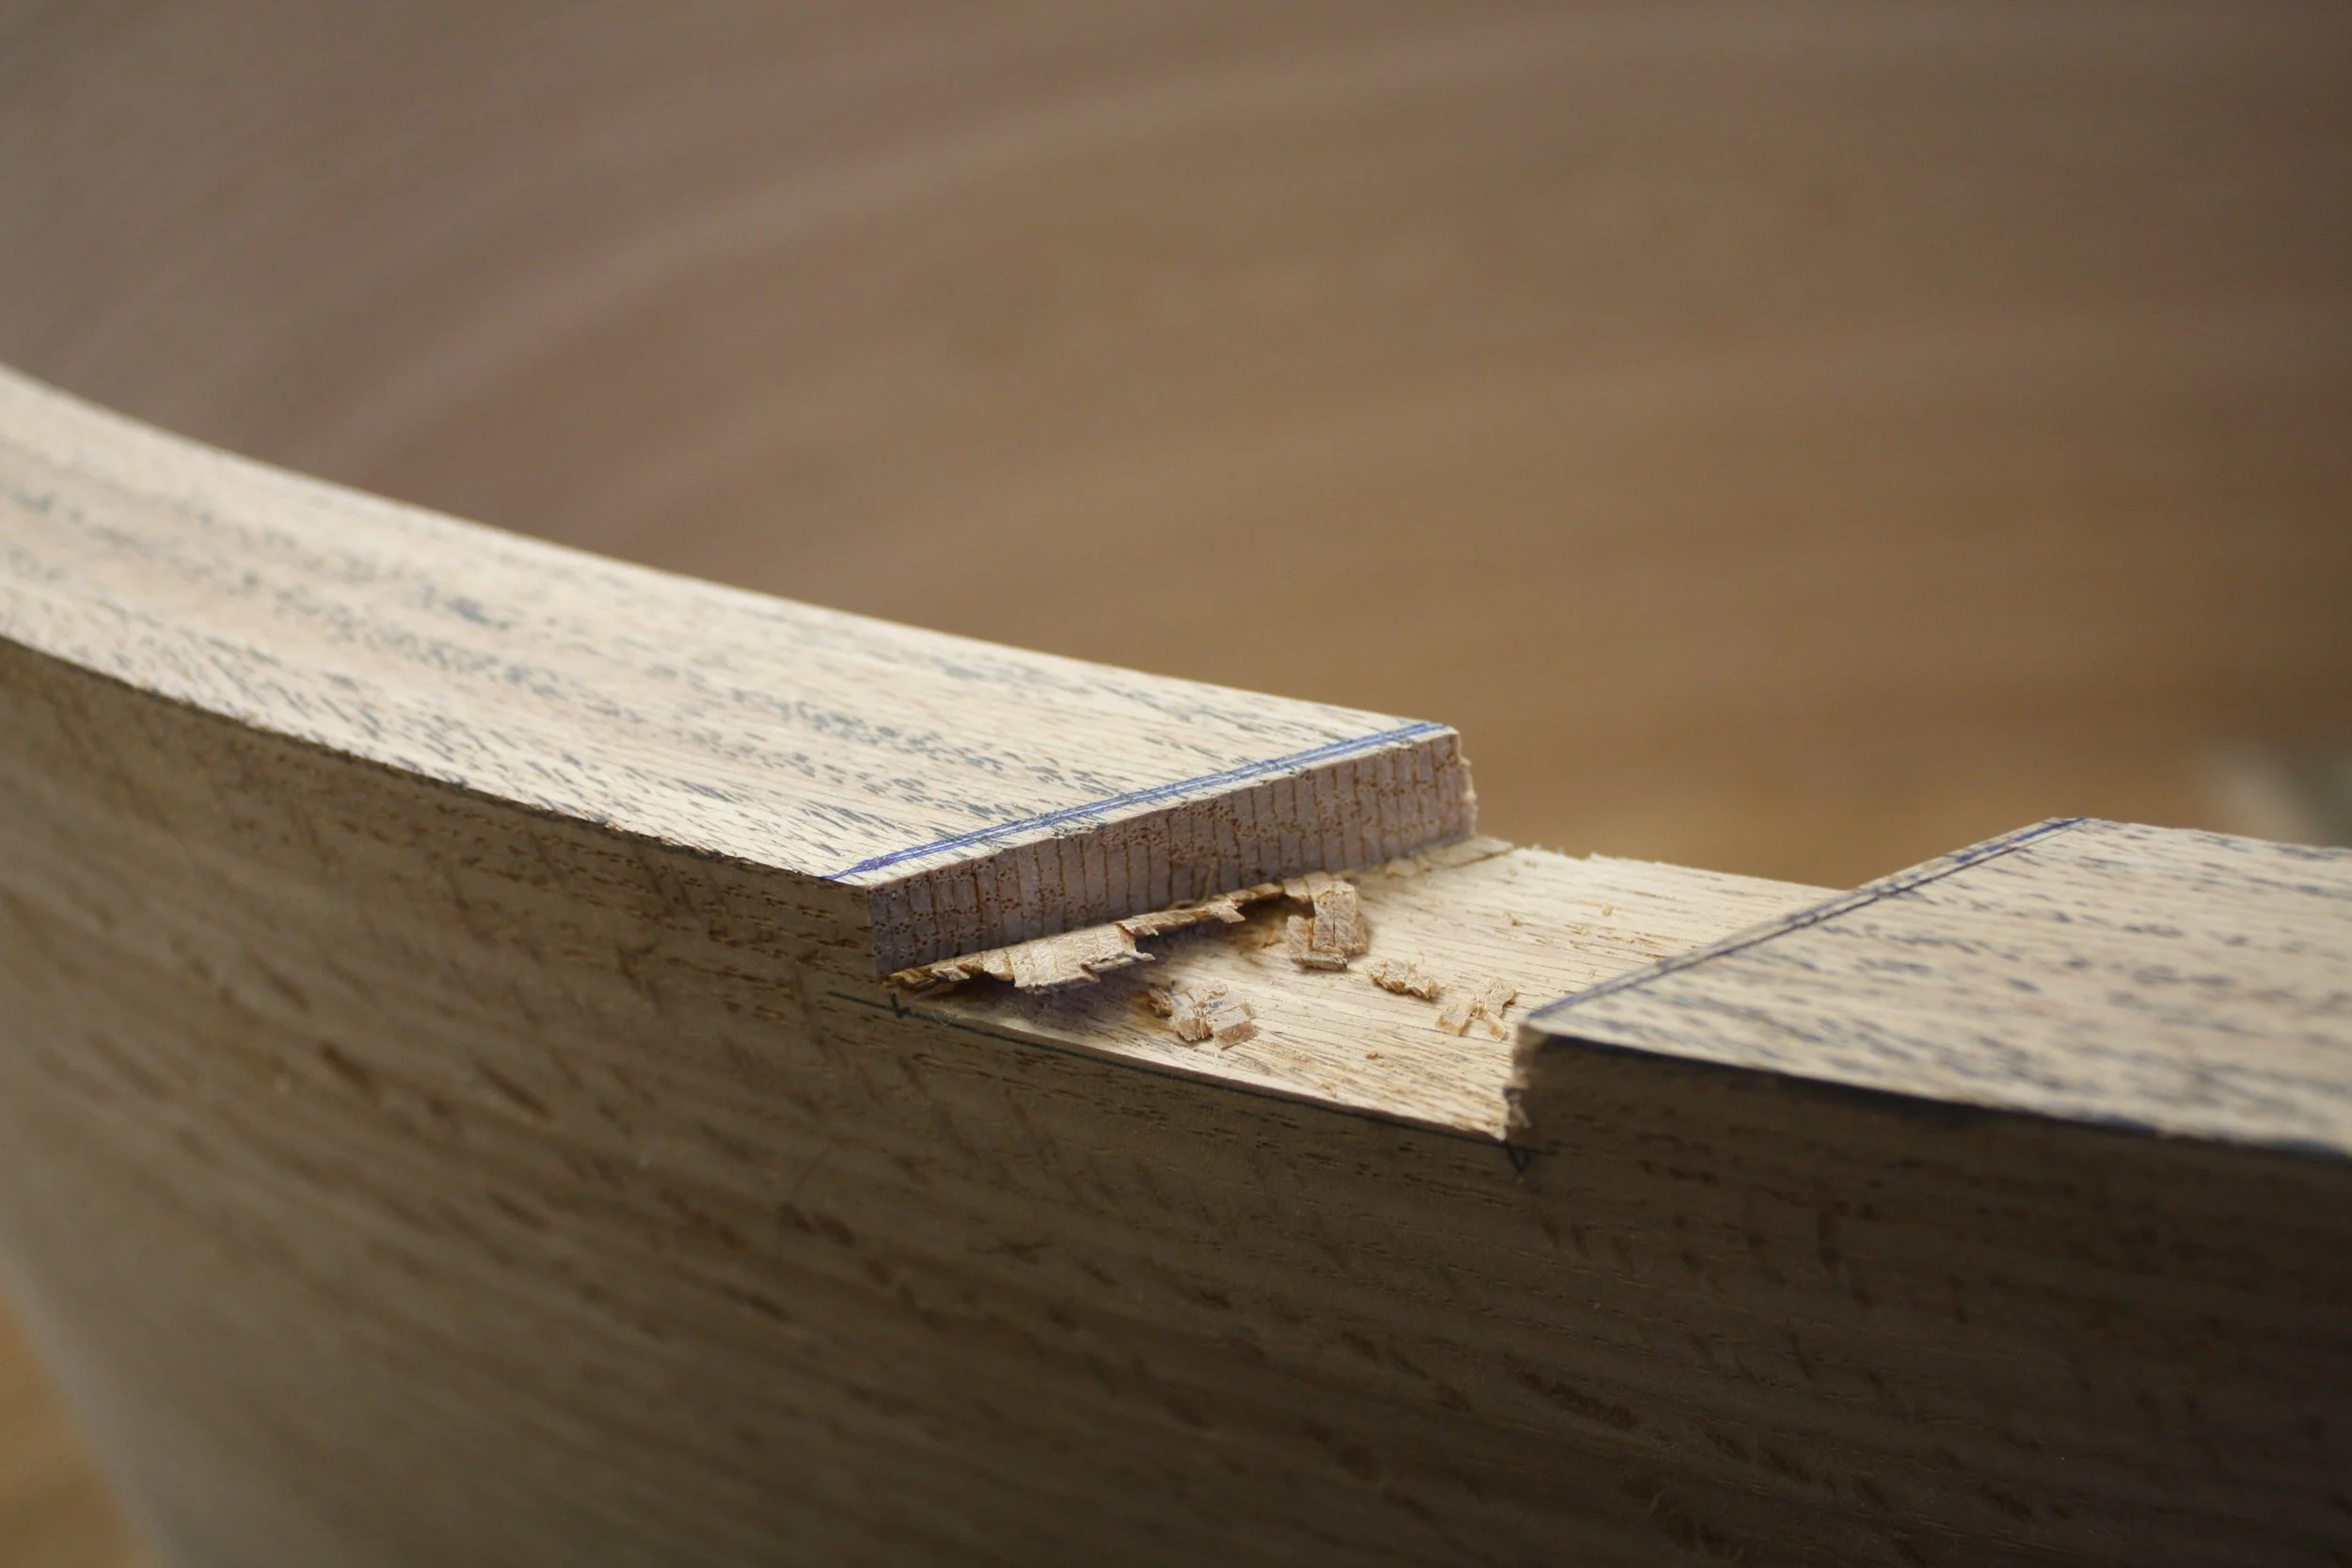
Jointery to connect the base pieces
Because the veneers are not lined up after they come out of the vacuum bag, they get cut on the the table saw. The 2 “C” pieces then have to be joined together. This is done with a half lap (shown cutting with the hand saw) and then with a dowel to align them. This tedious process is the heart of the base.


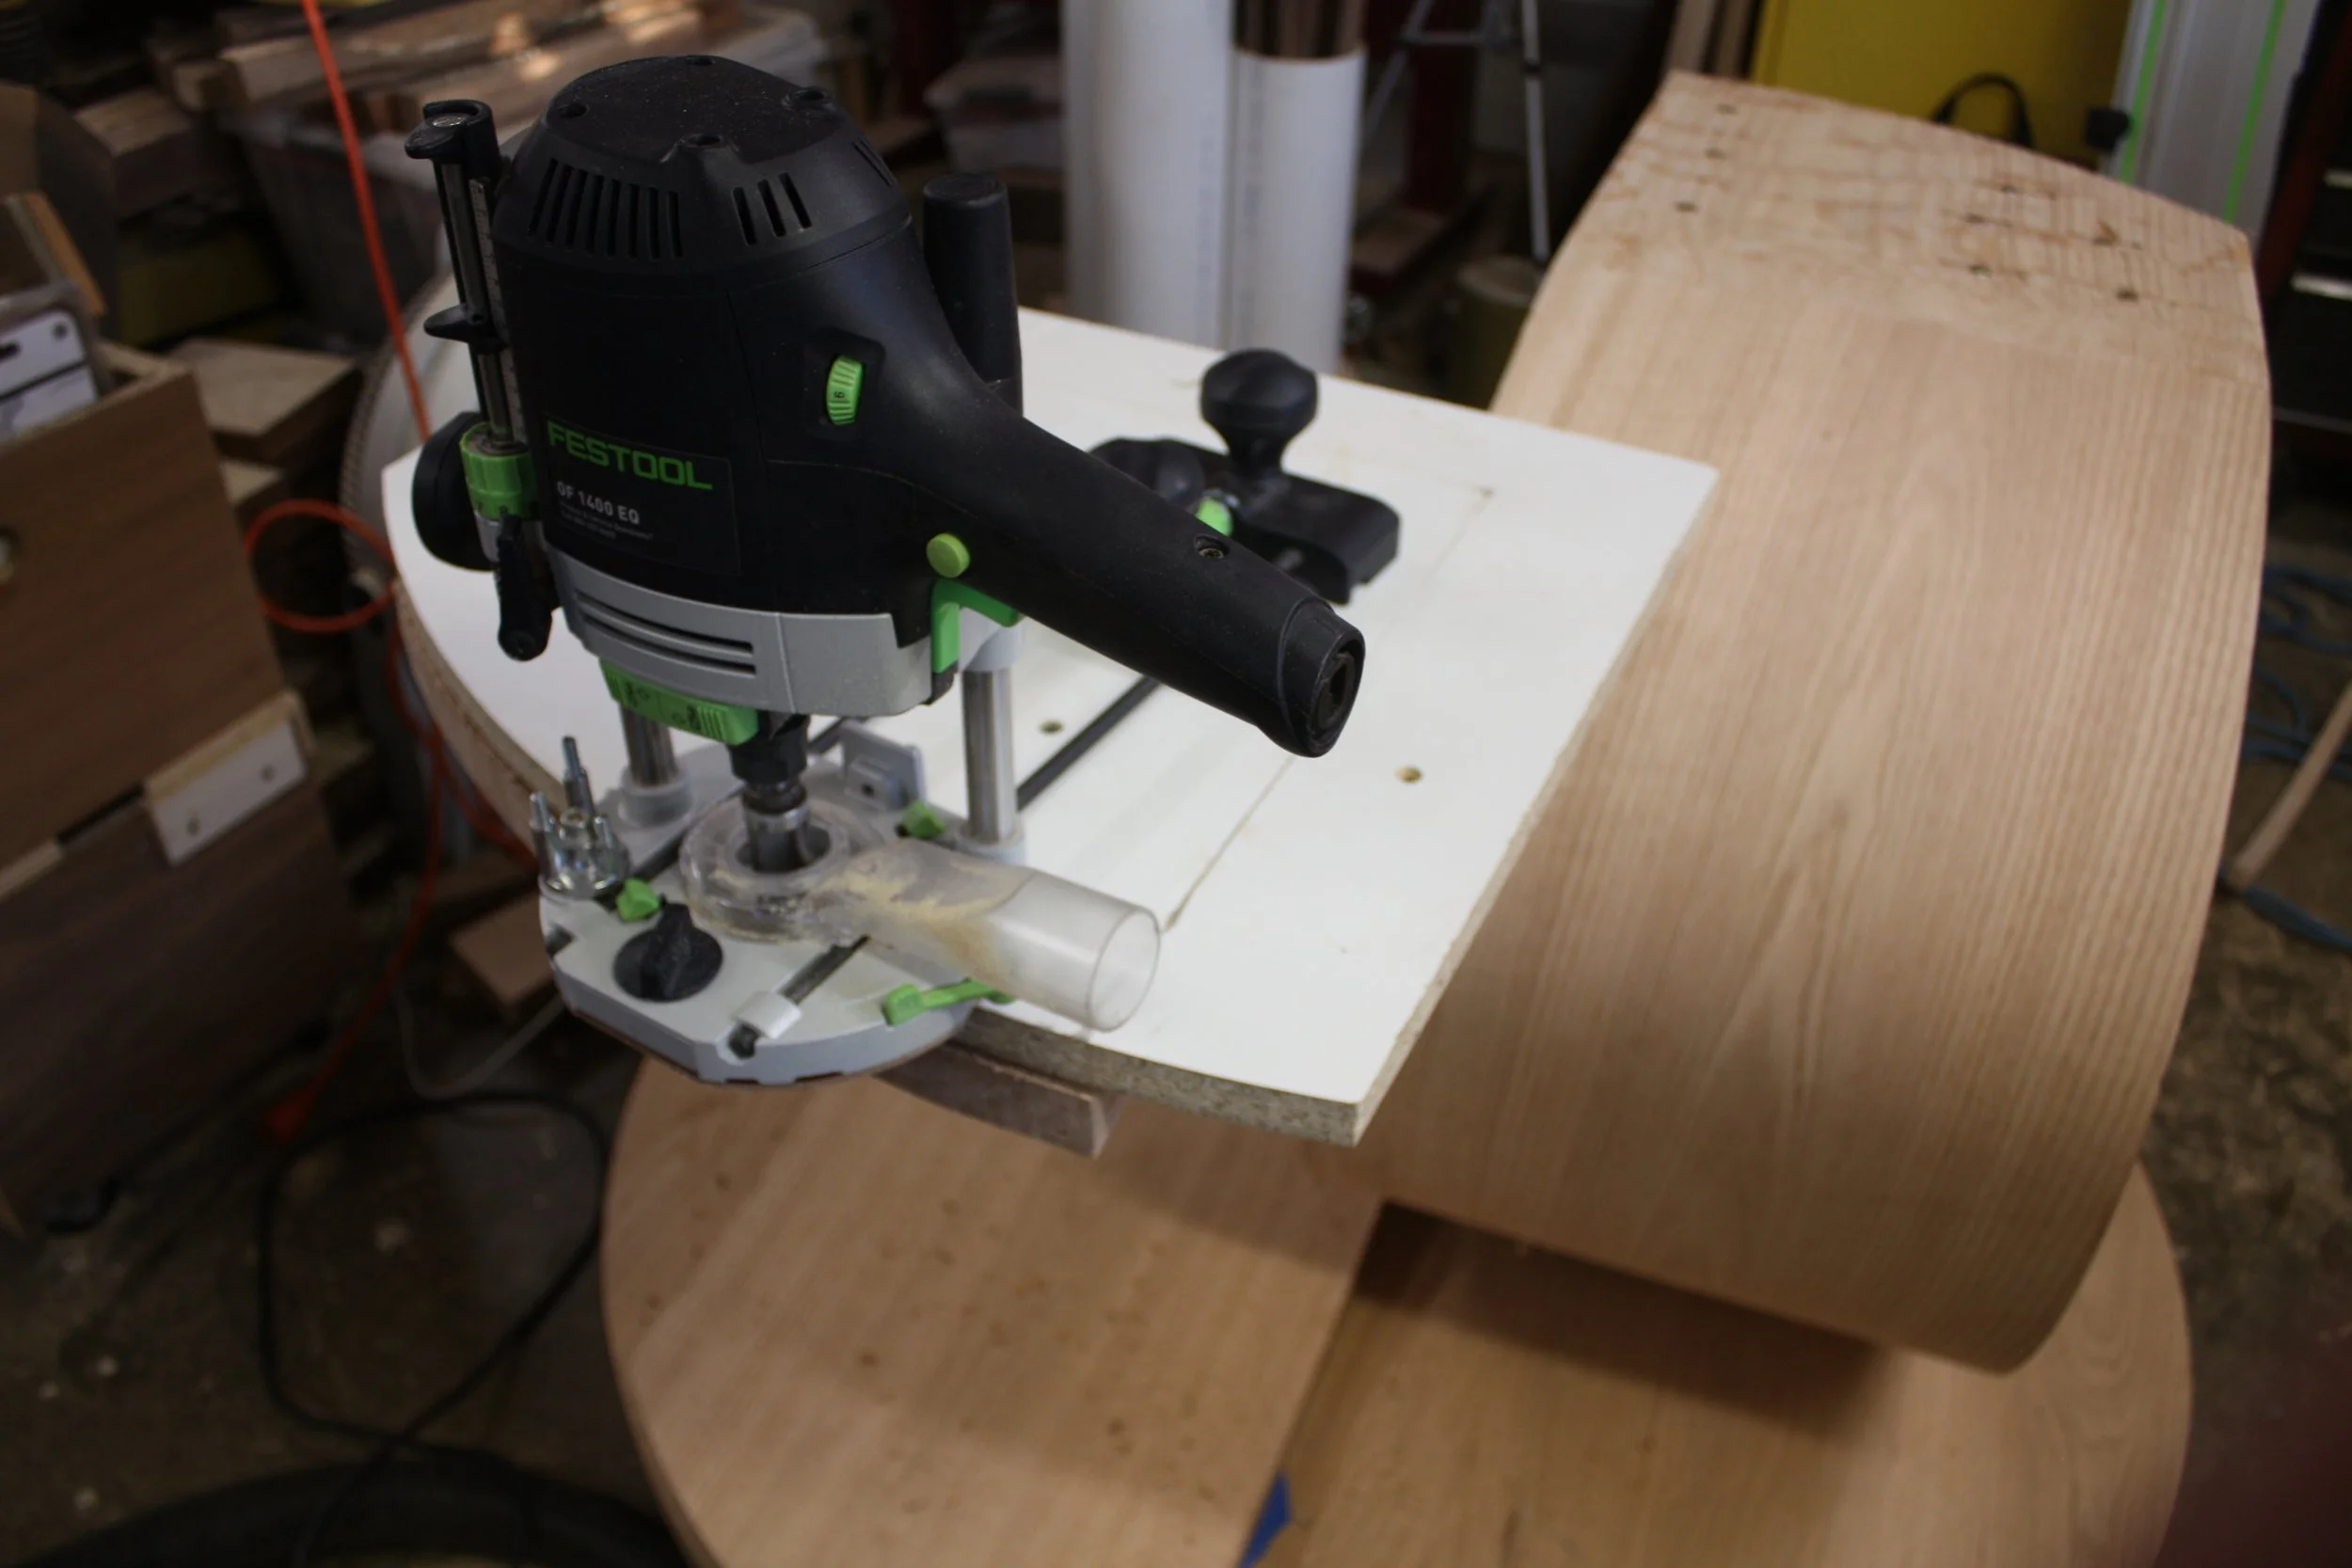
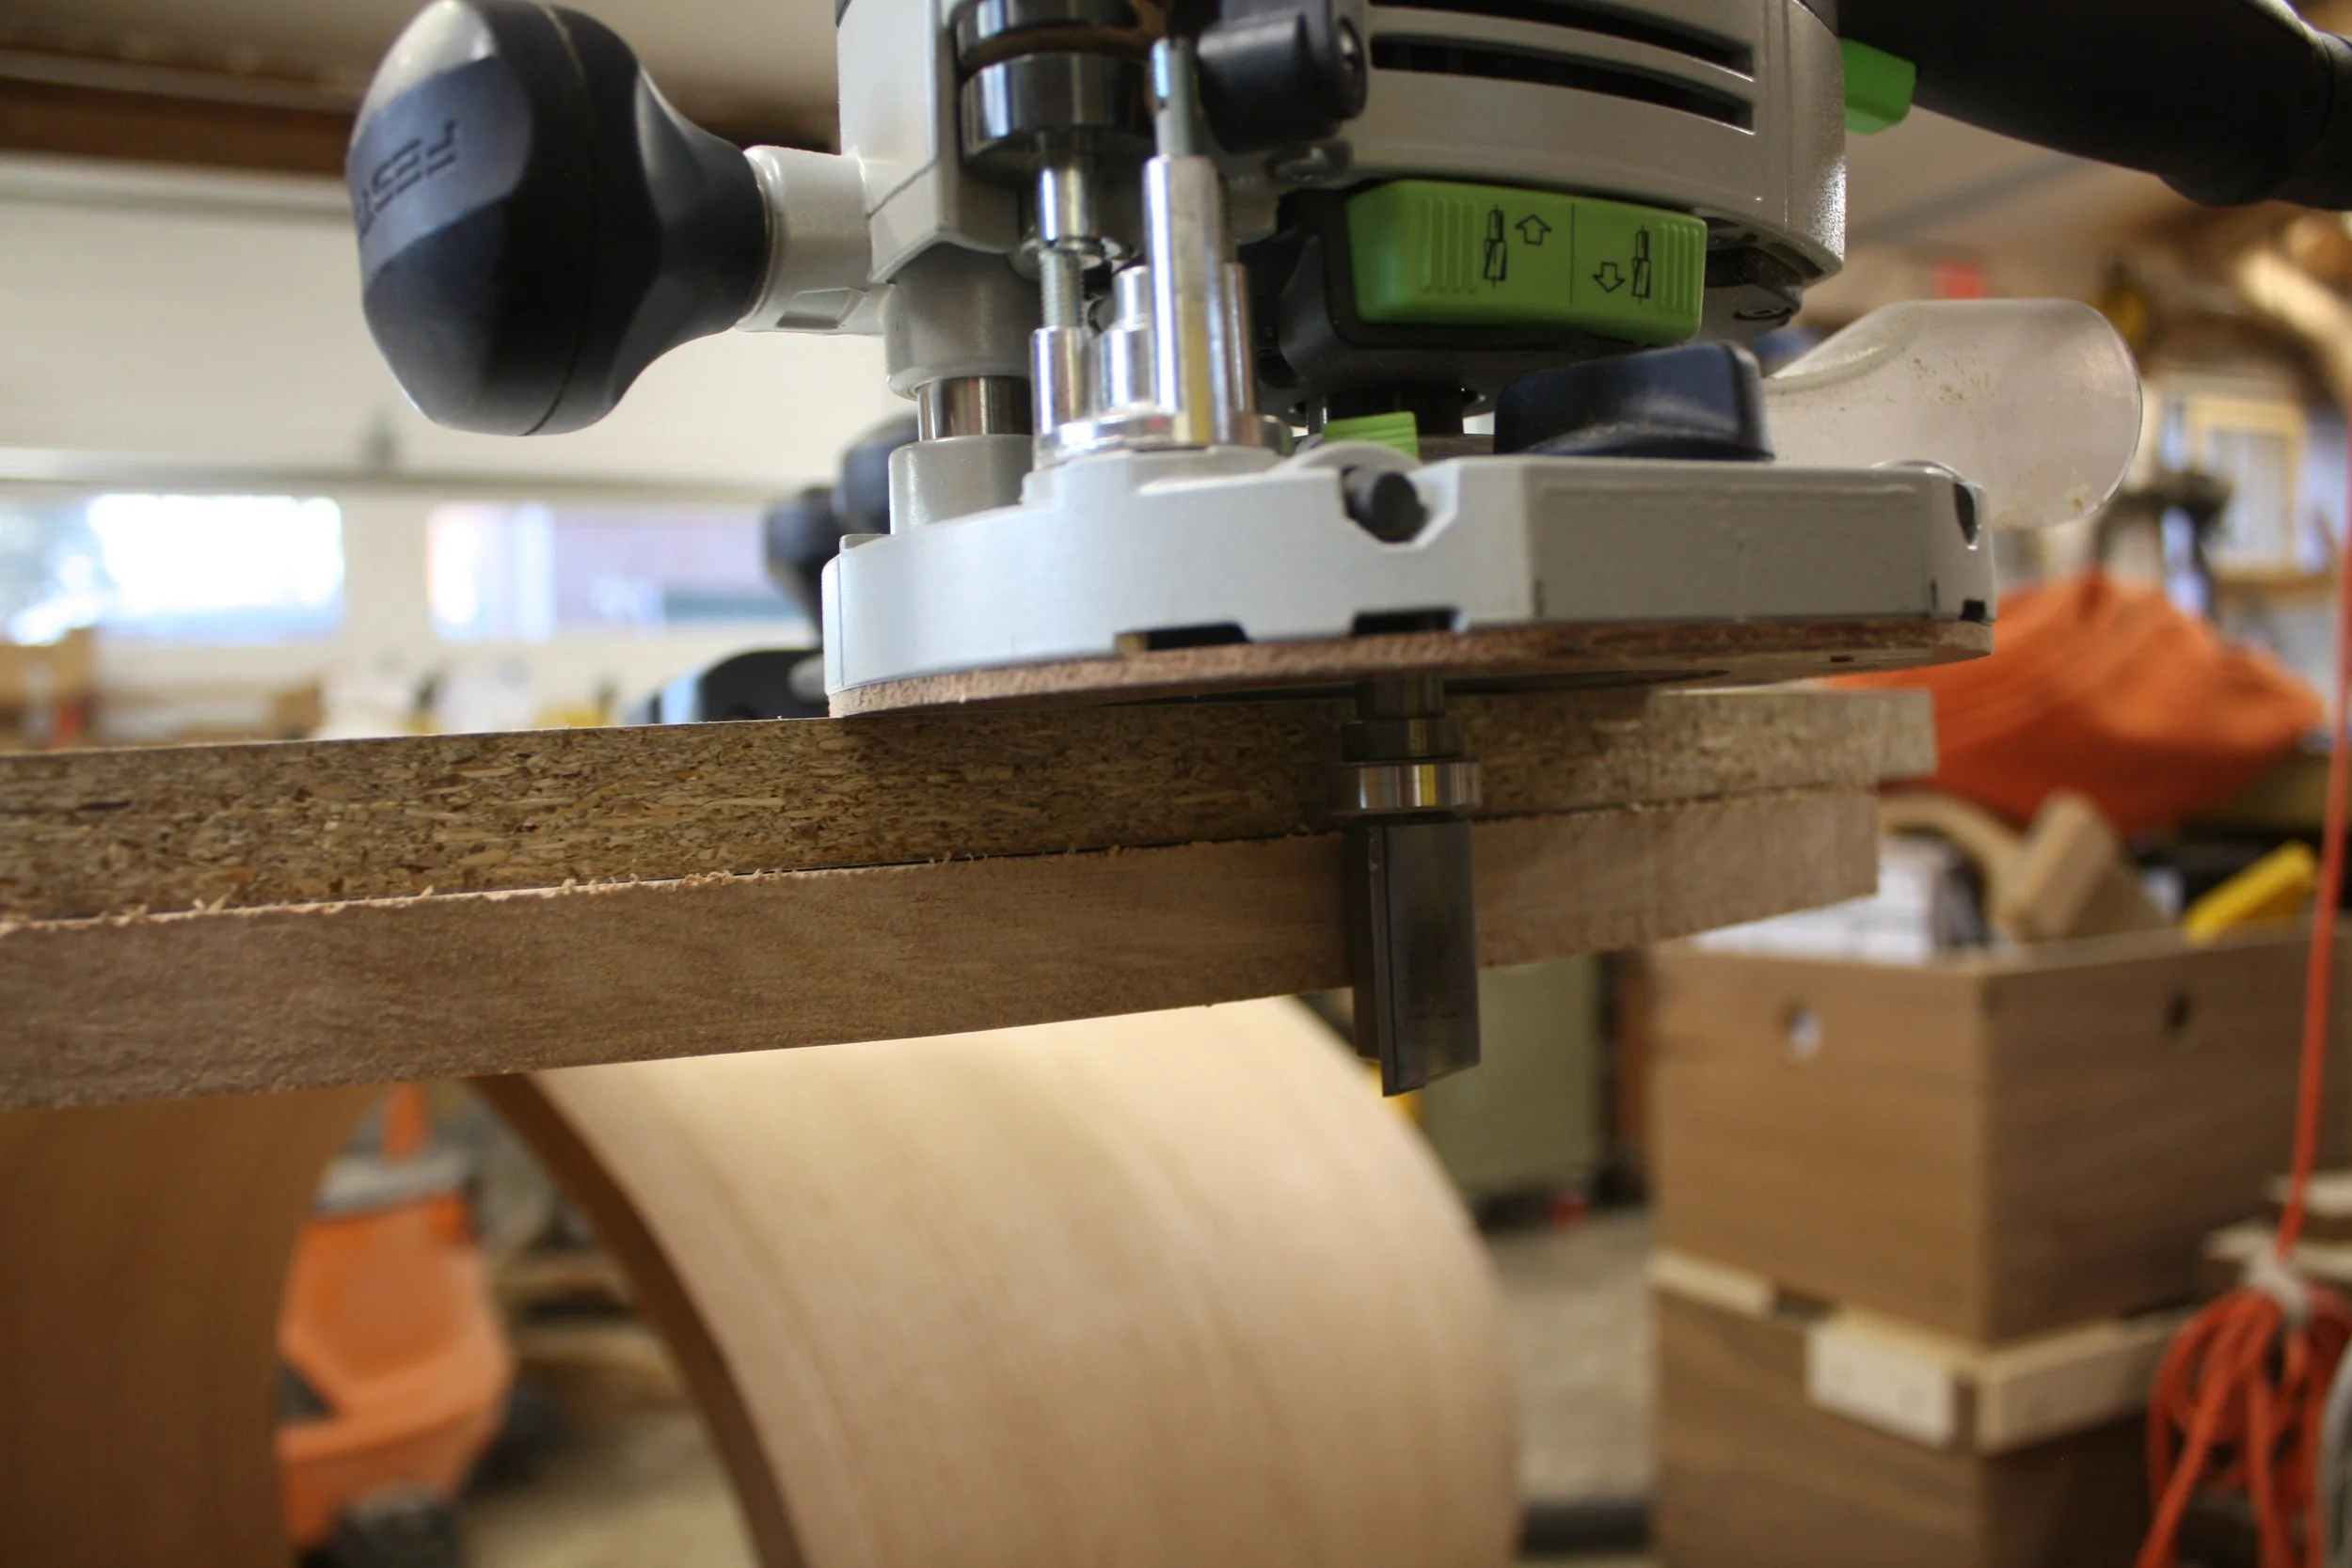
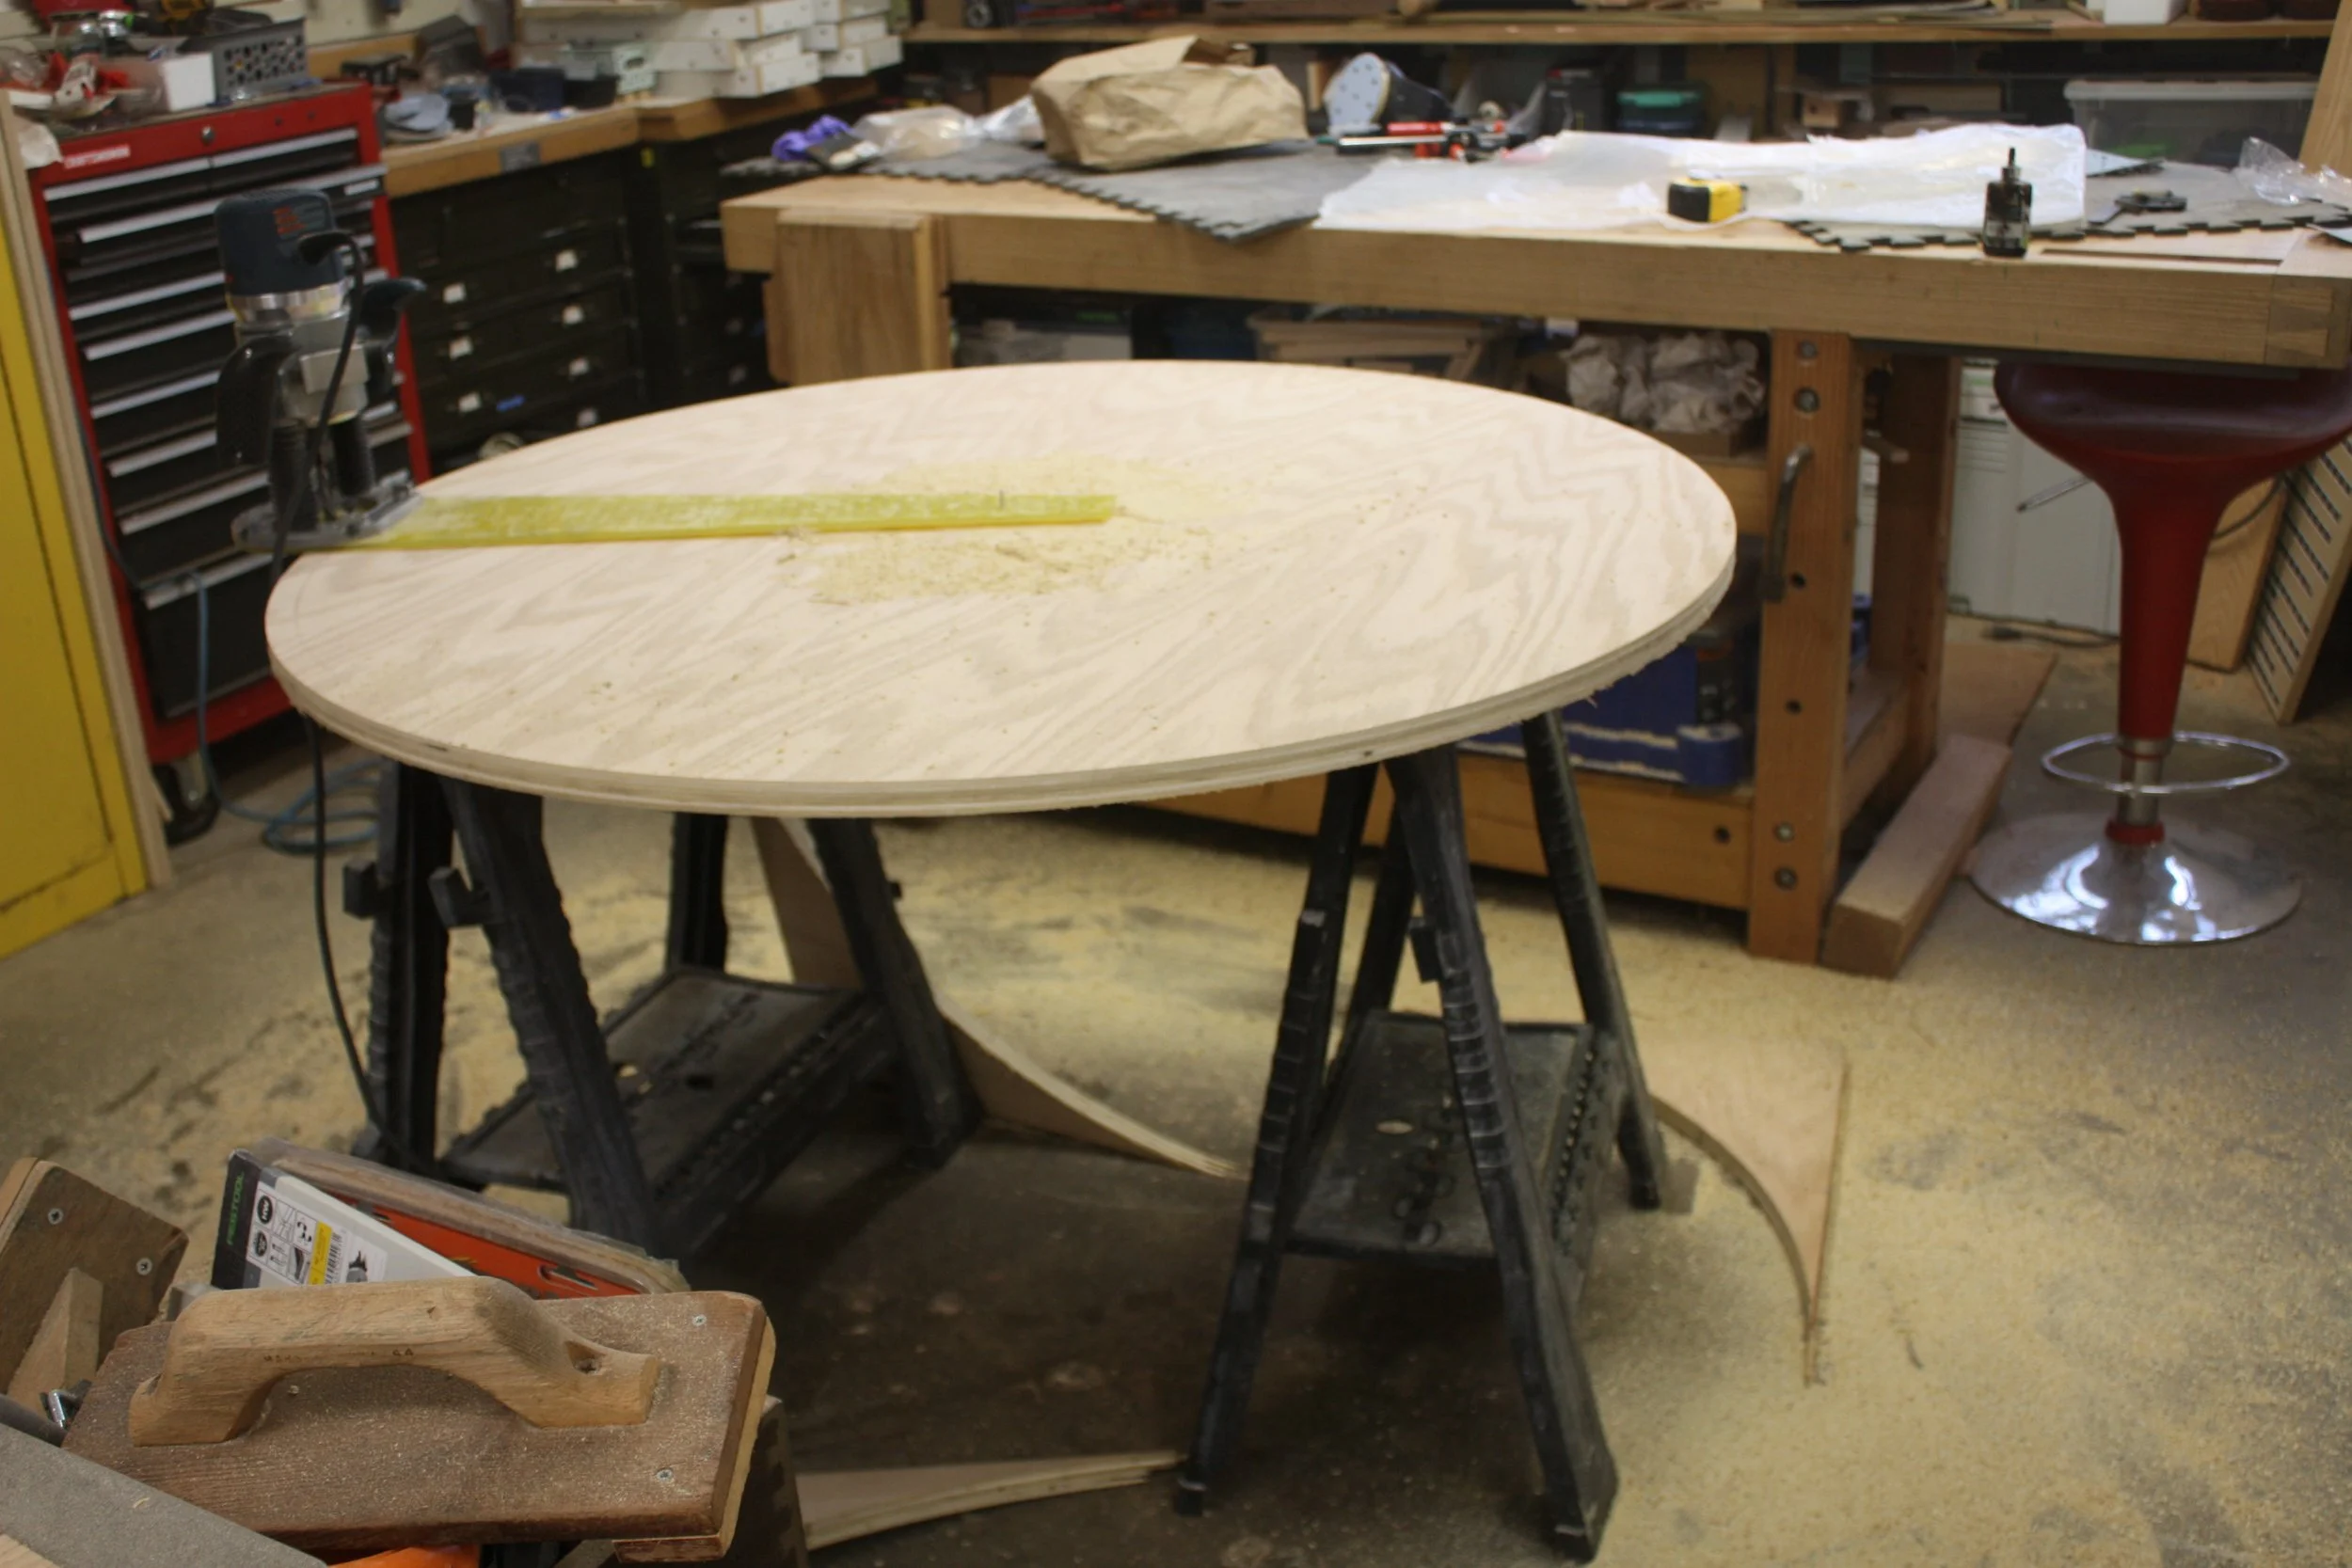
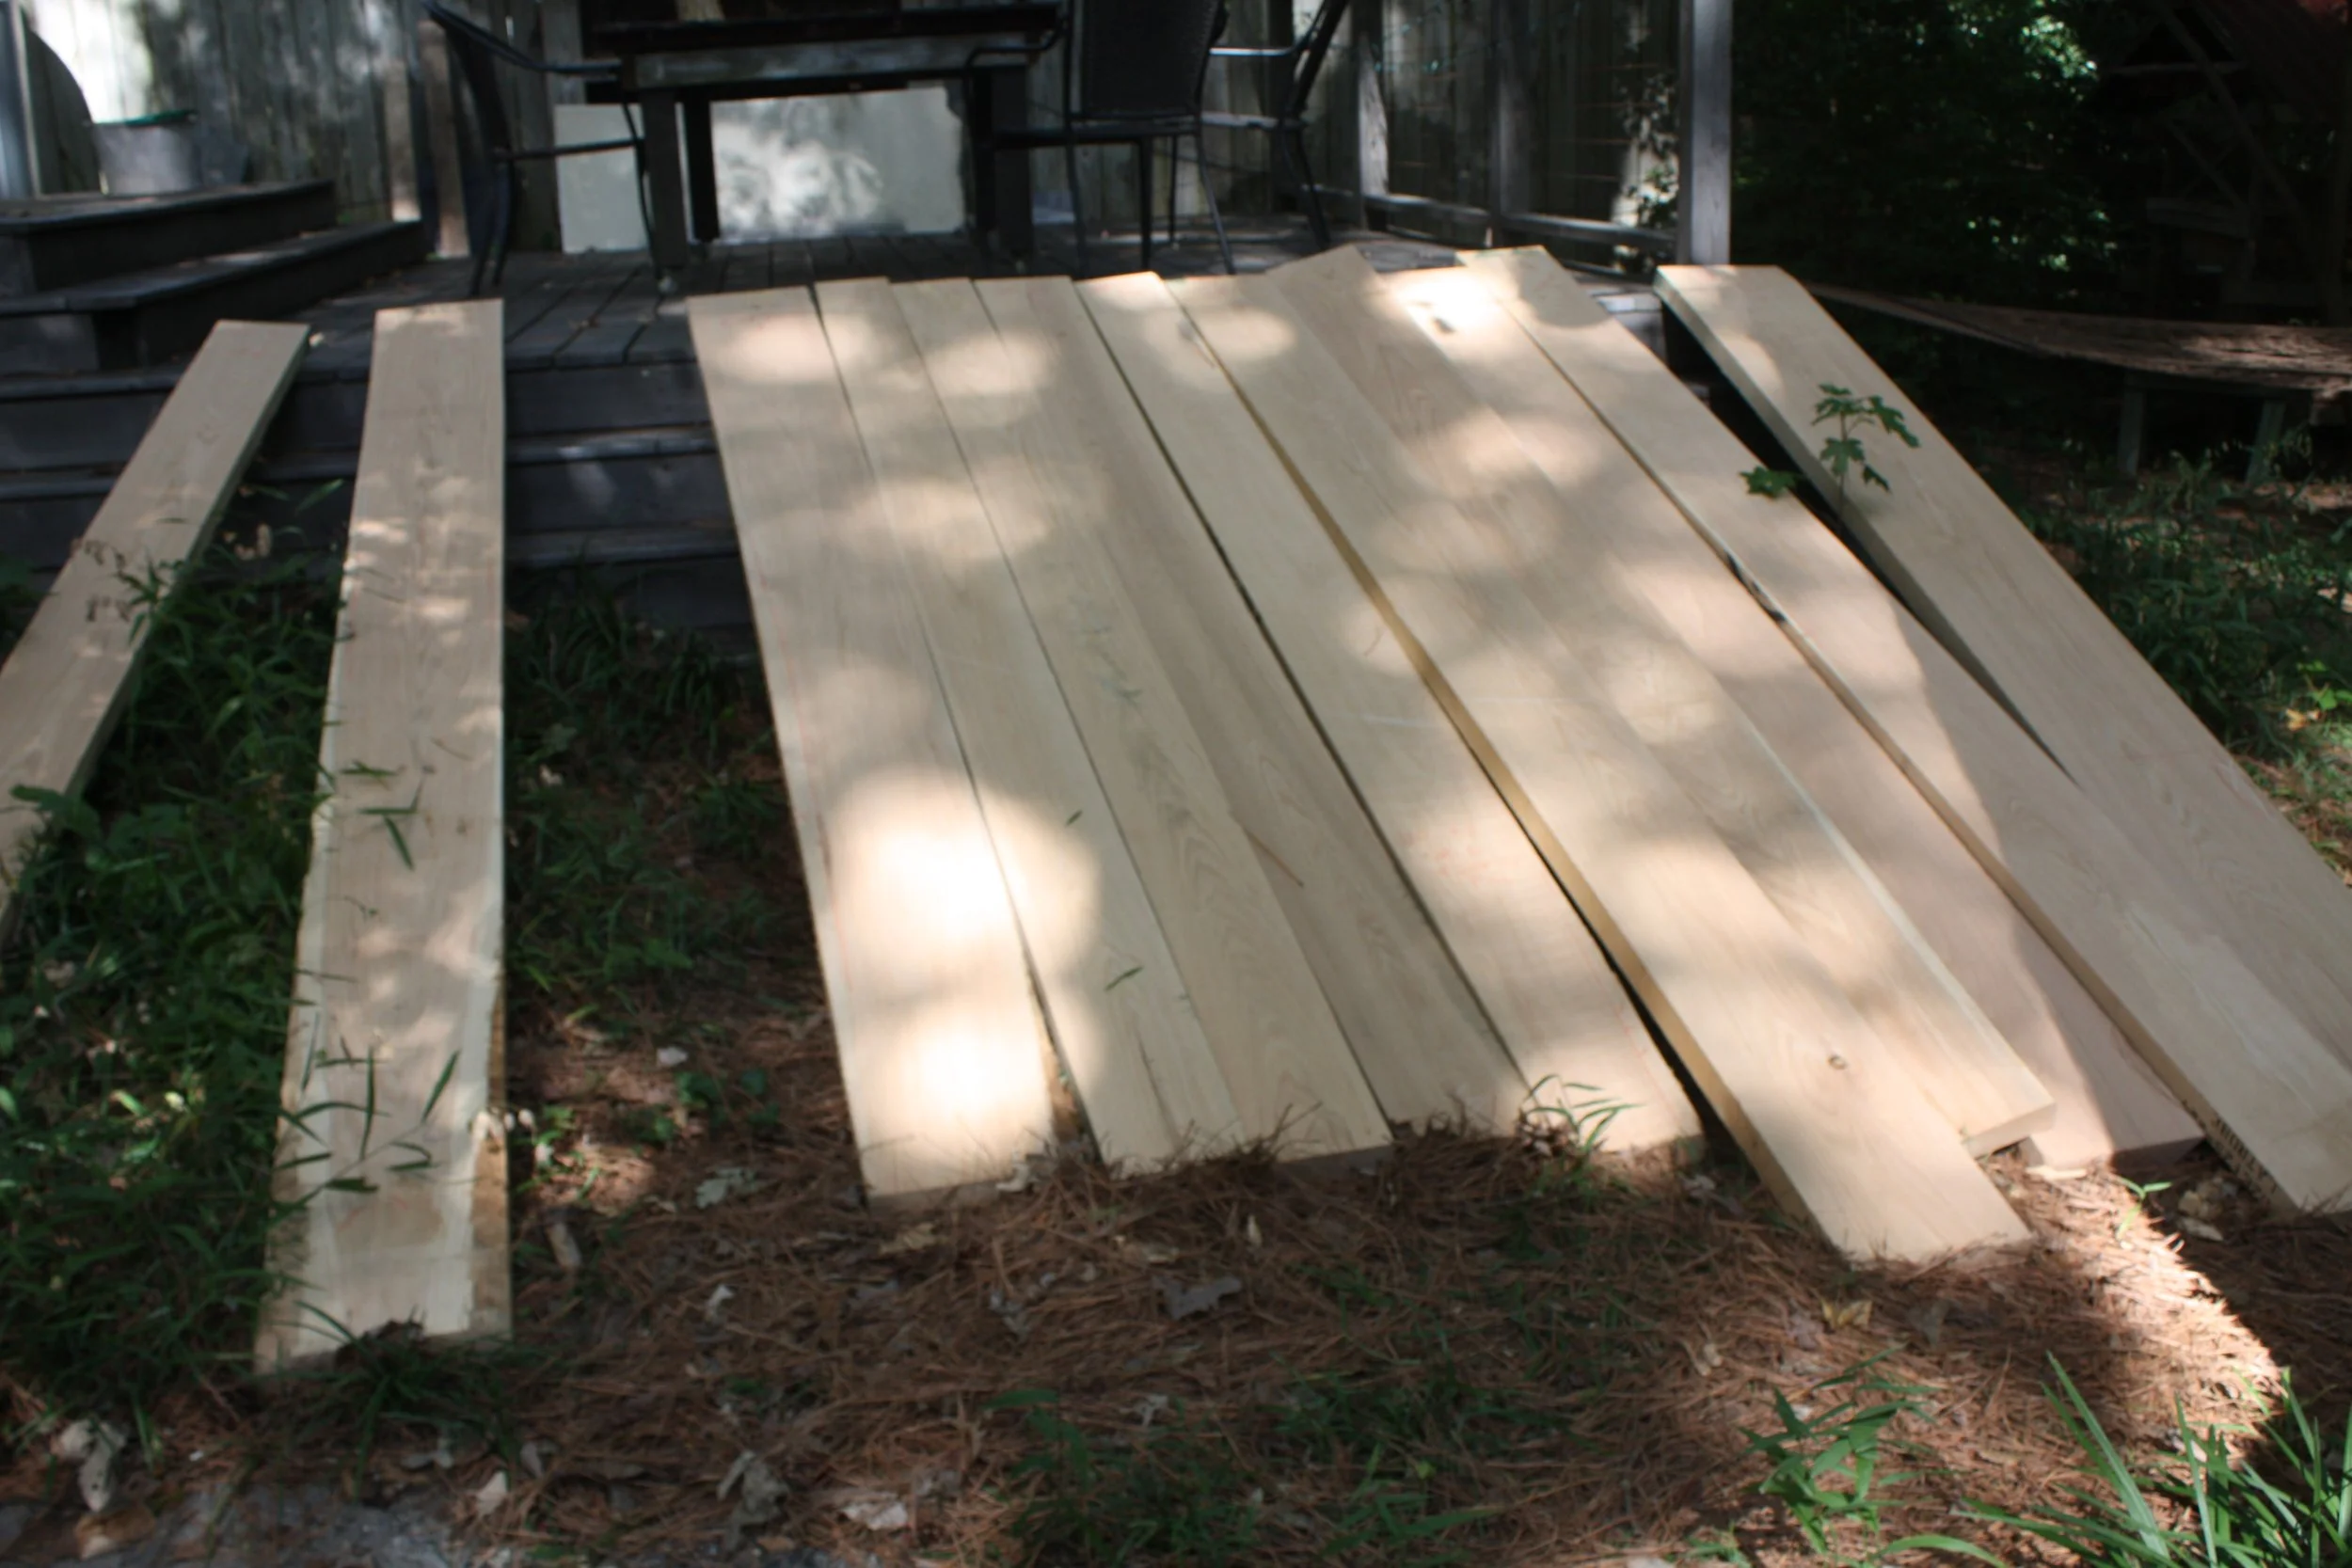
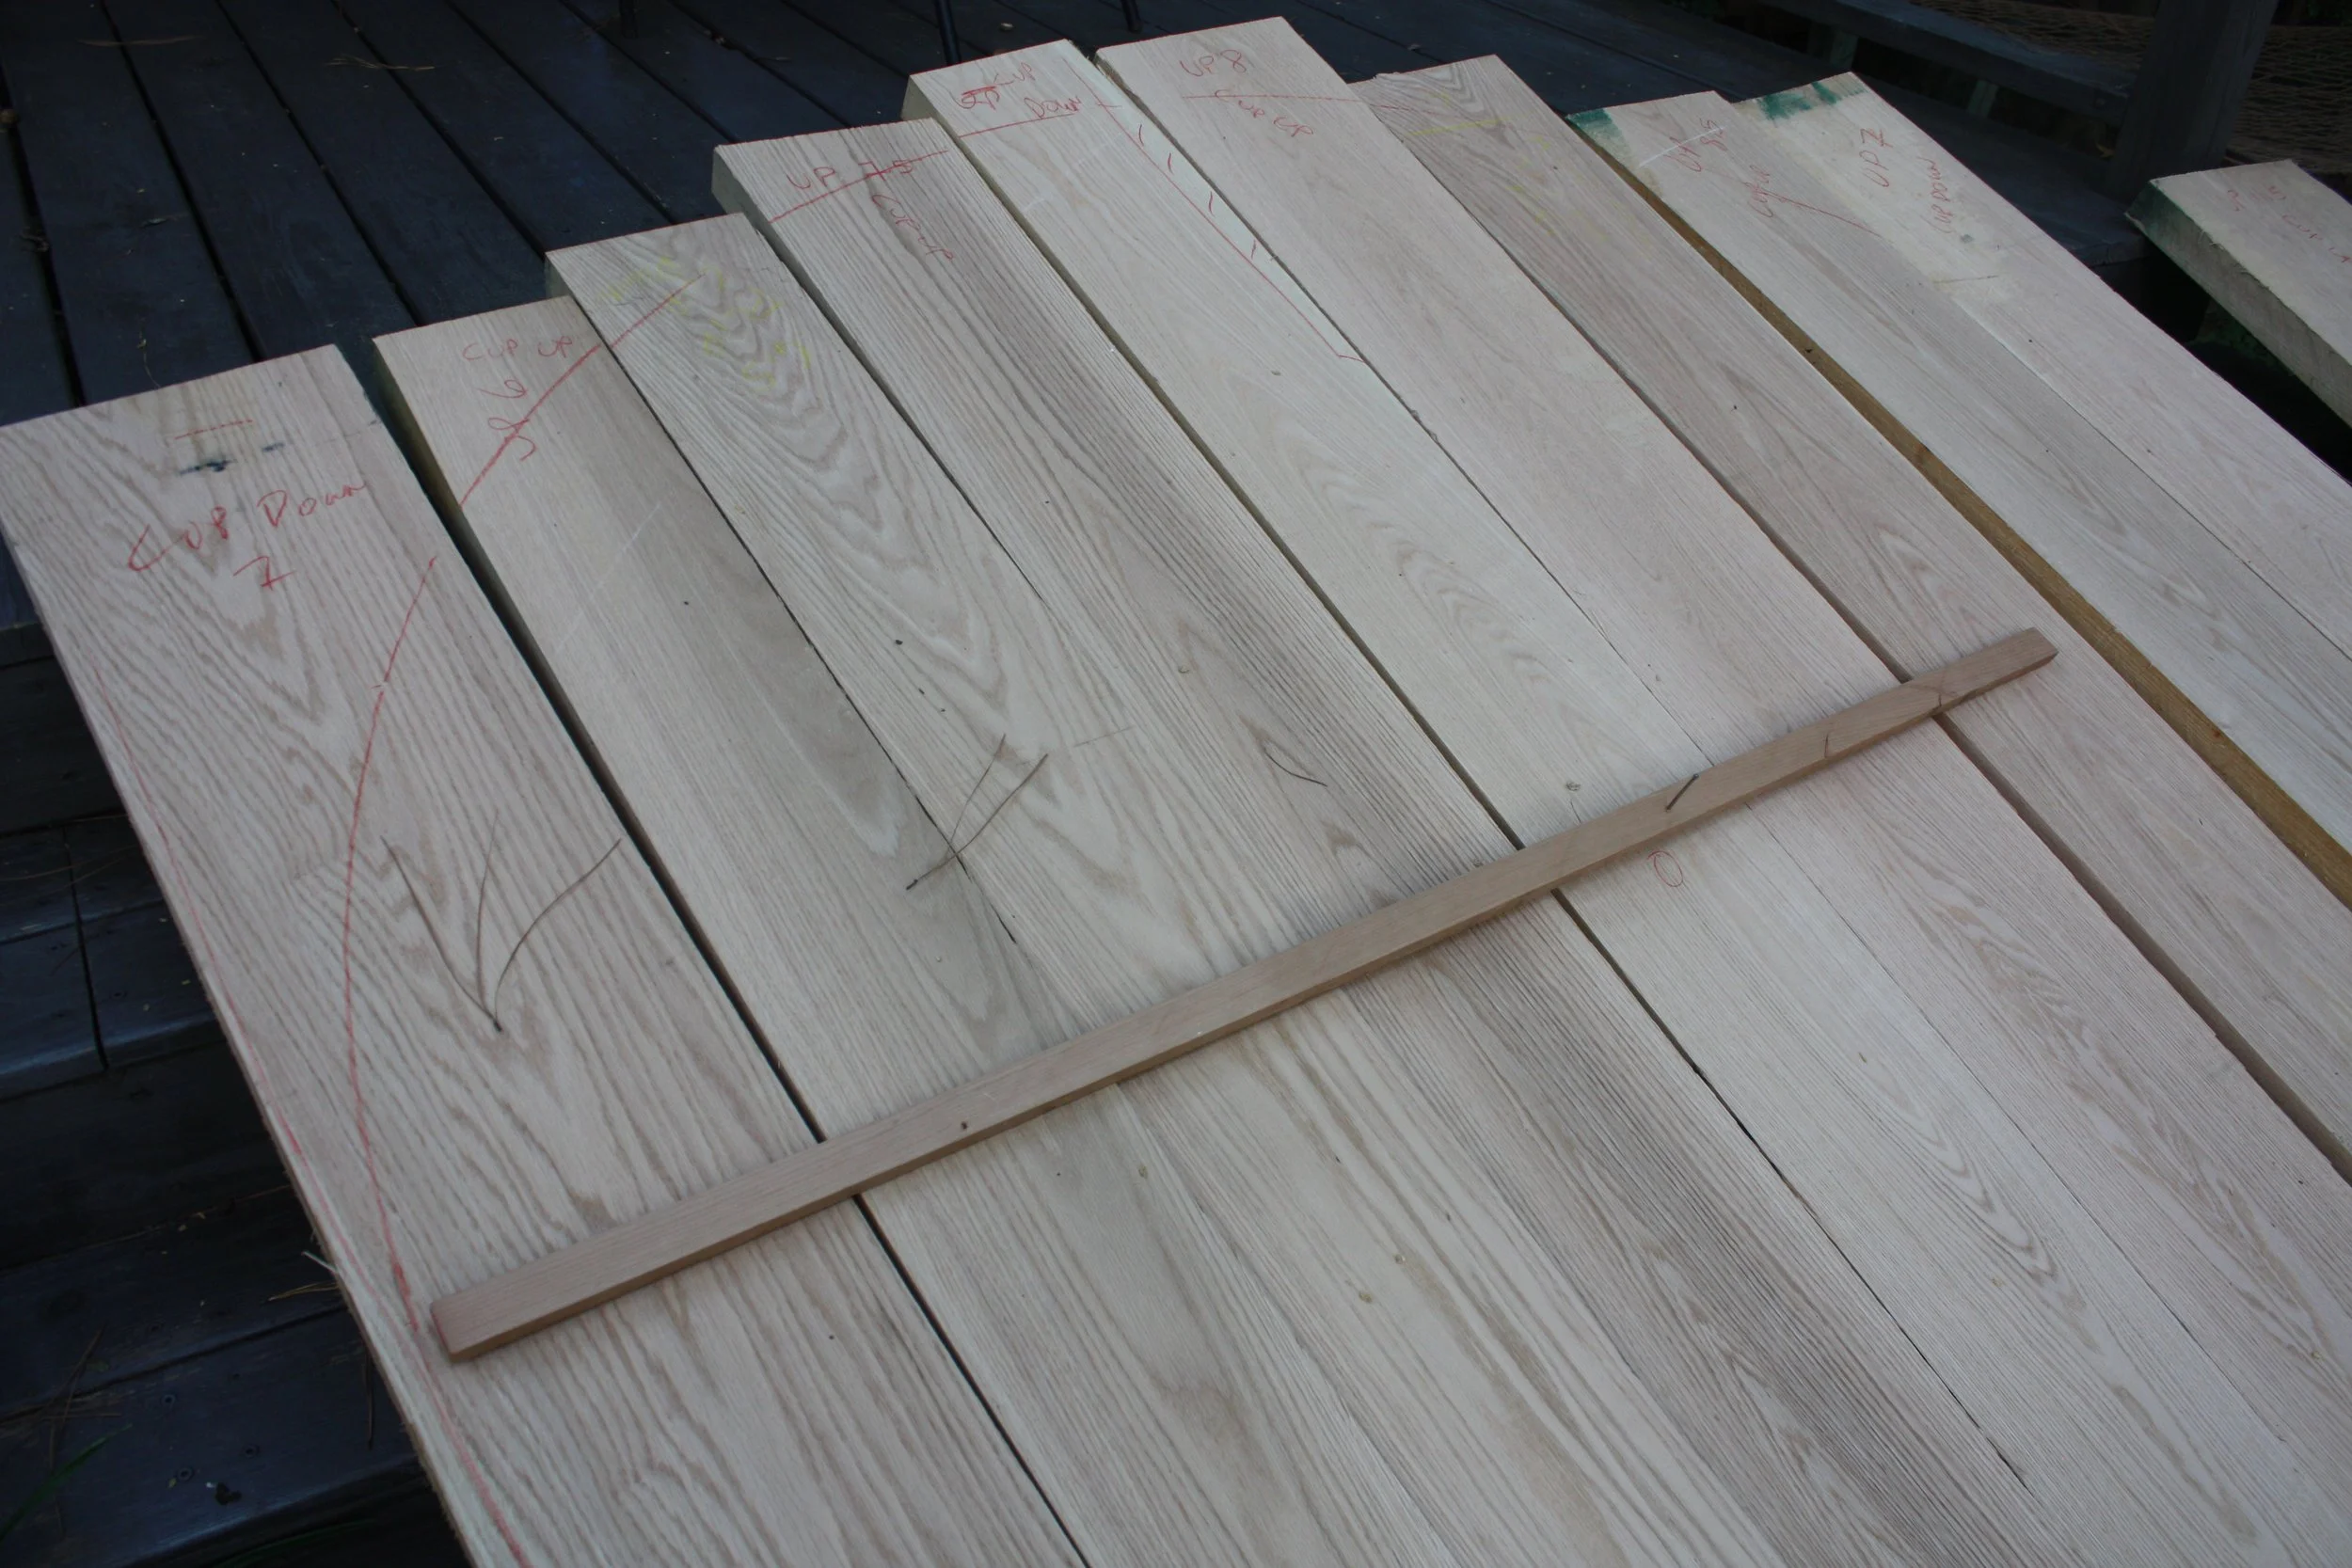
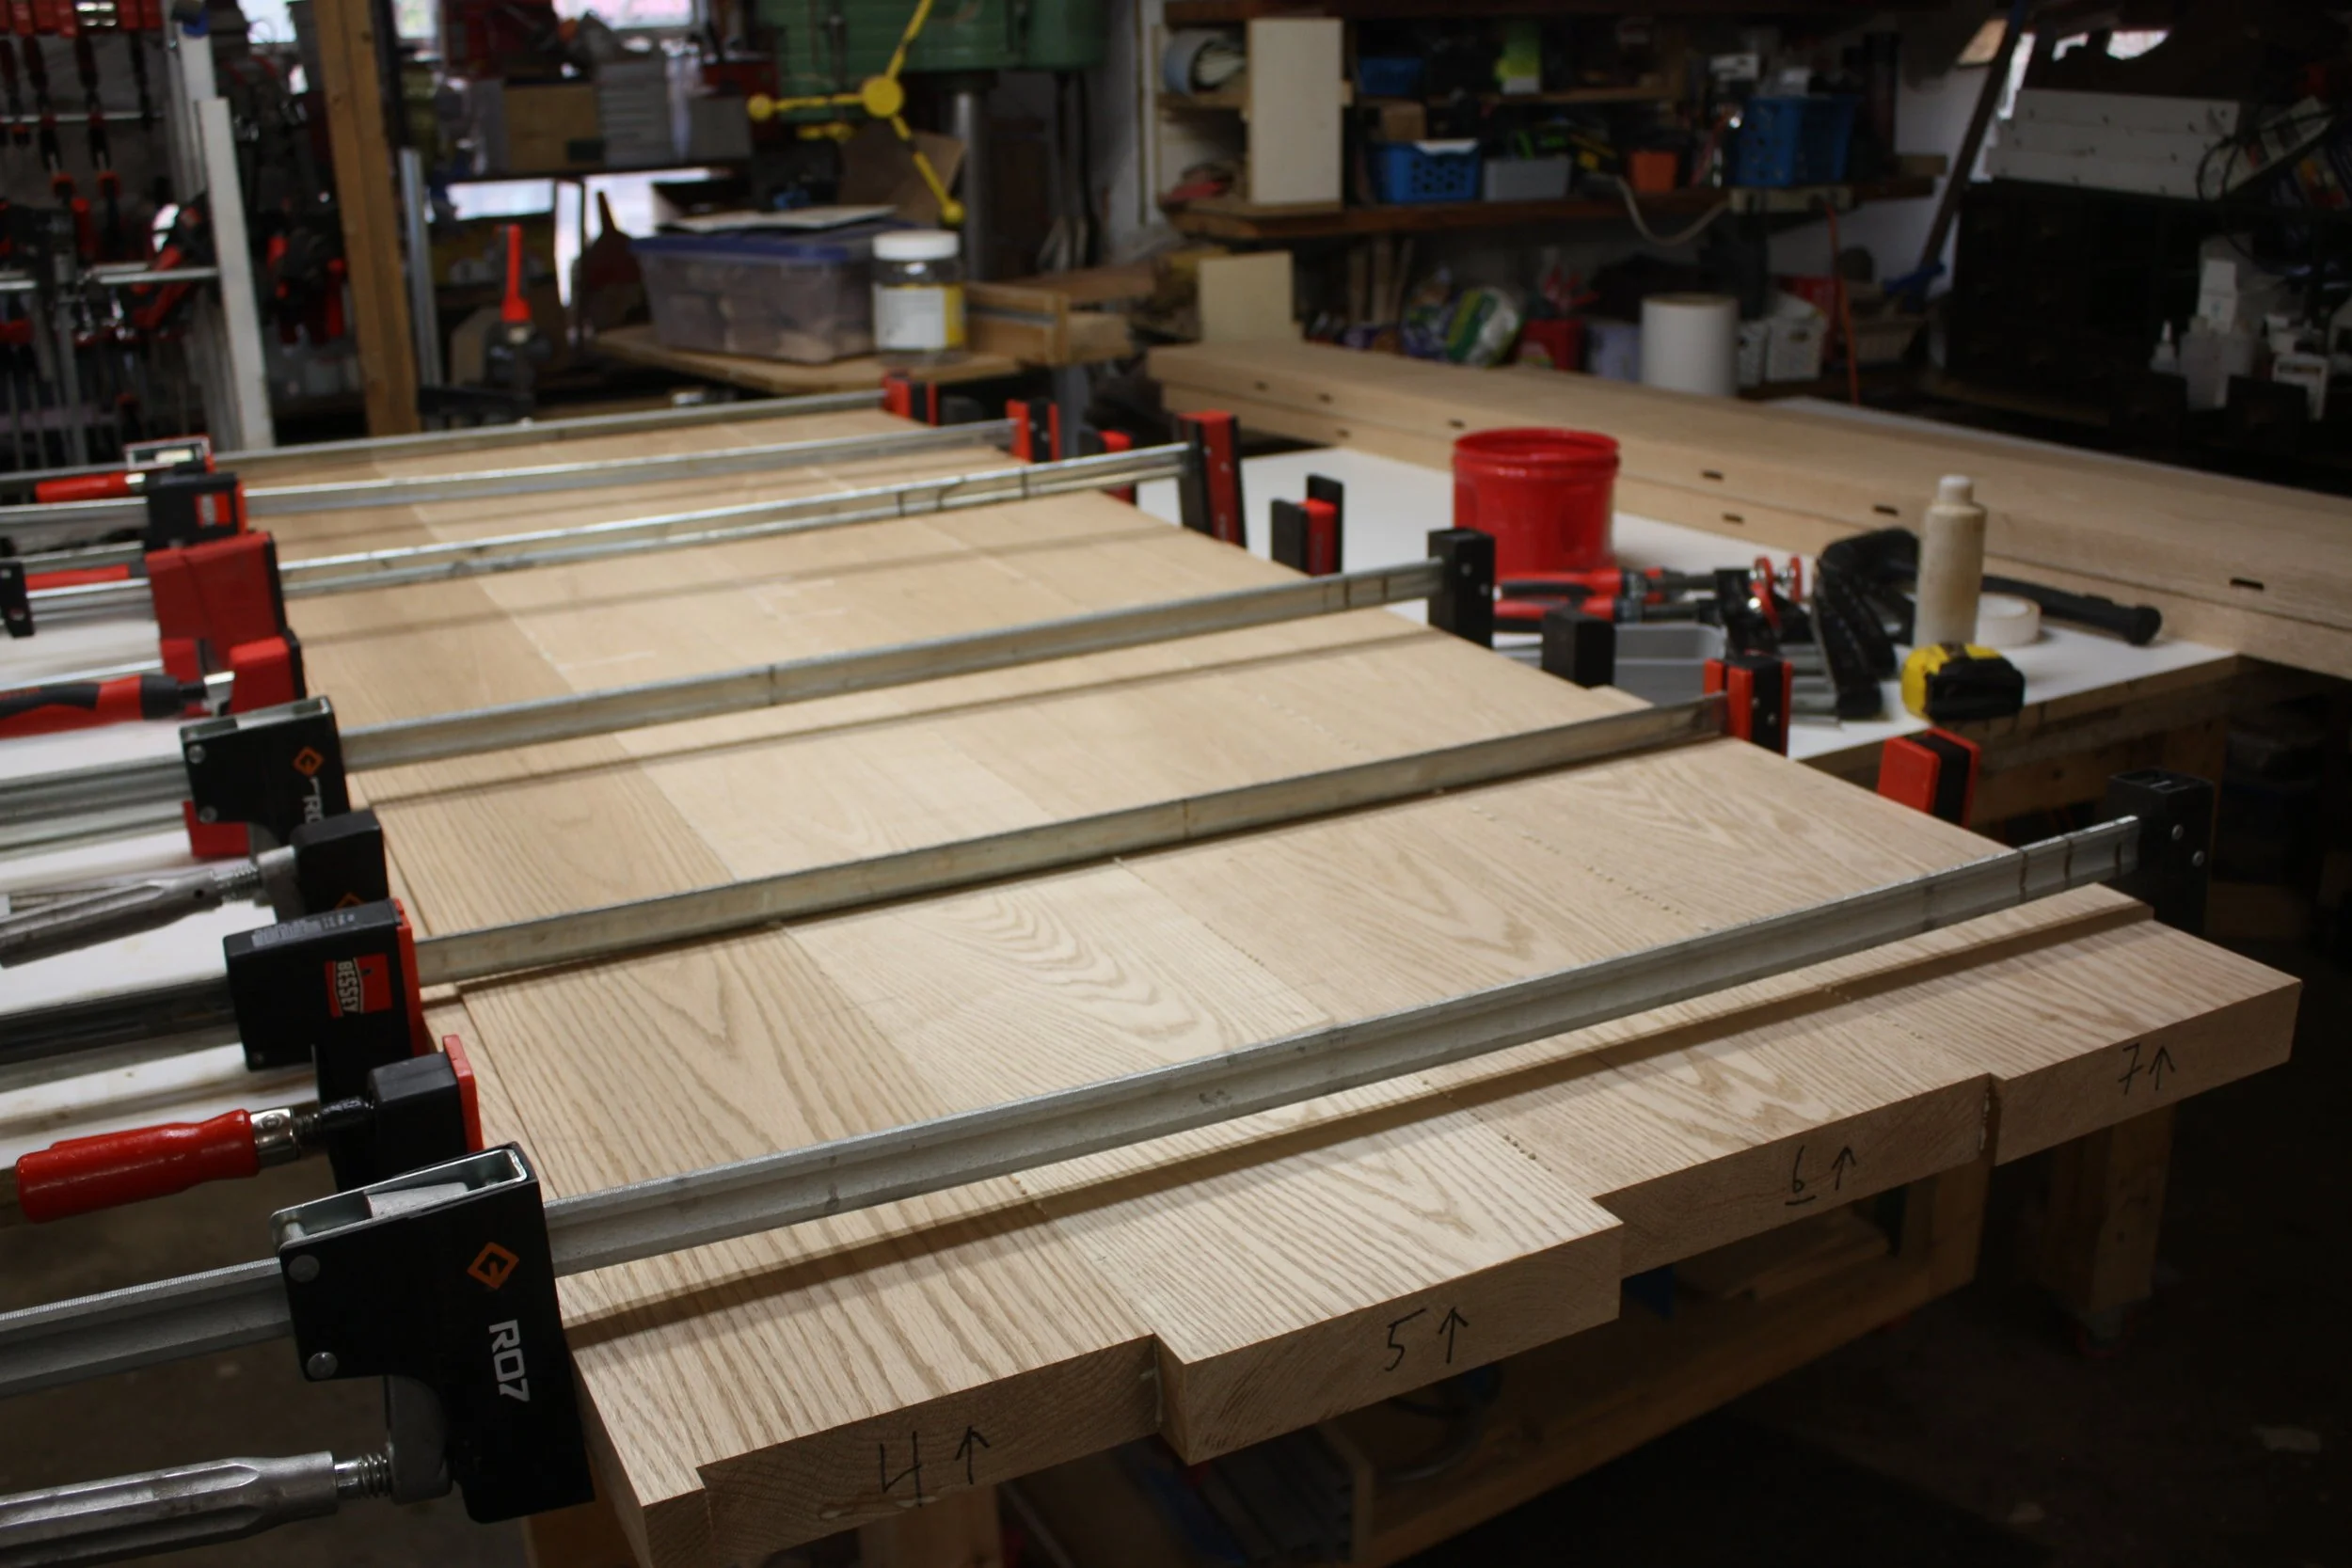
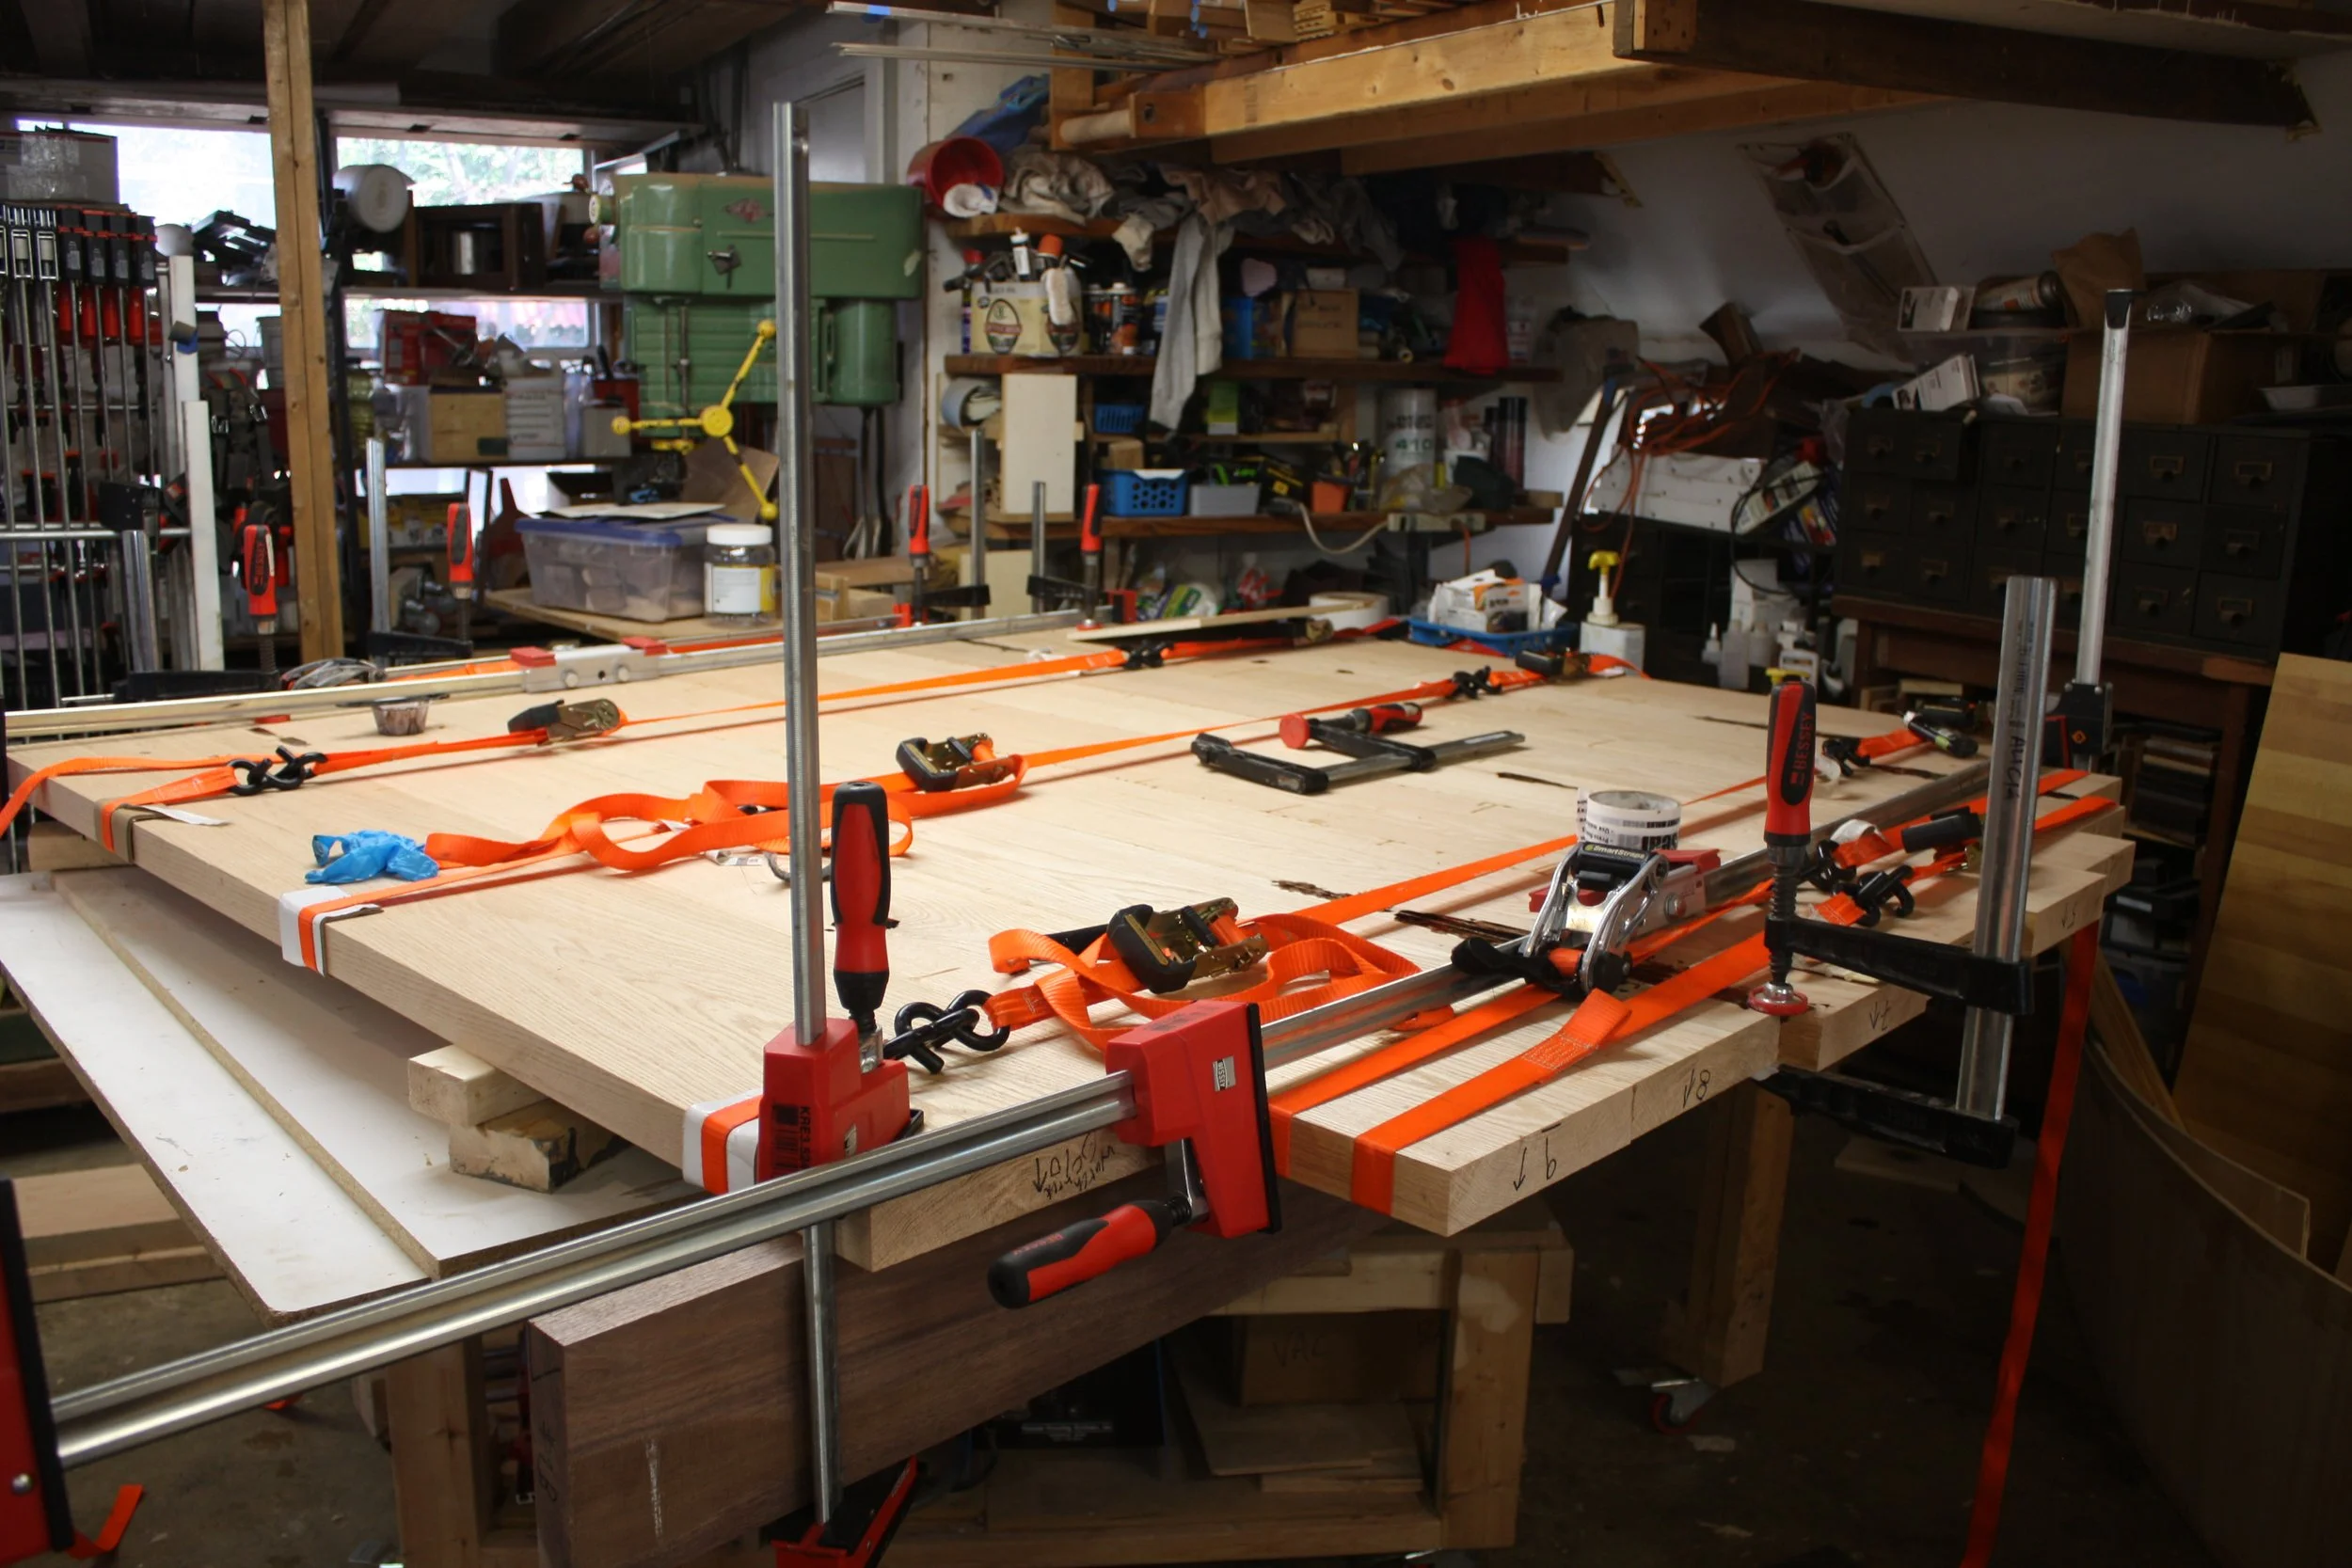
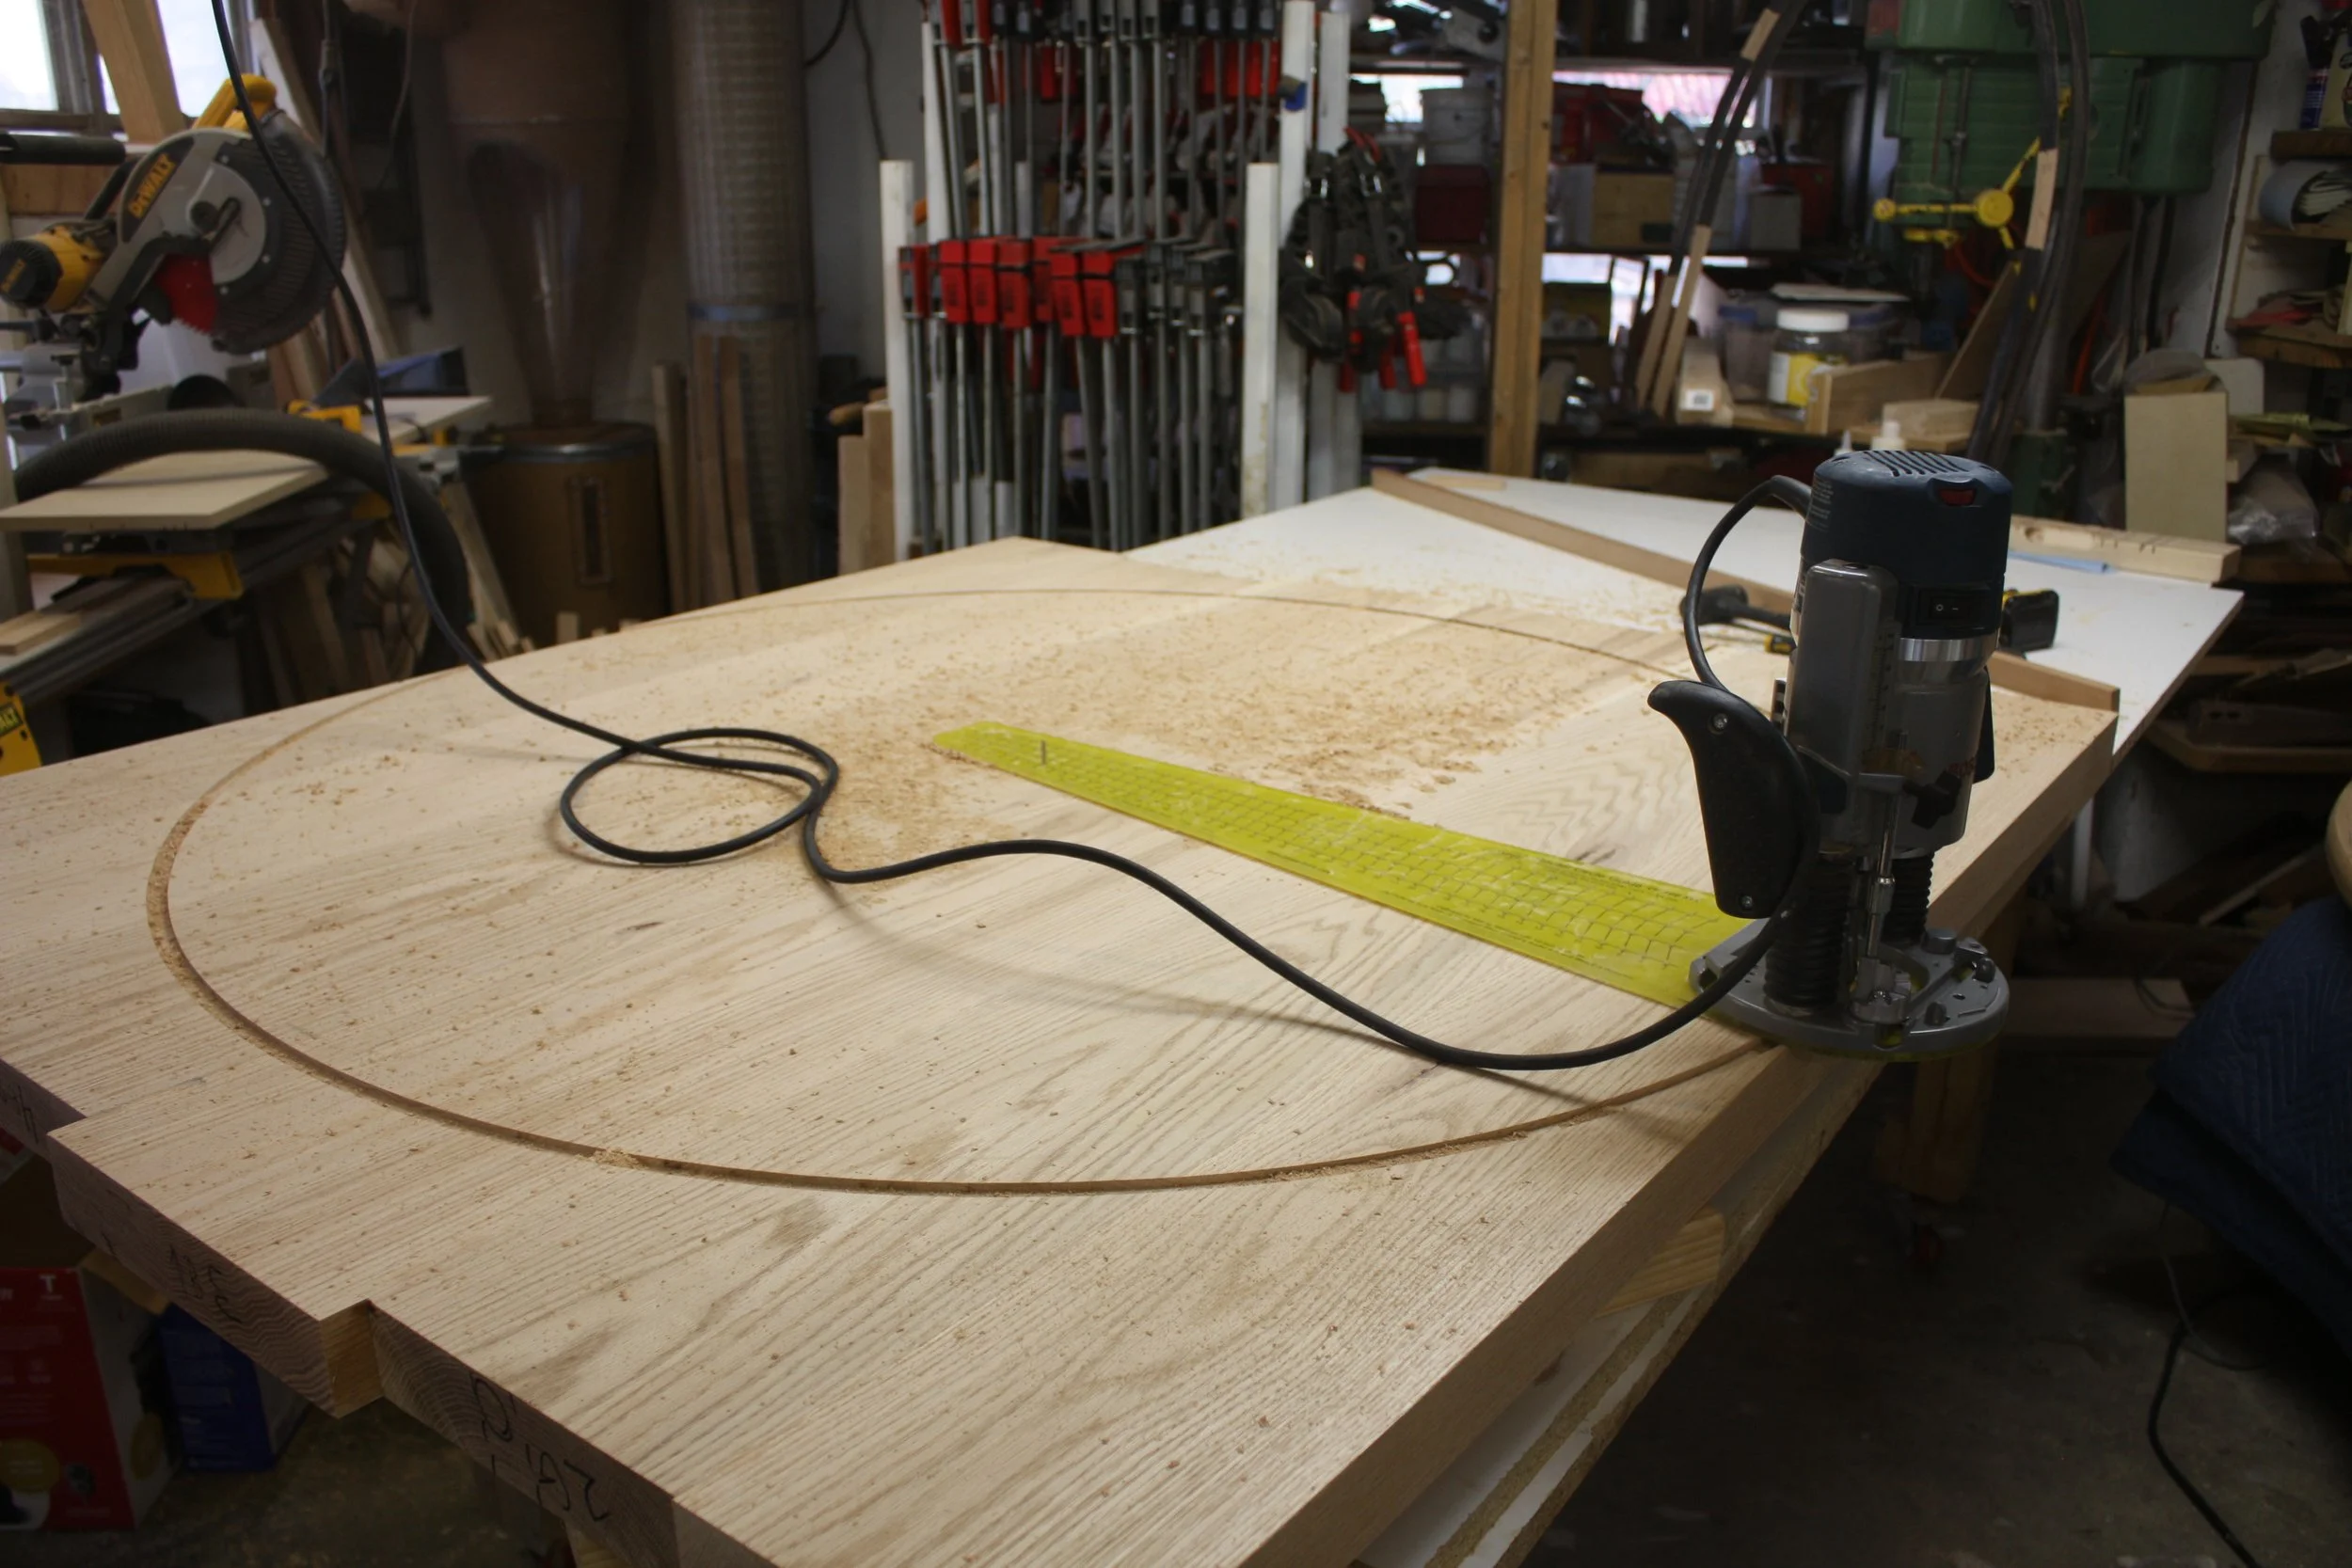
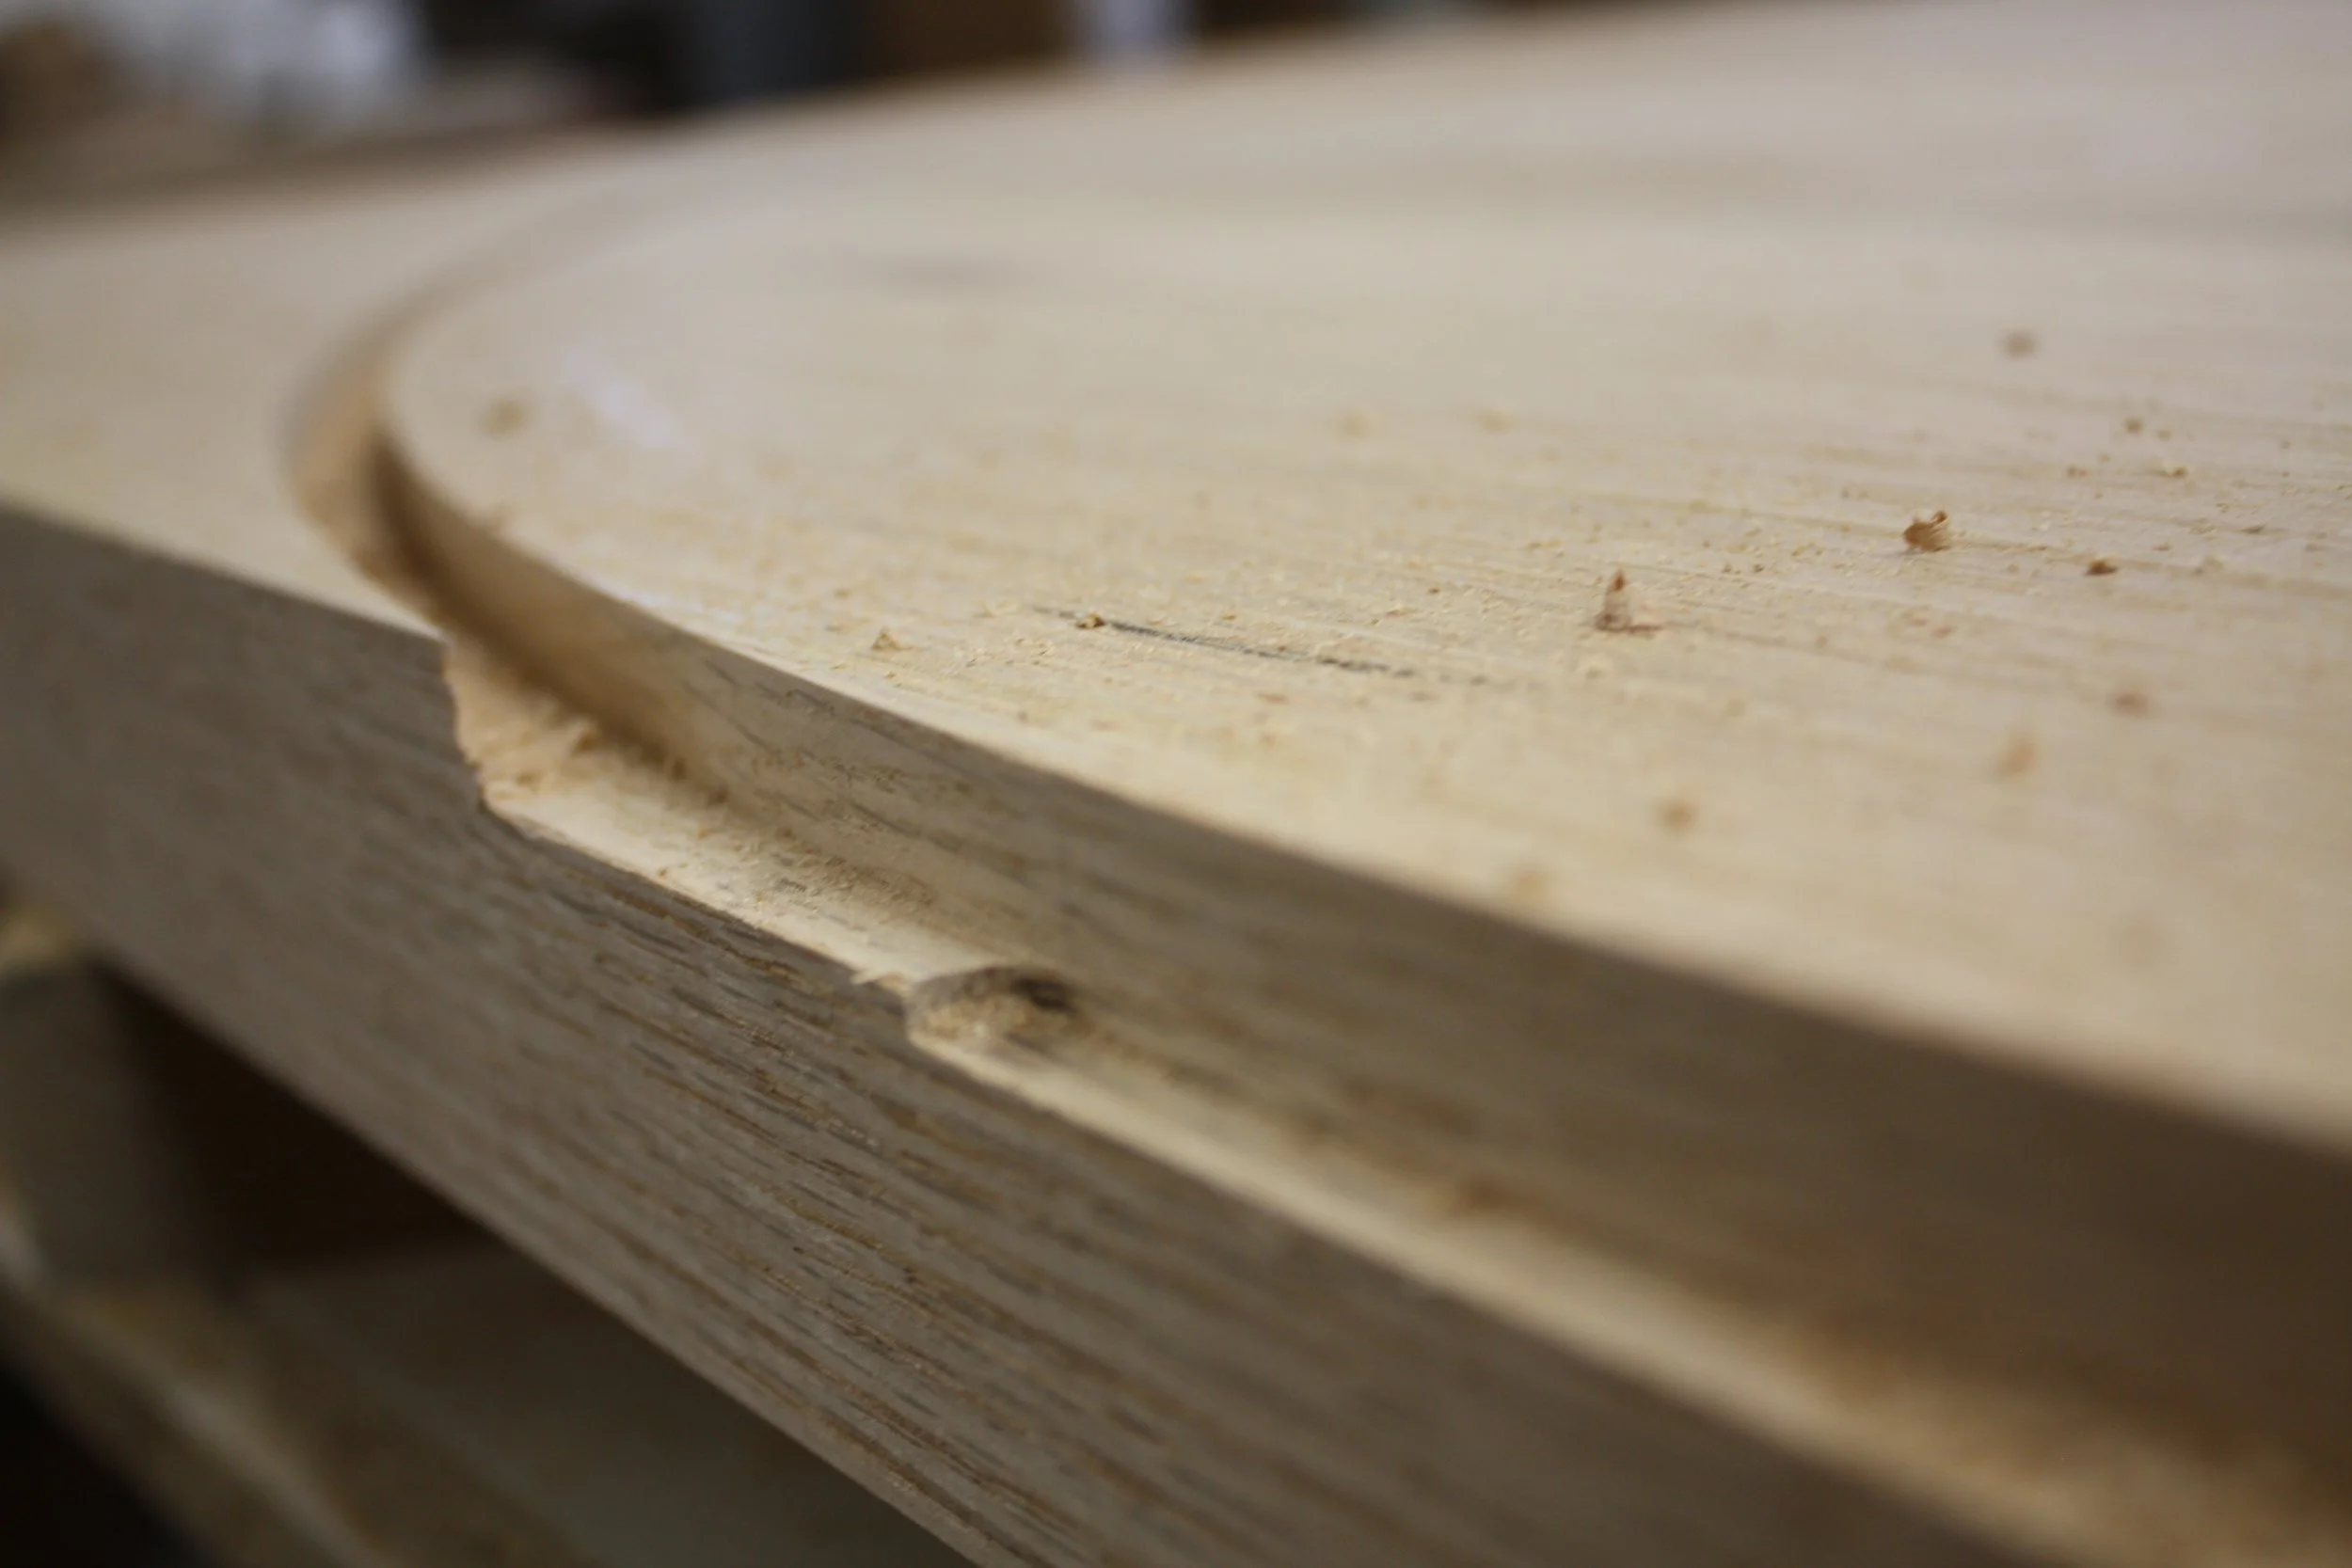
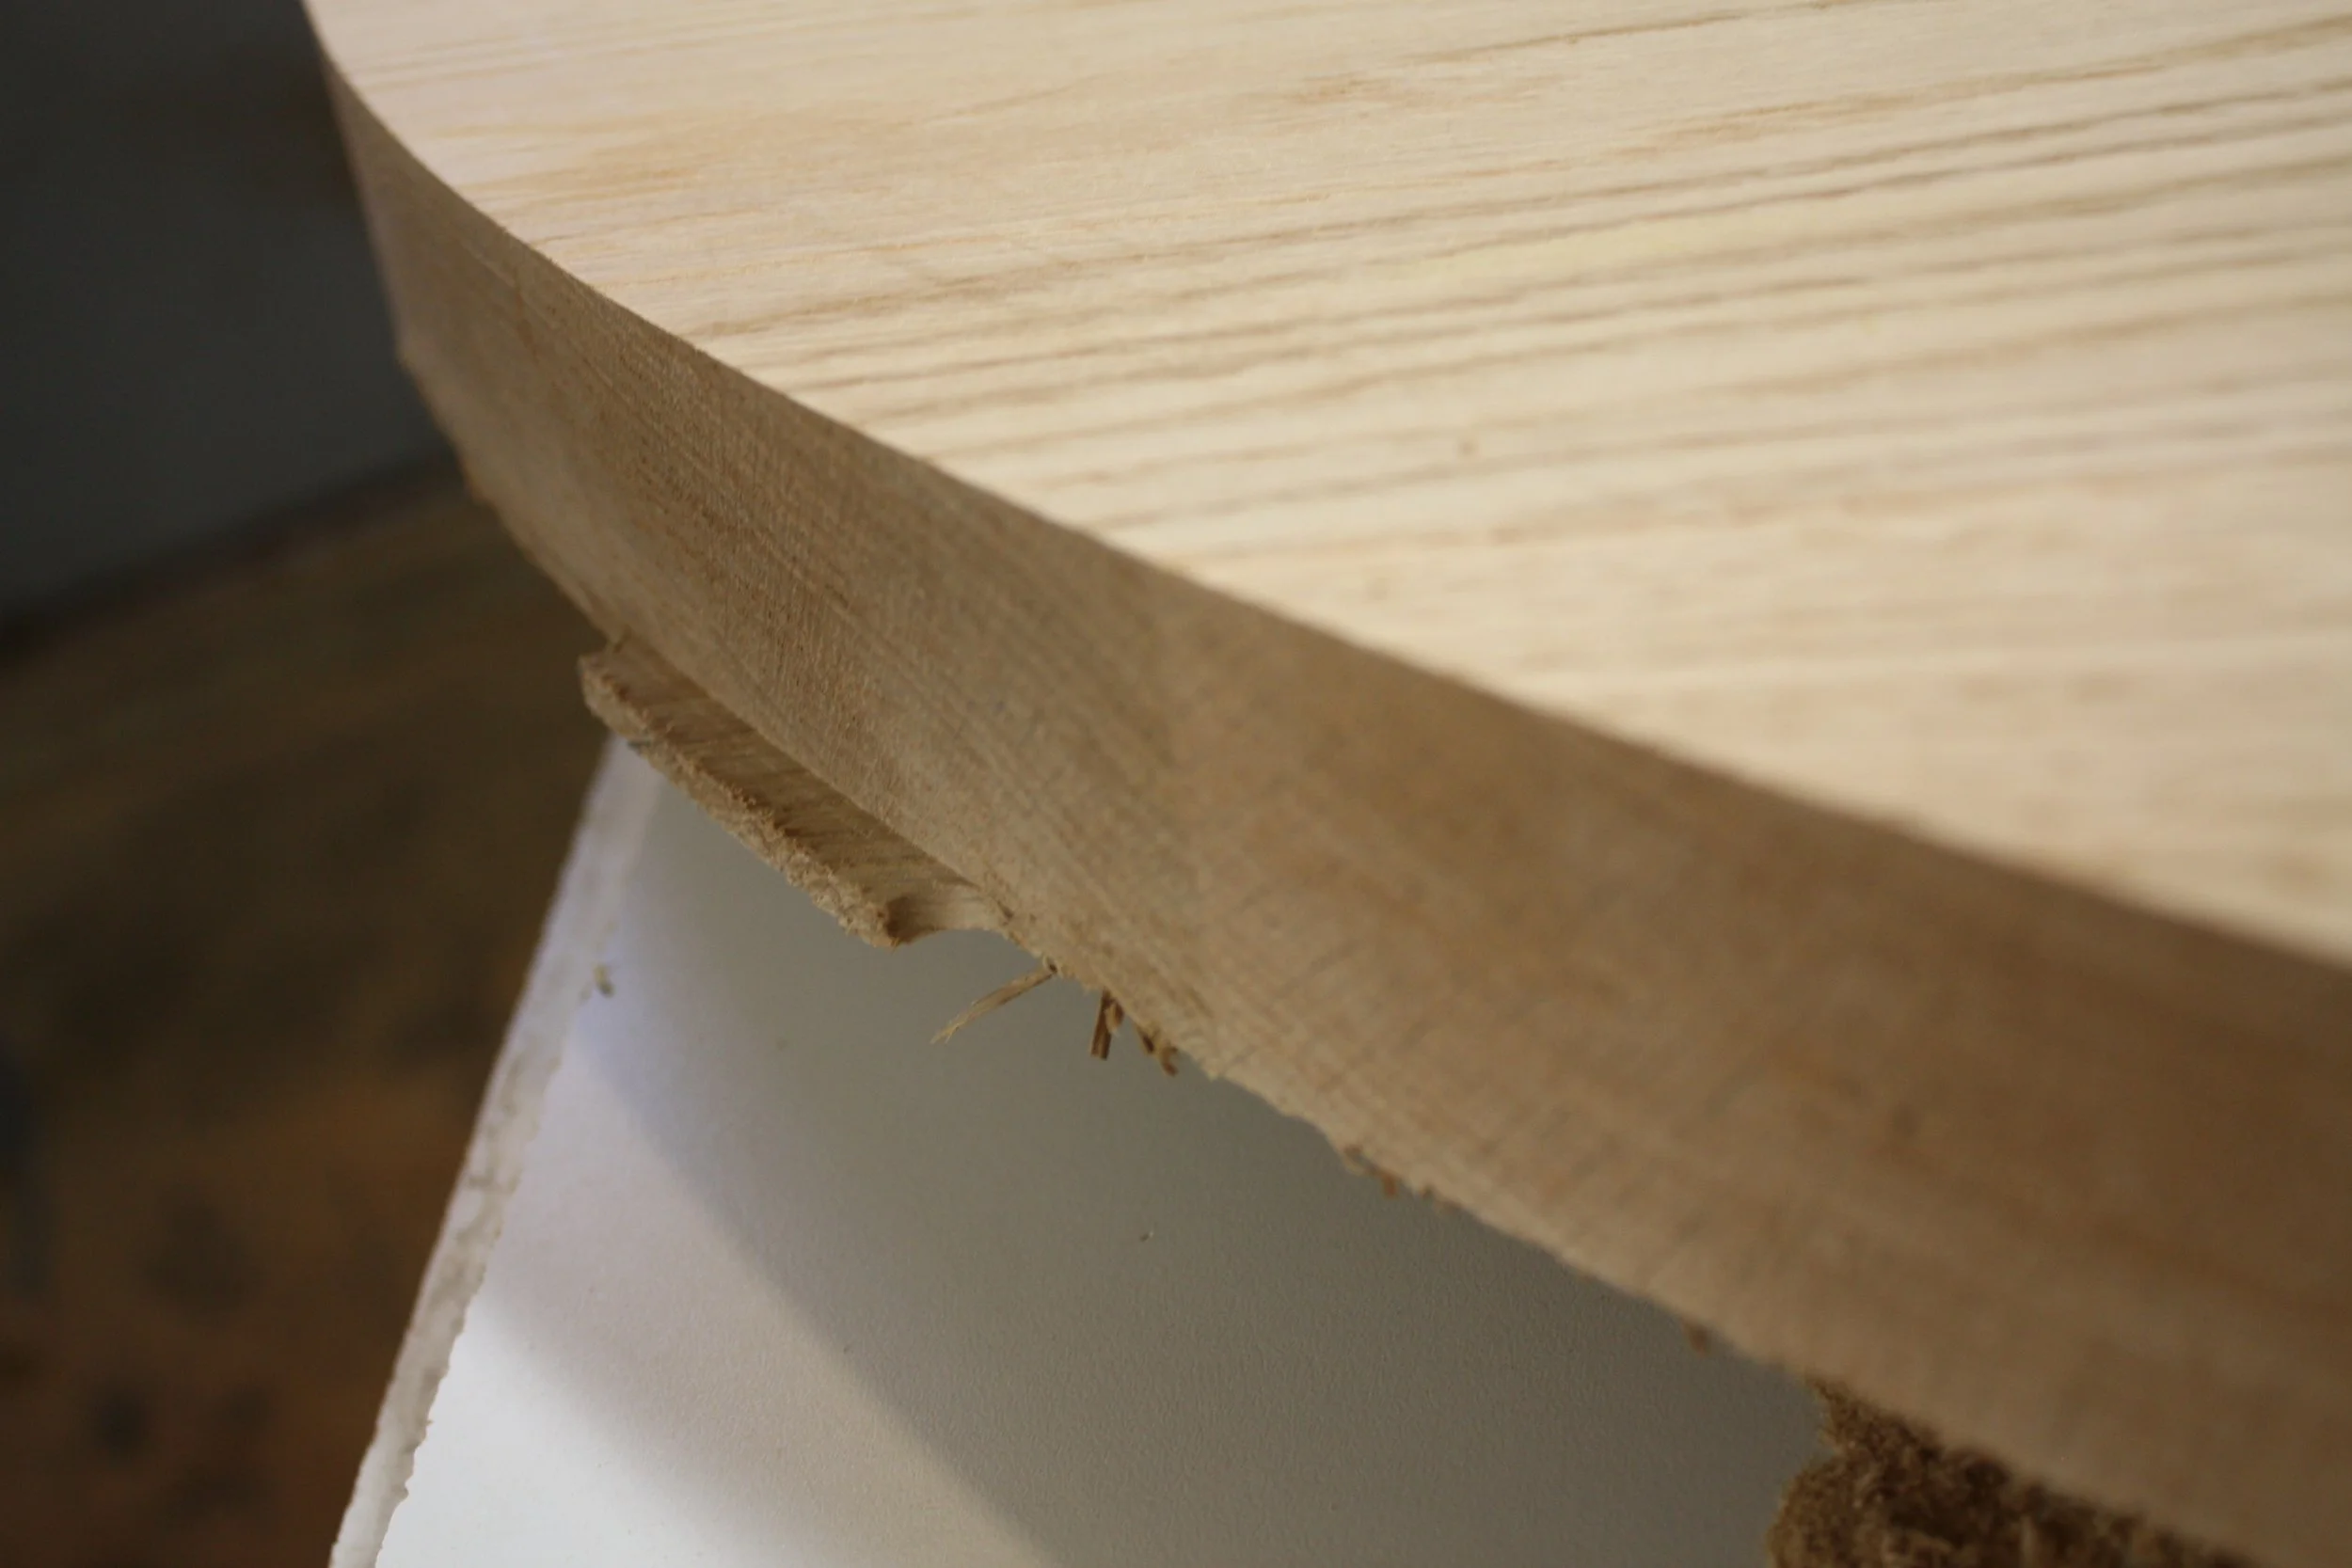
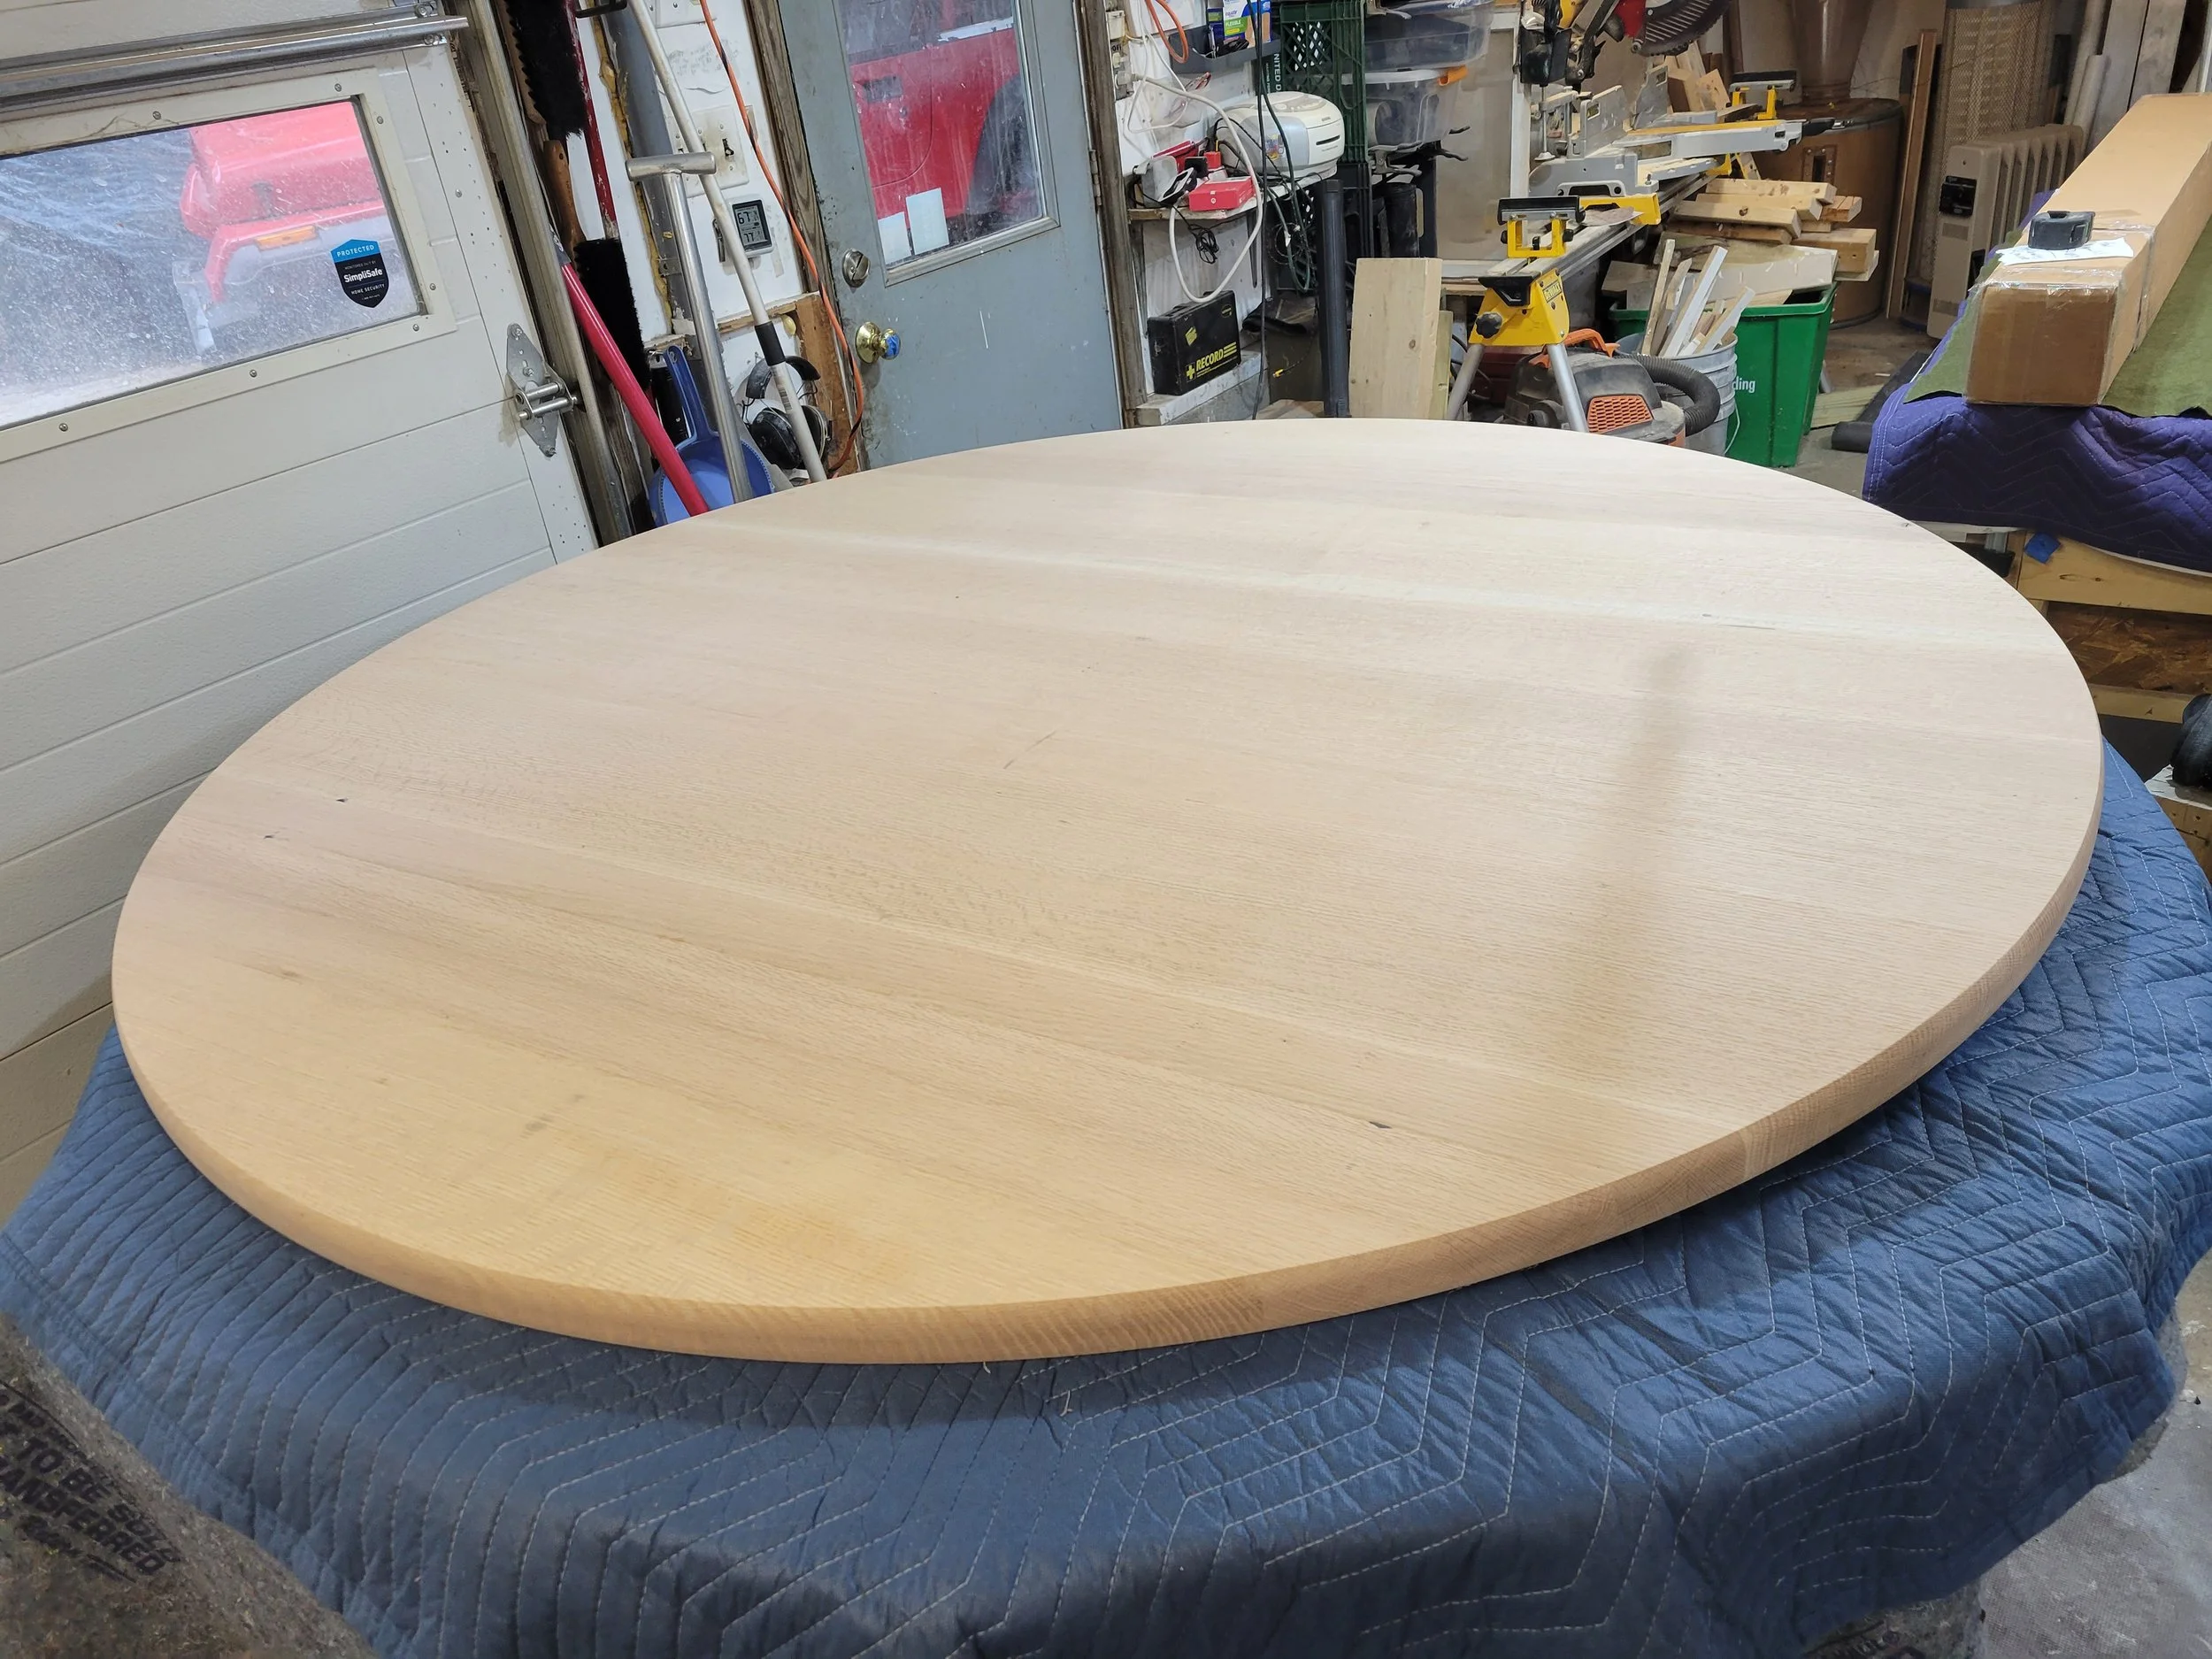
Making the top
The top is made from many boards of oak. They get alignment pins and get glued together in sections. After it is fully glued, I use a centering pin and a circle cutting jig to route out a circle, a small cut at a time.


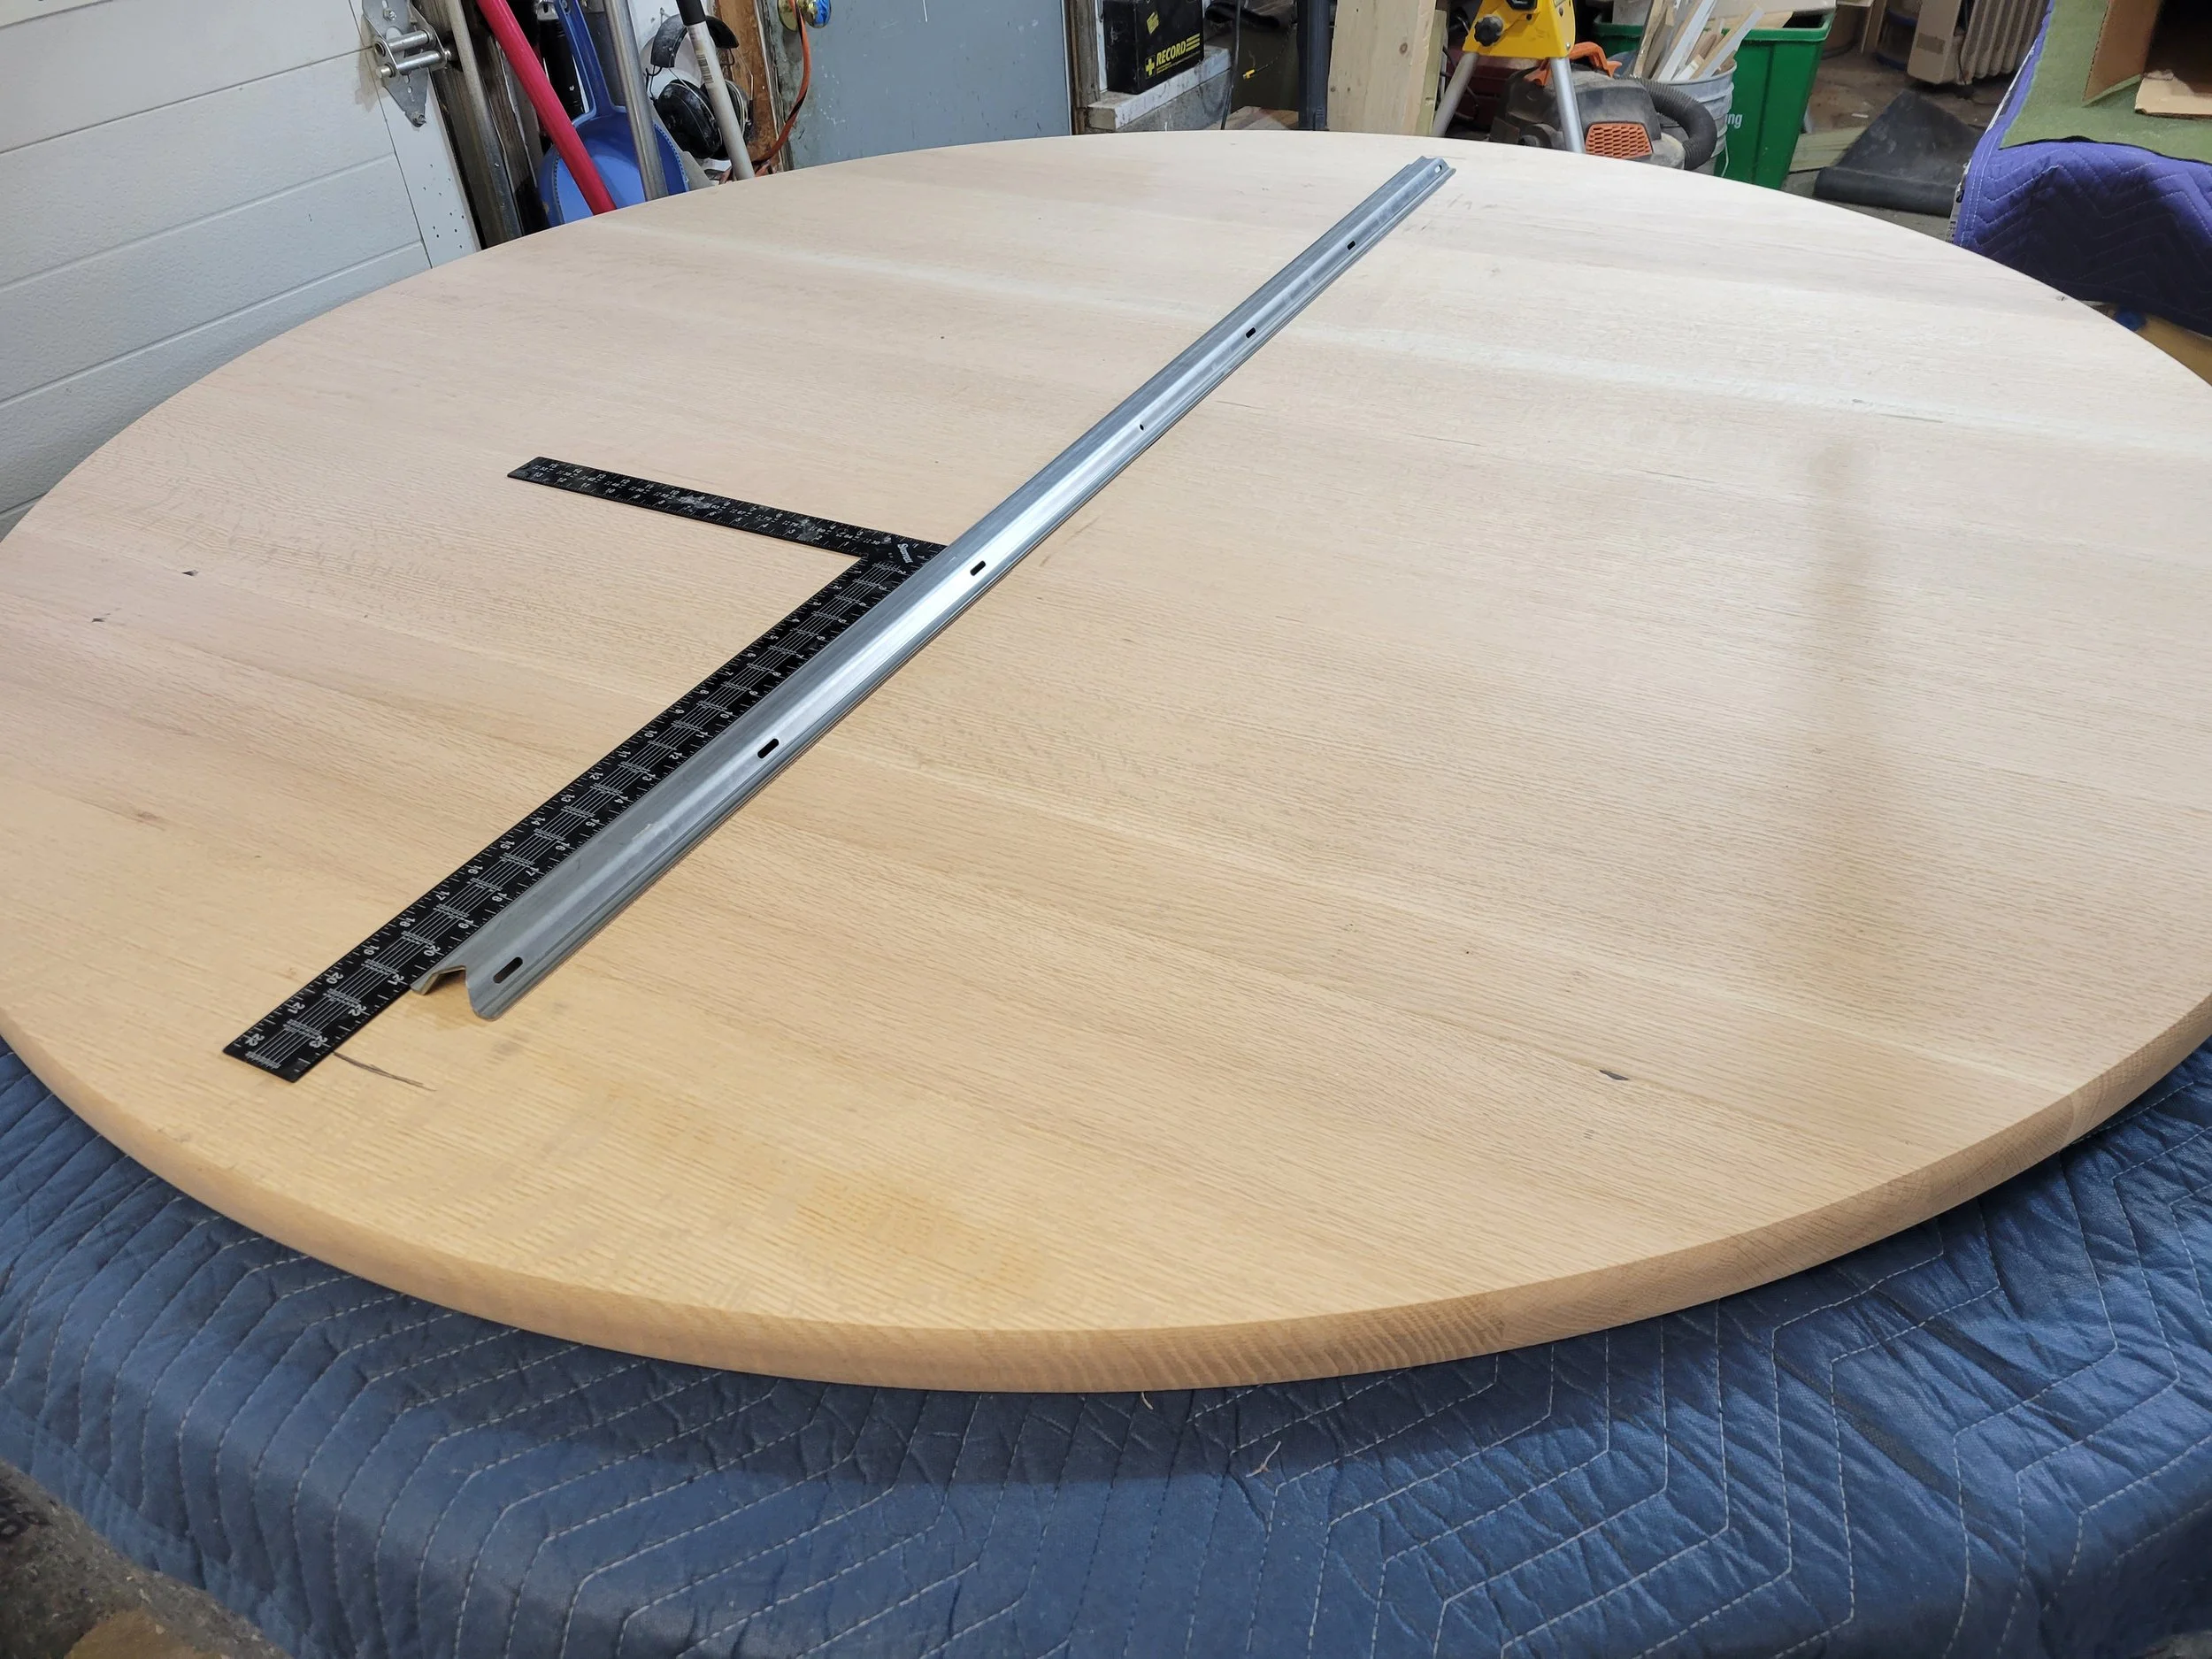
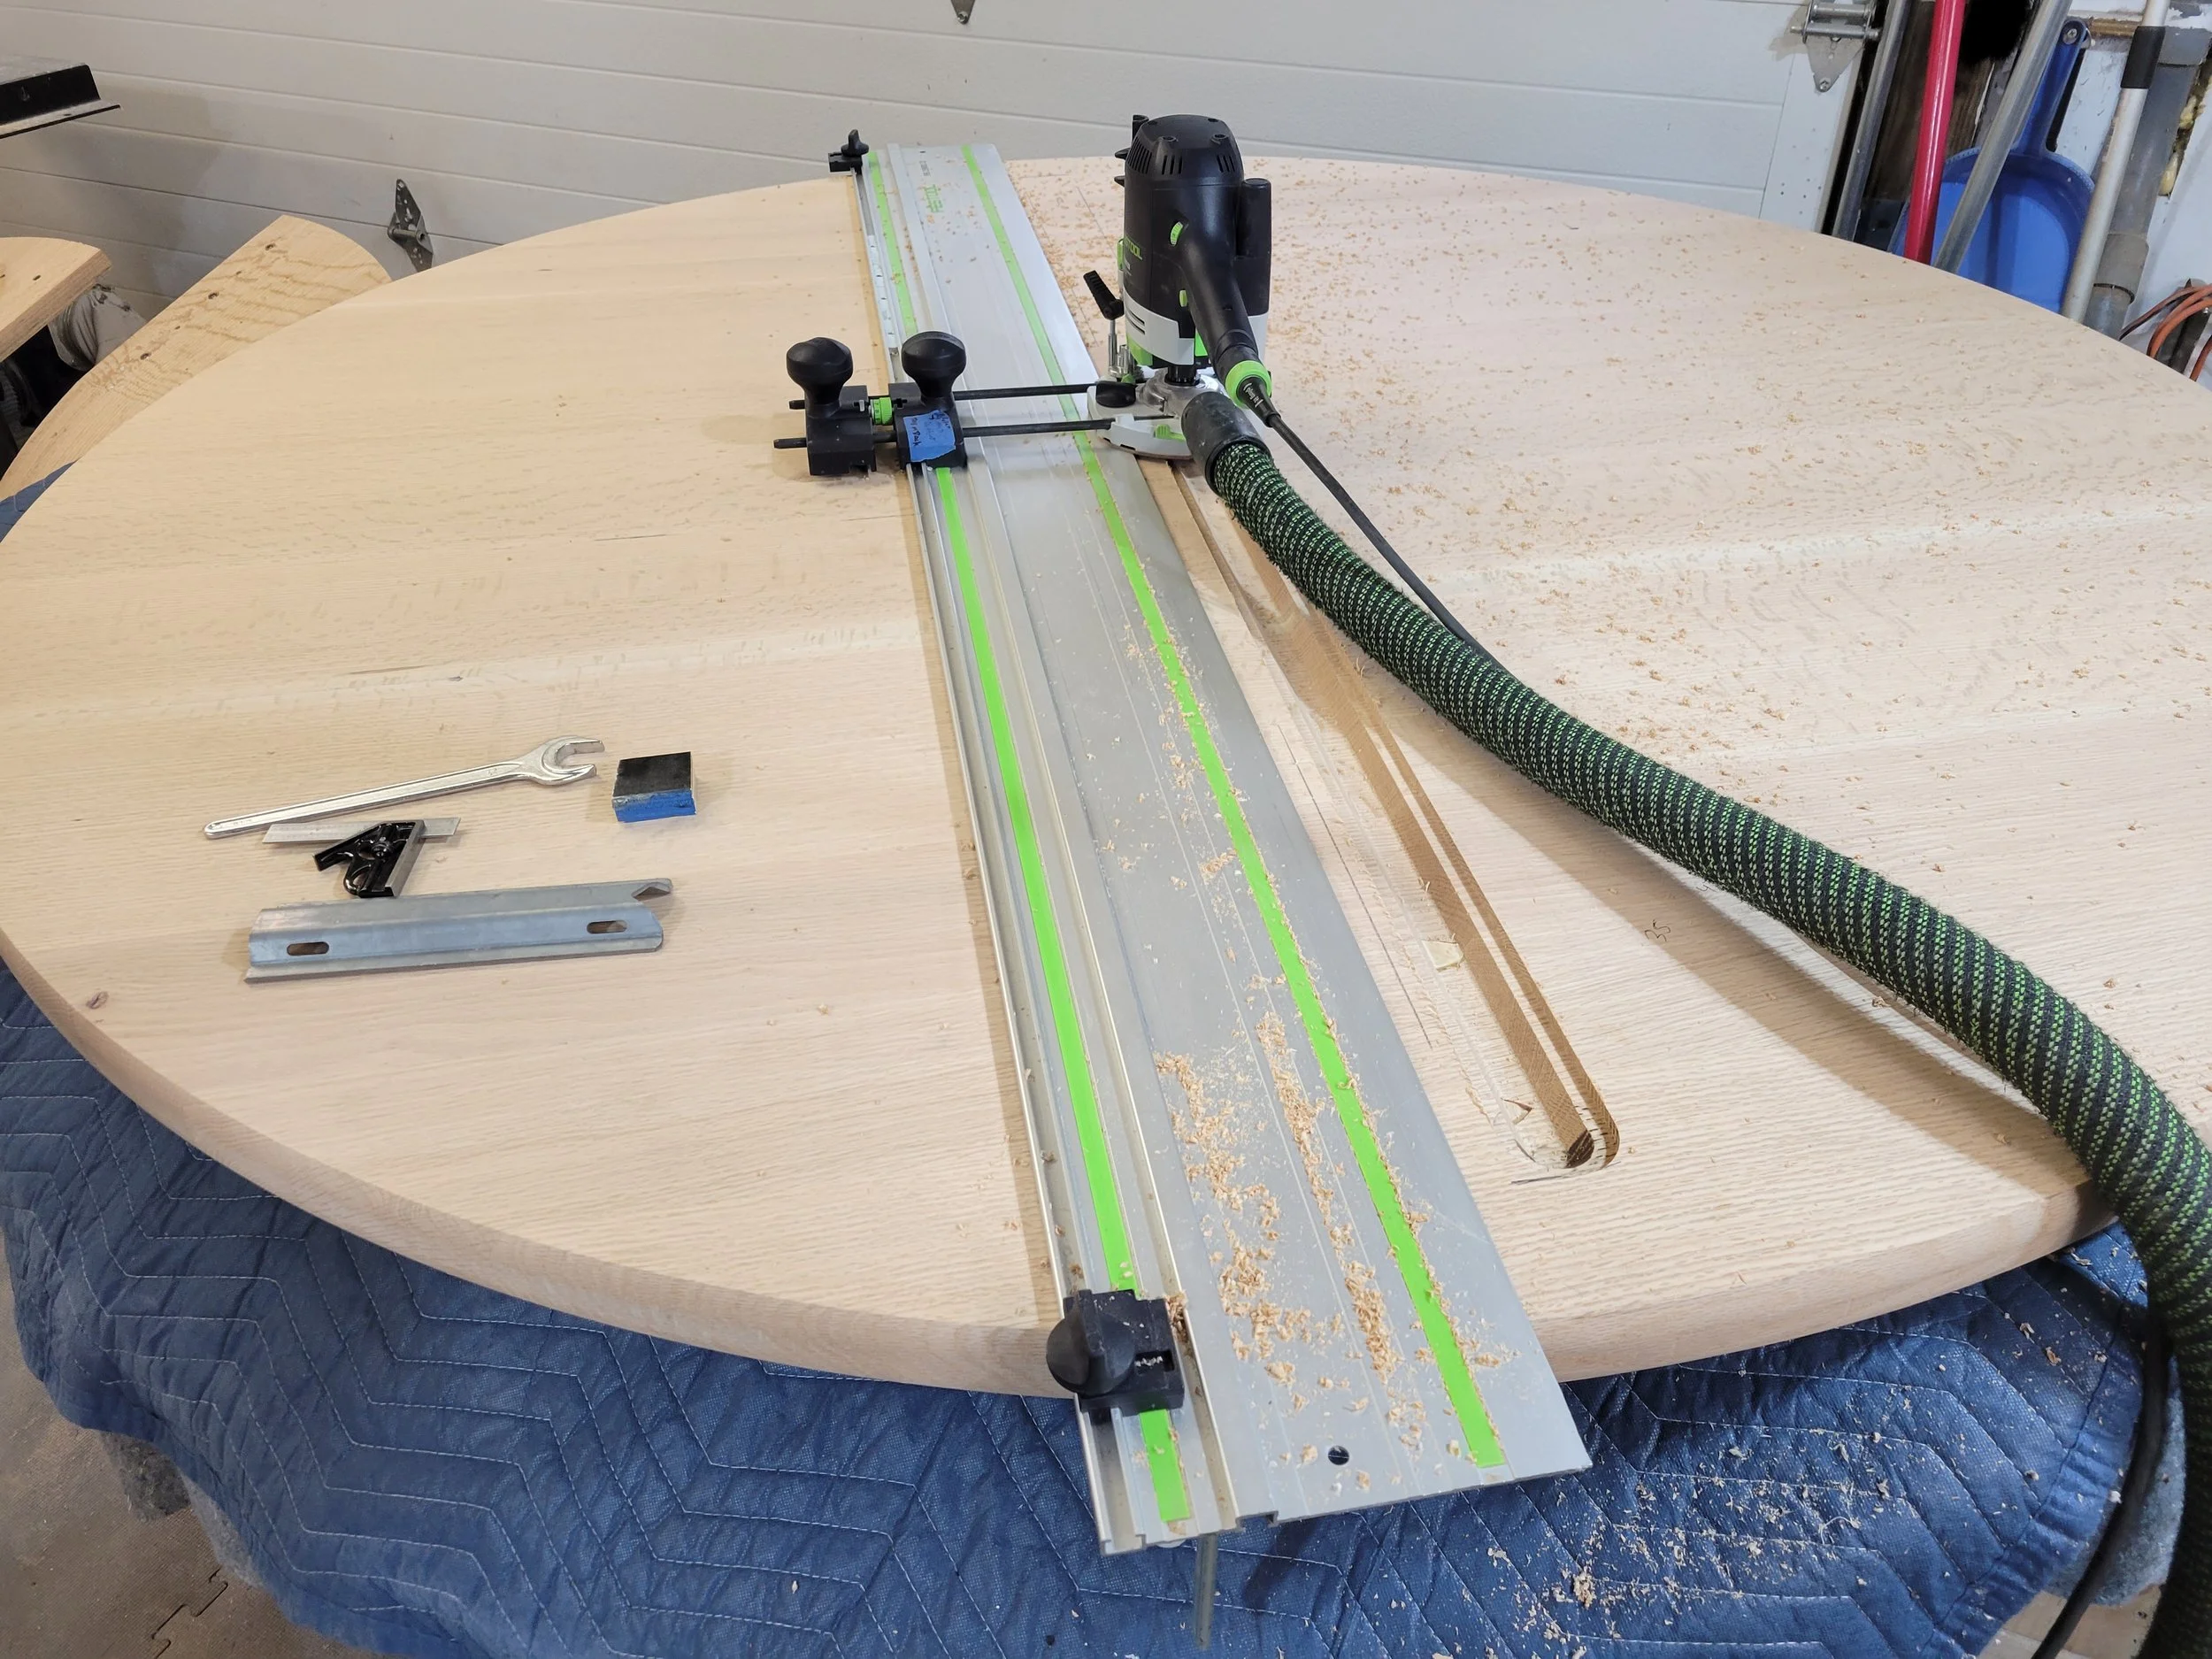
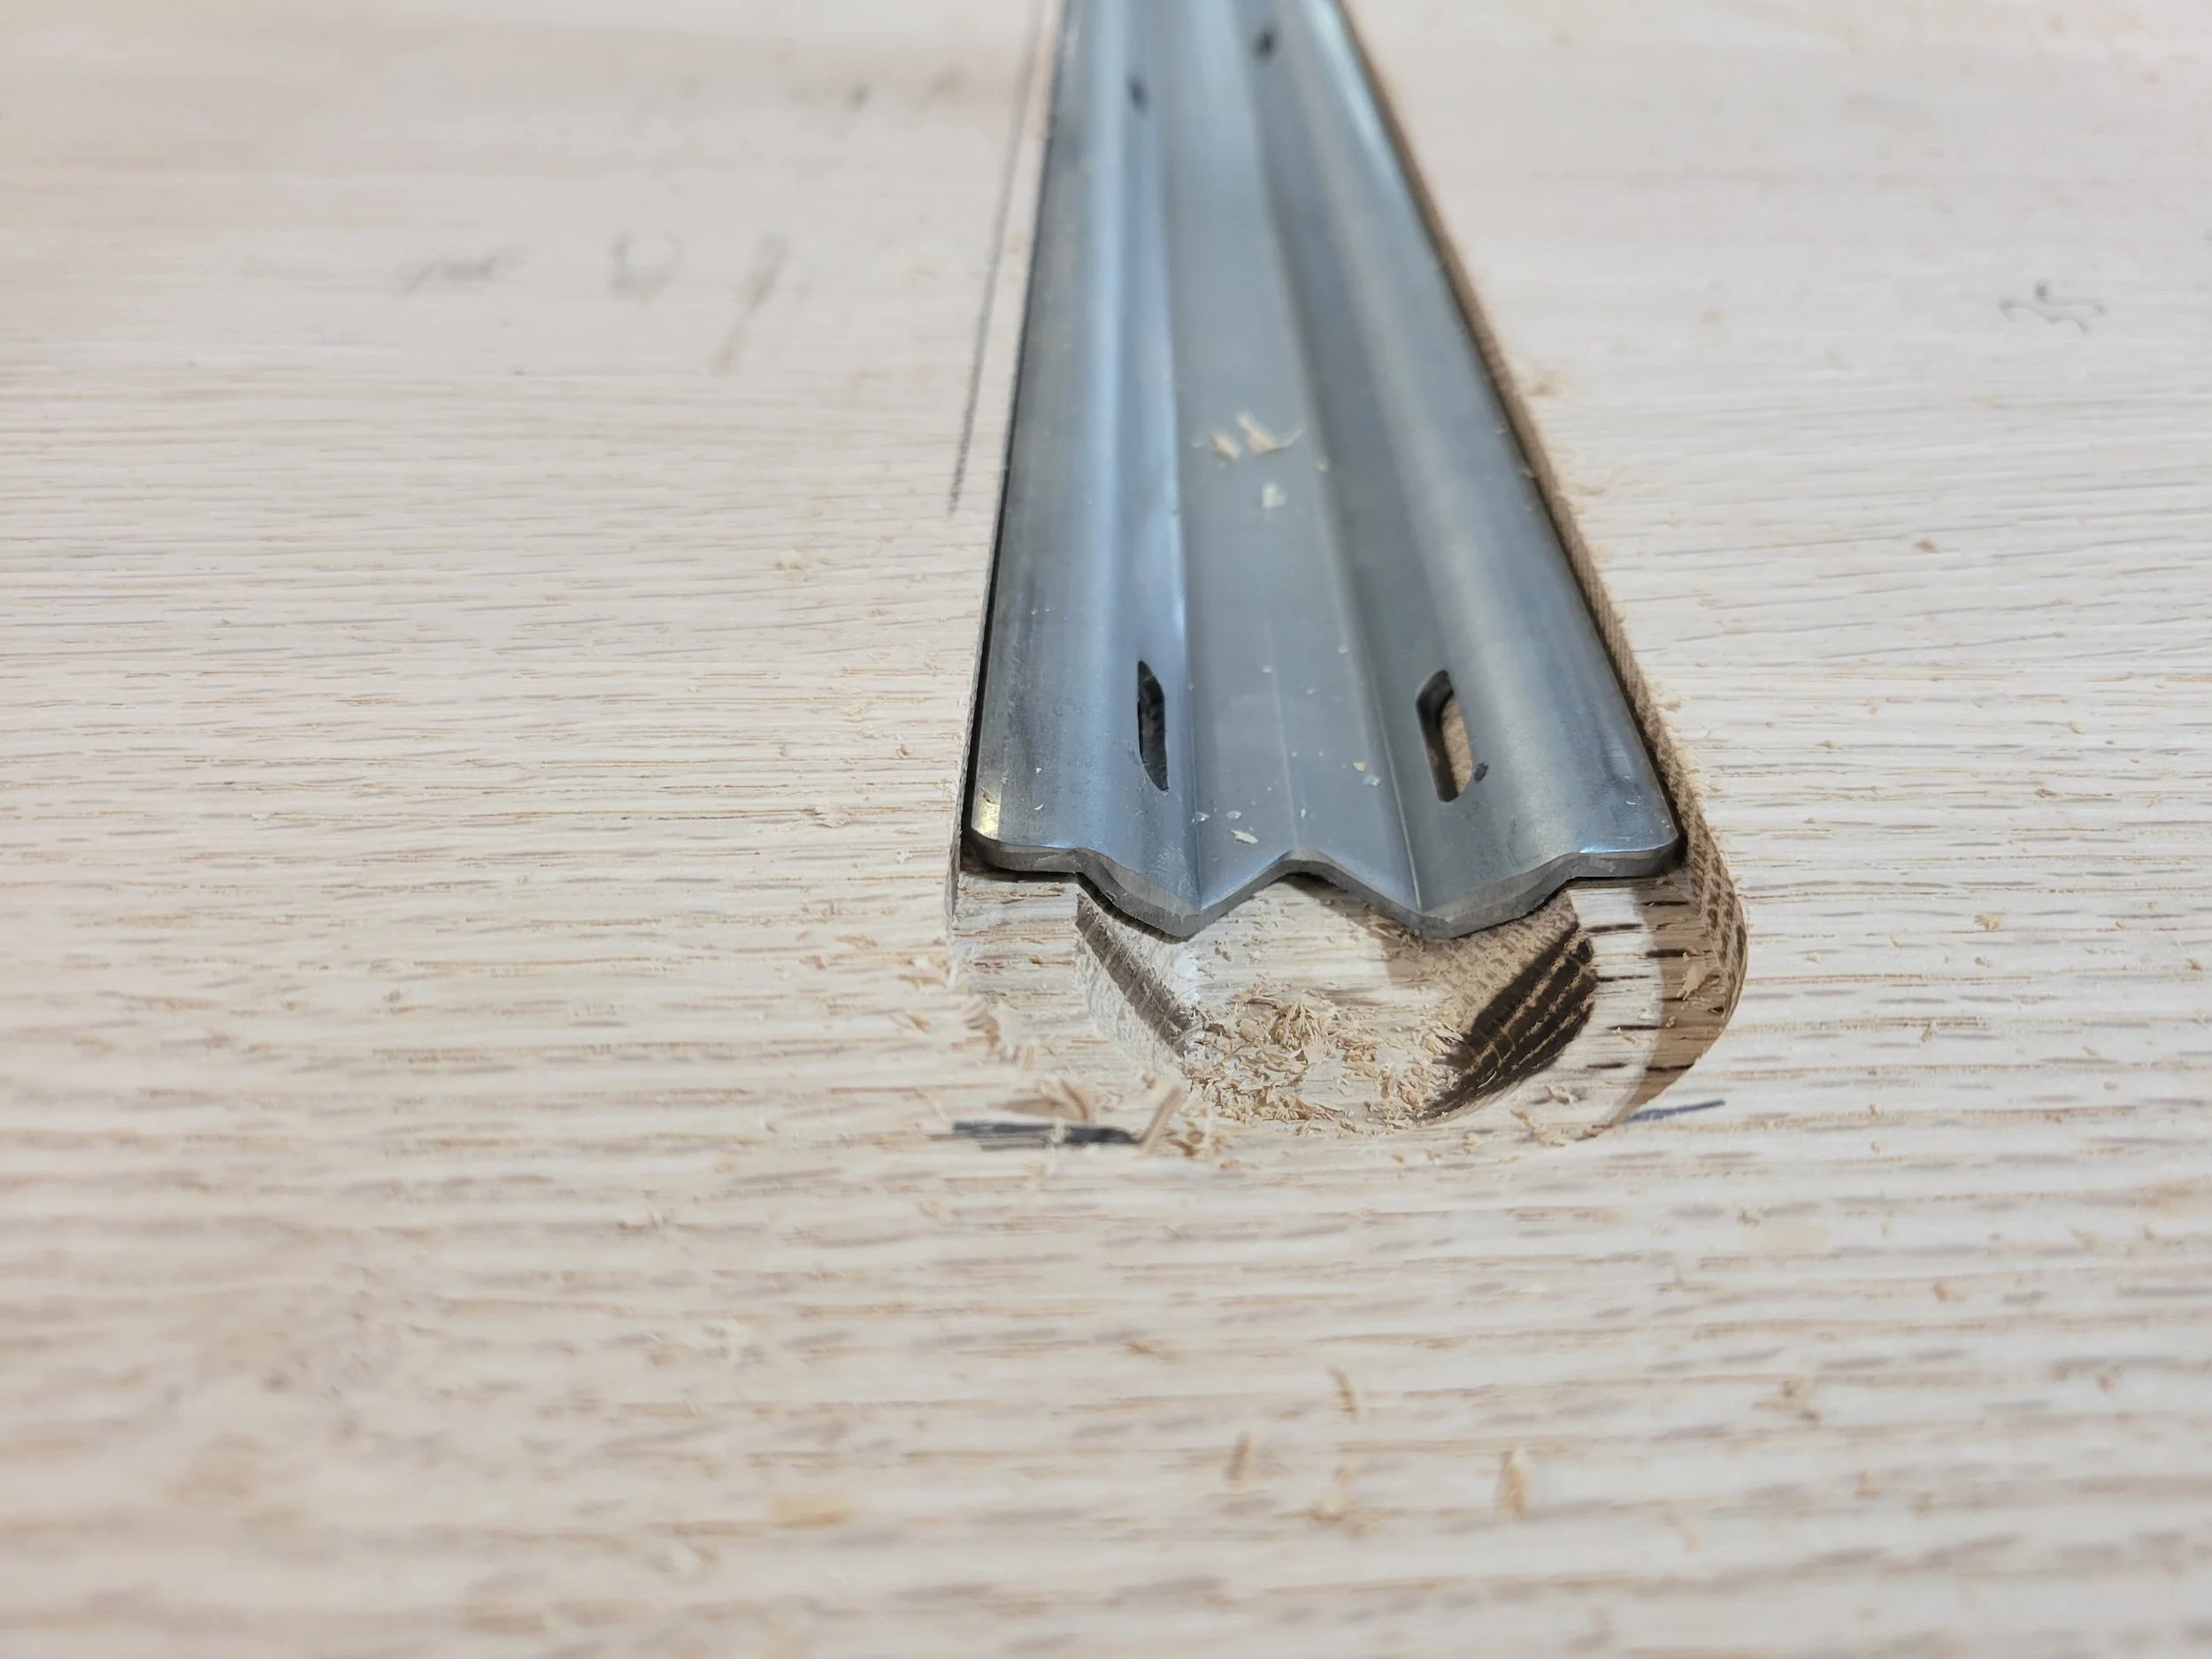
Routing for the stabilizers
This is done on the underside of the table. Steel stabilizers are shaped like a W with wings to make for an unbendable steel bar. This bar gets attached into a routed groove and helps keeps the table top flat for a lifetime while still allowing the top to expand and contract - a particularly important step with a round table of this size.
The final step on the underside of the table is to burn my logo and stamp the date. With all of my original designs, I burn in my full signature as this is a signature piece.


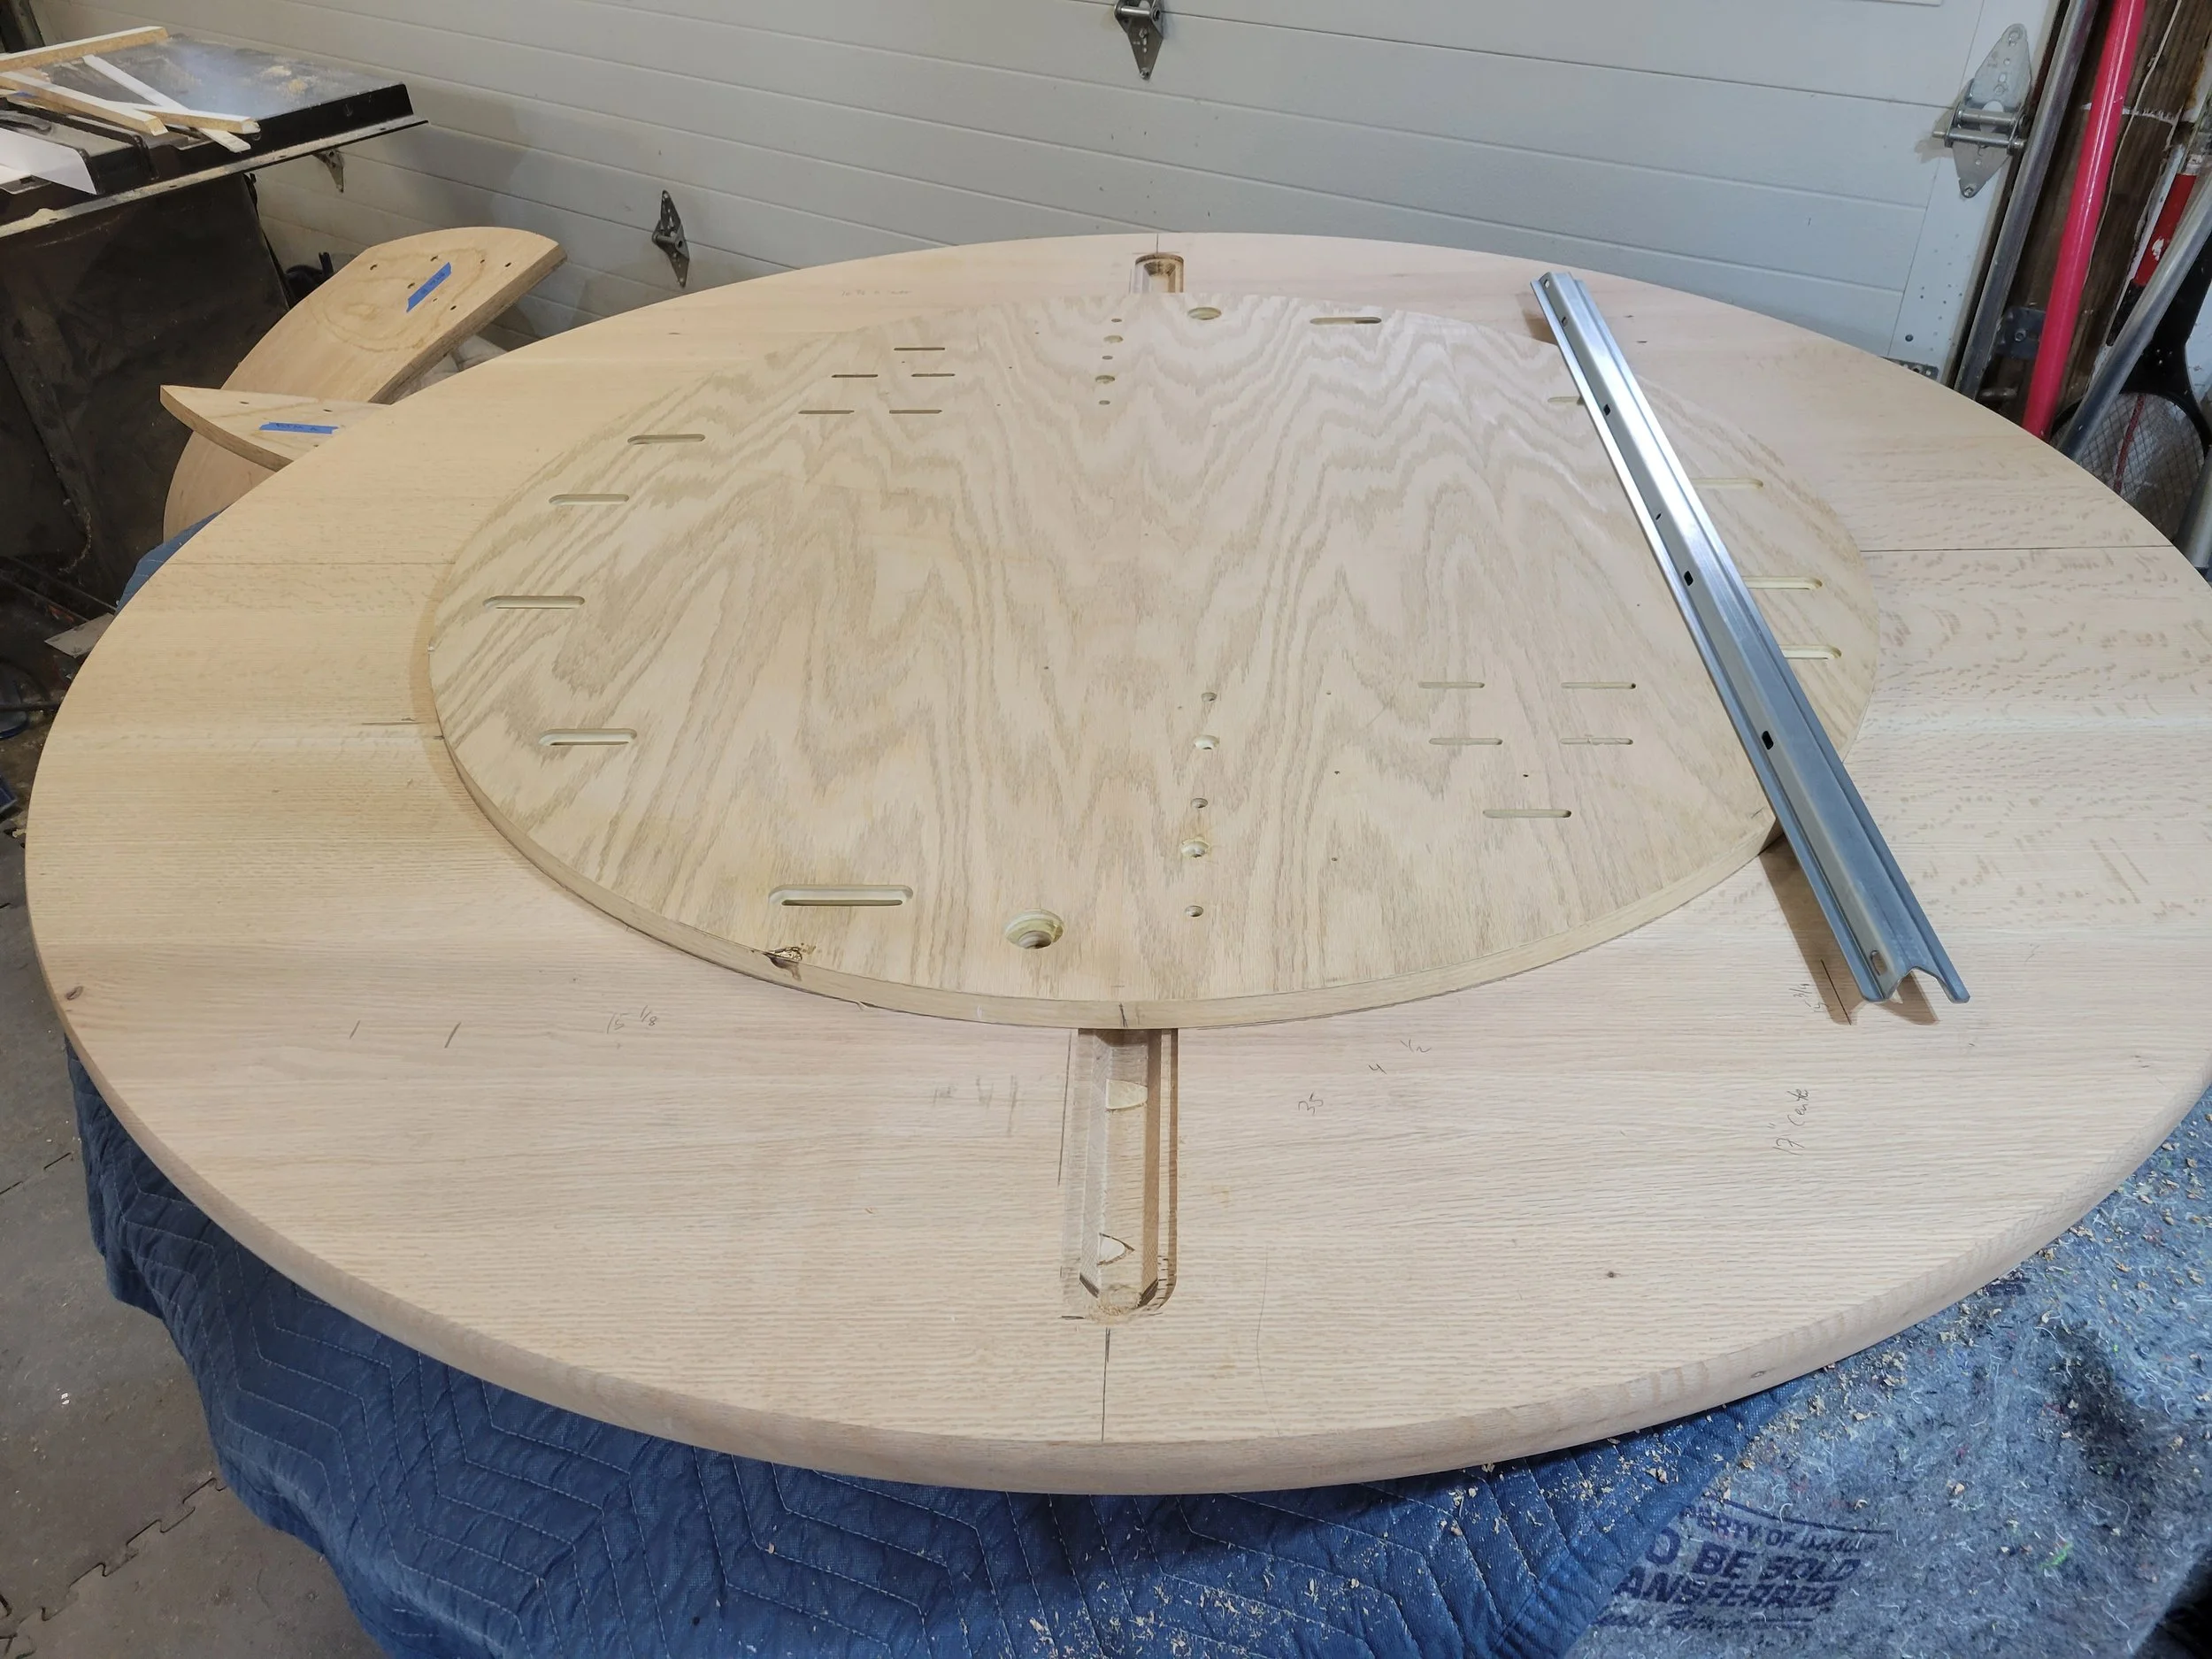


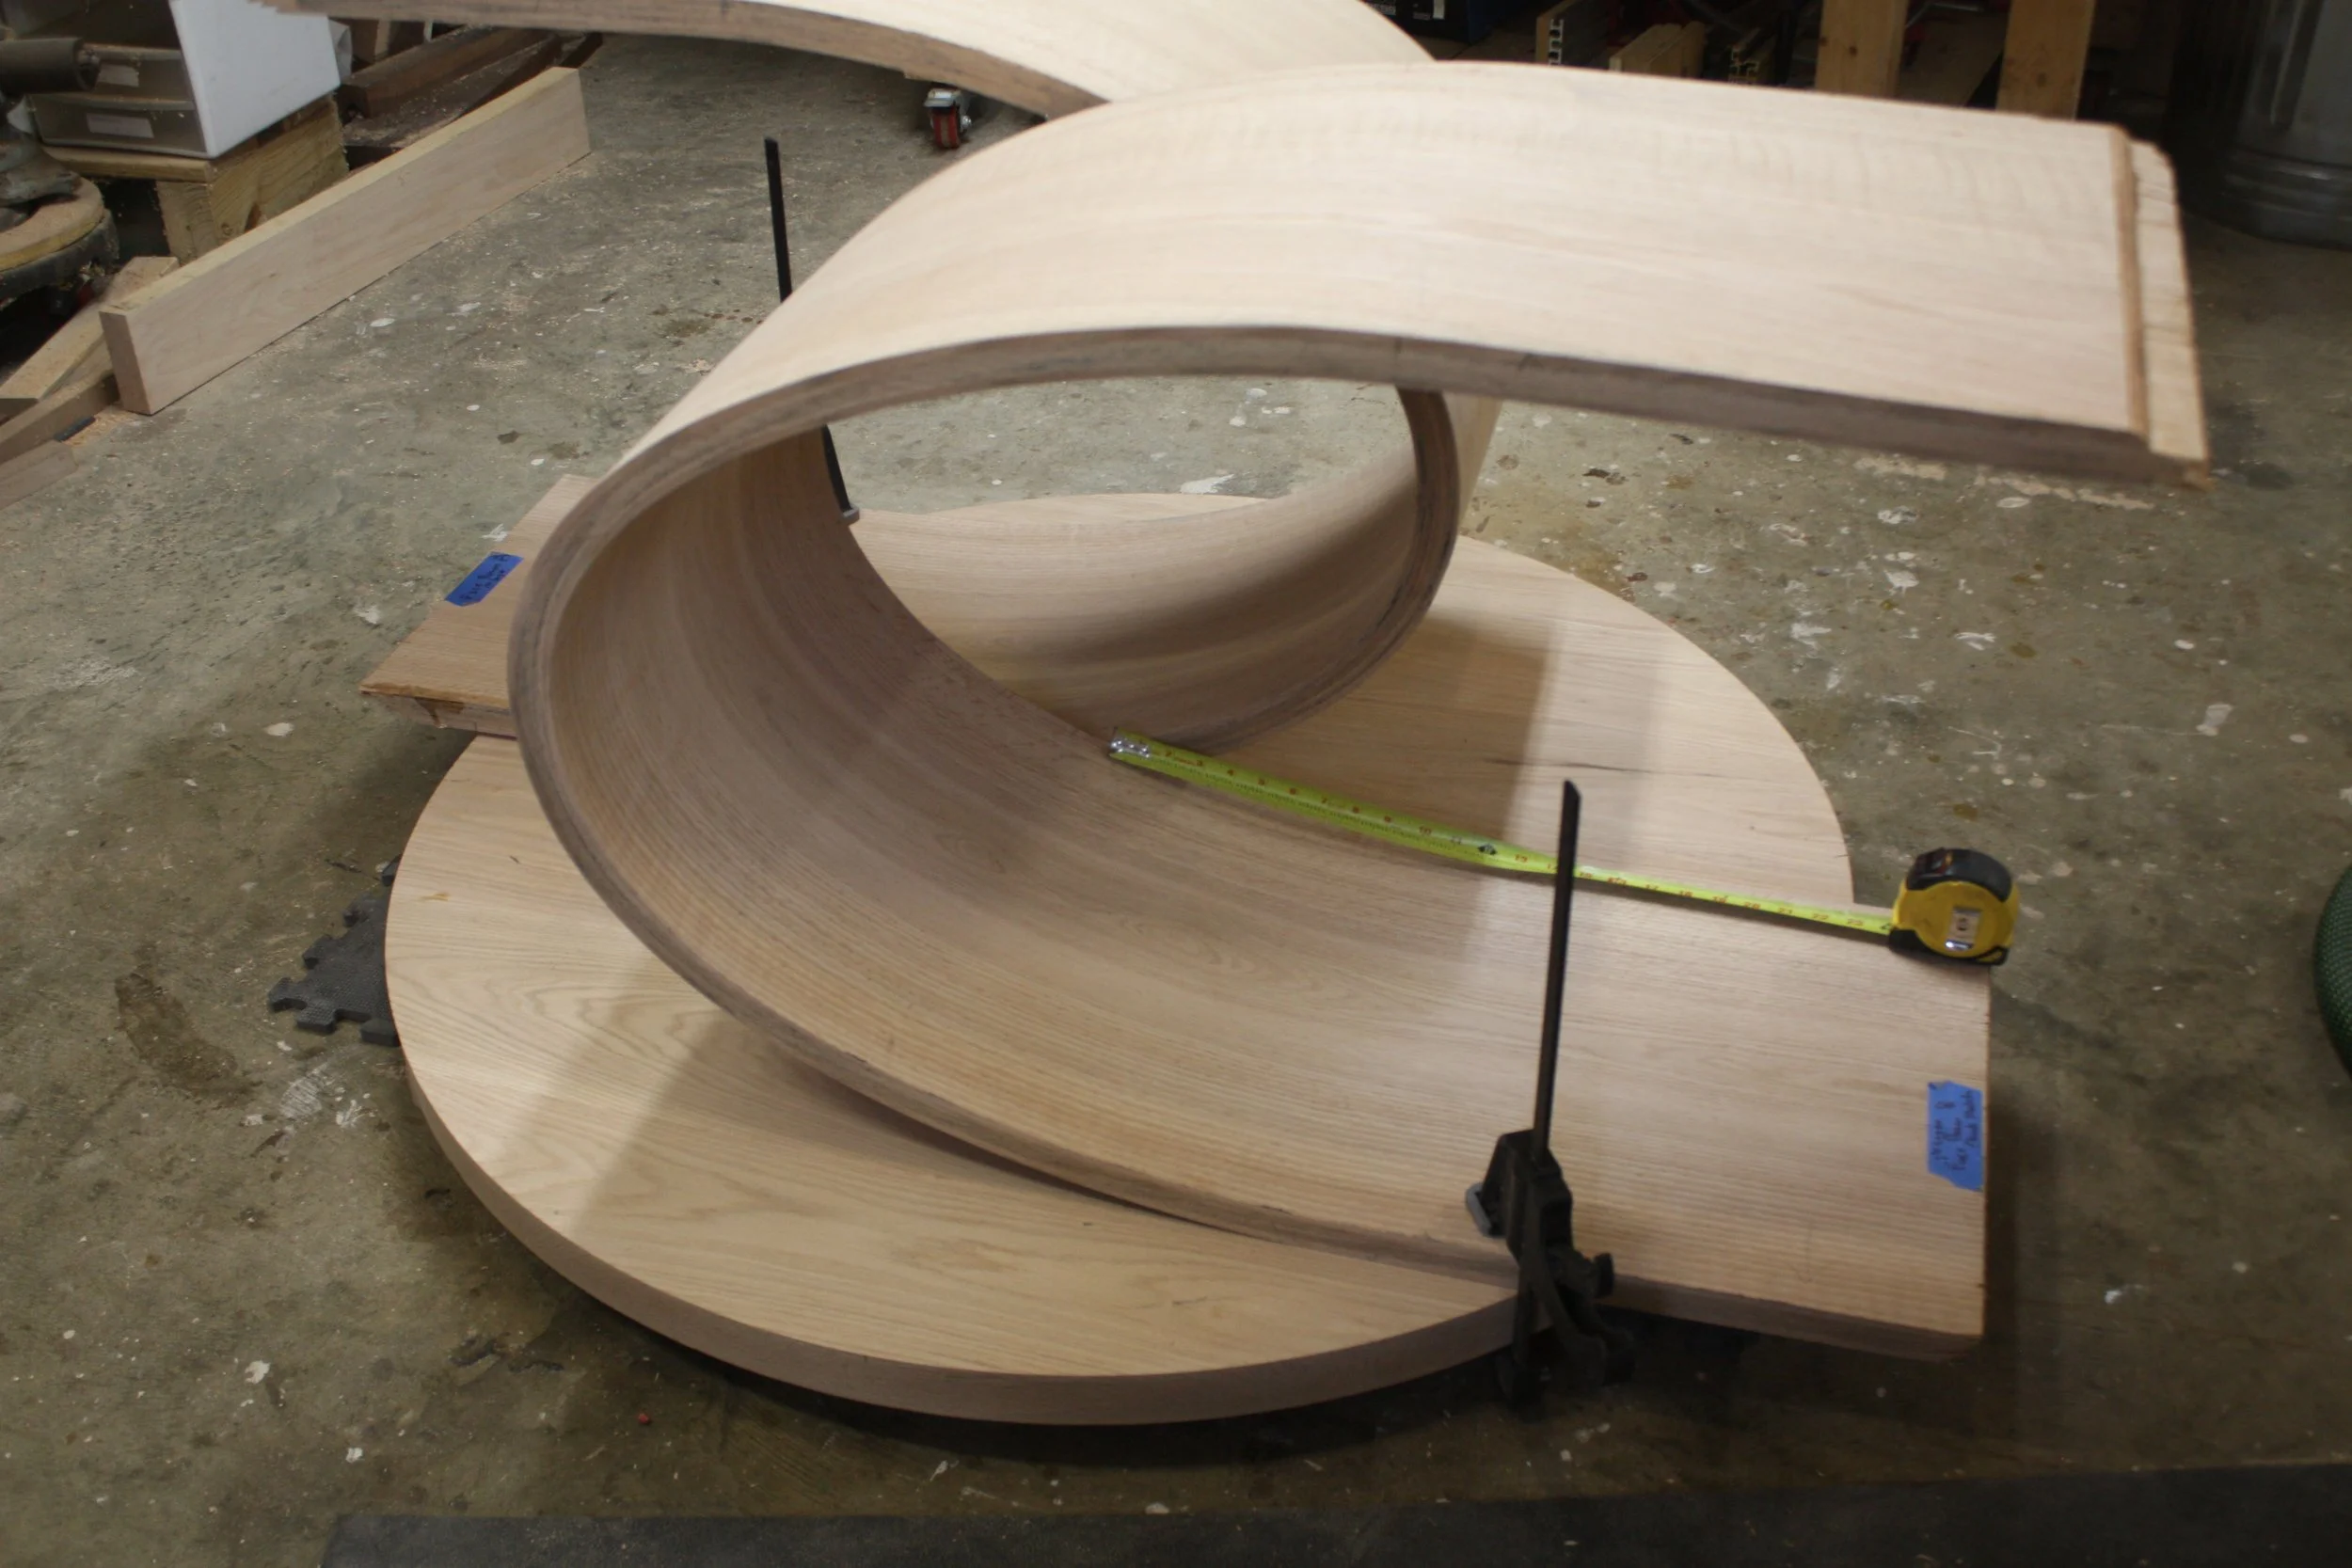
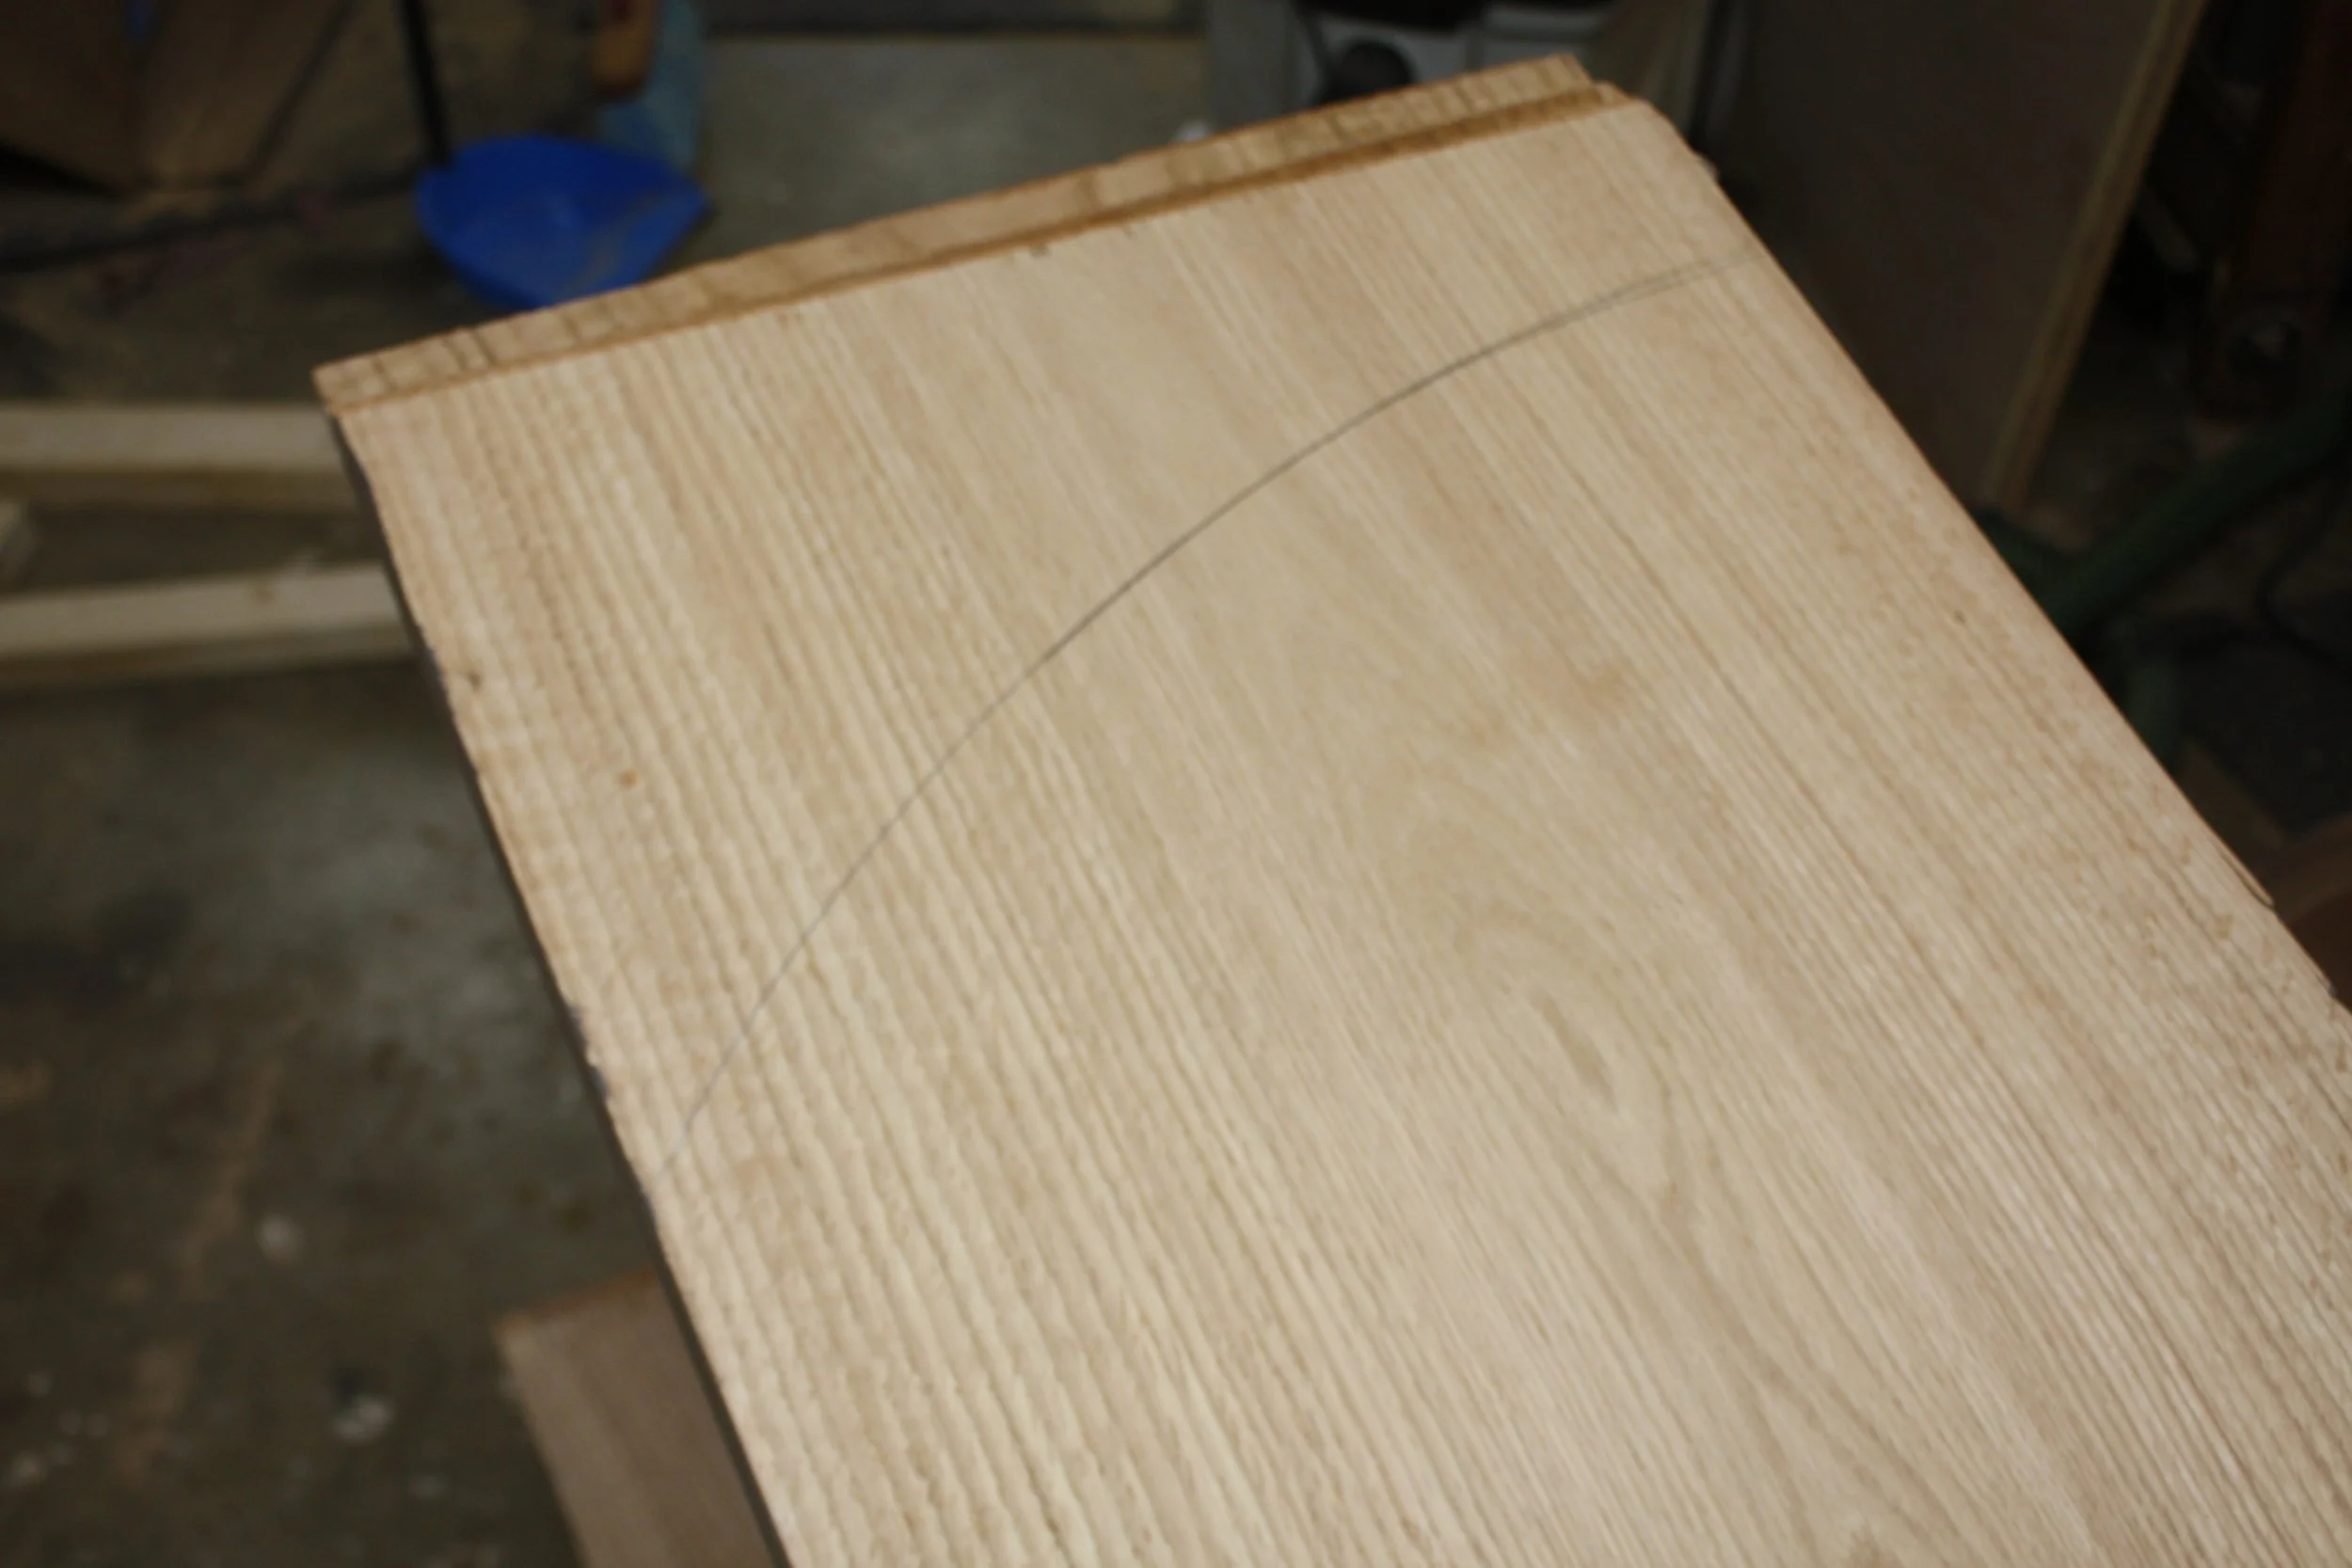
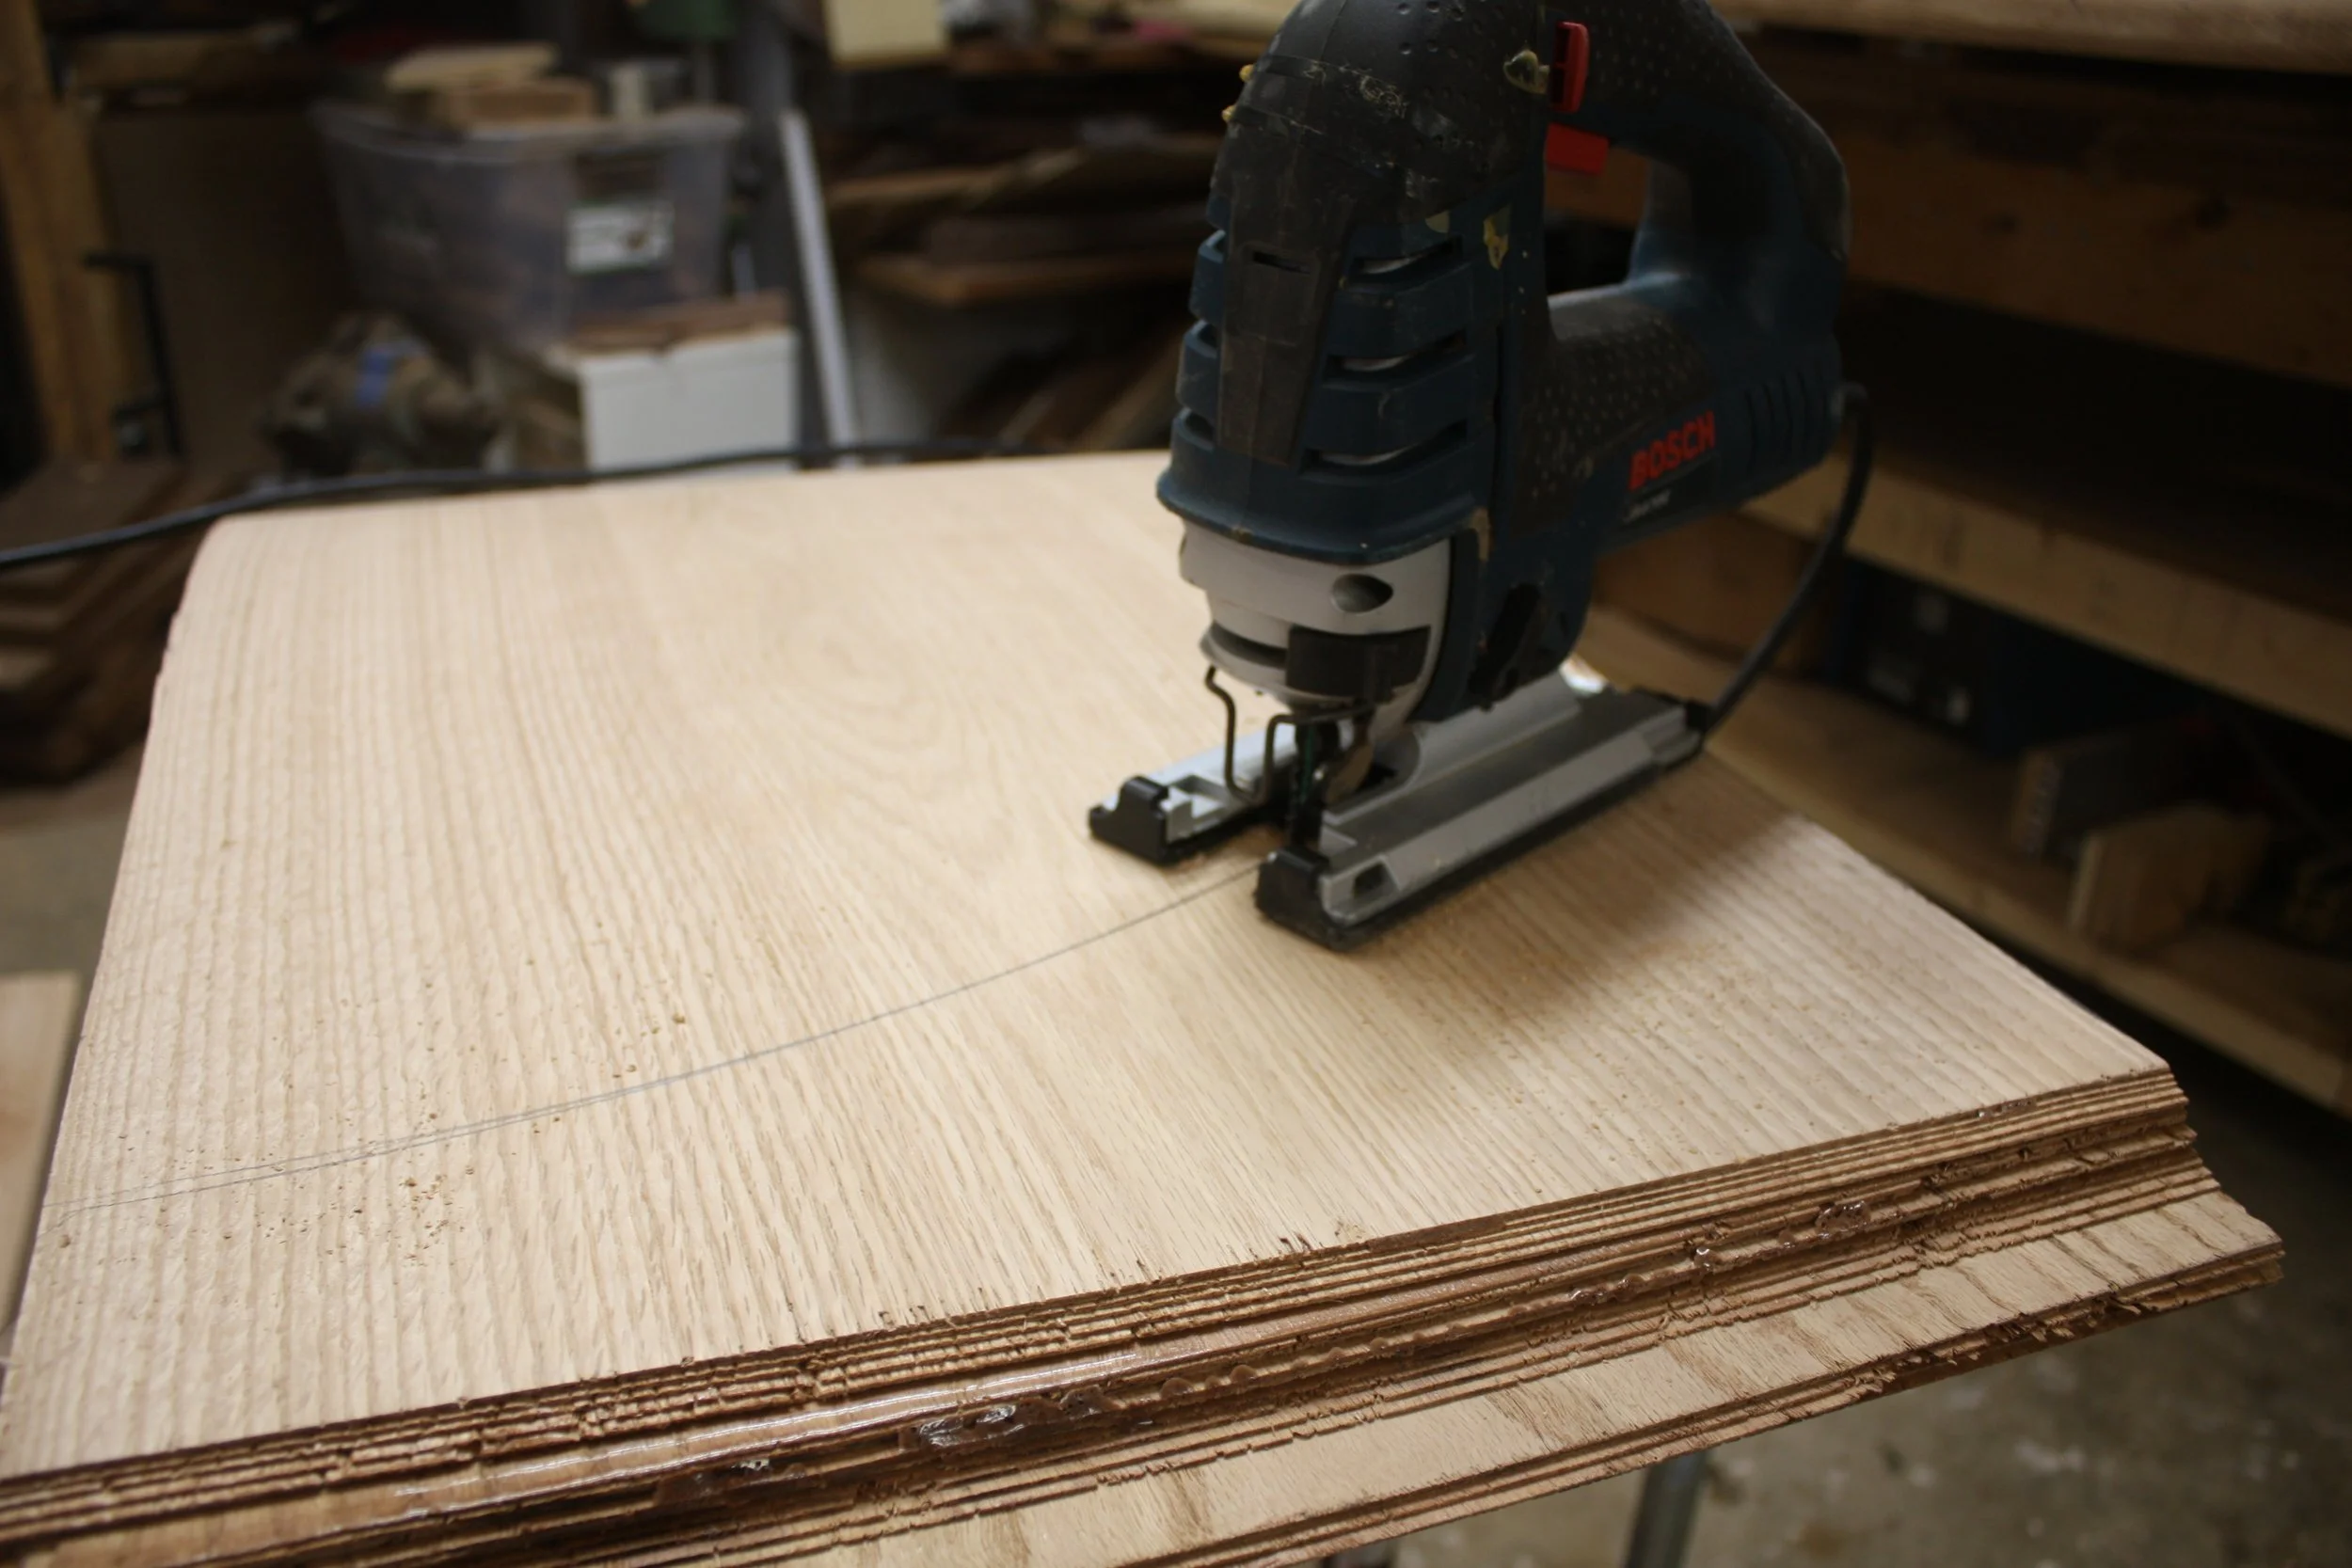
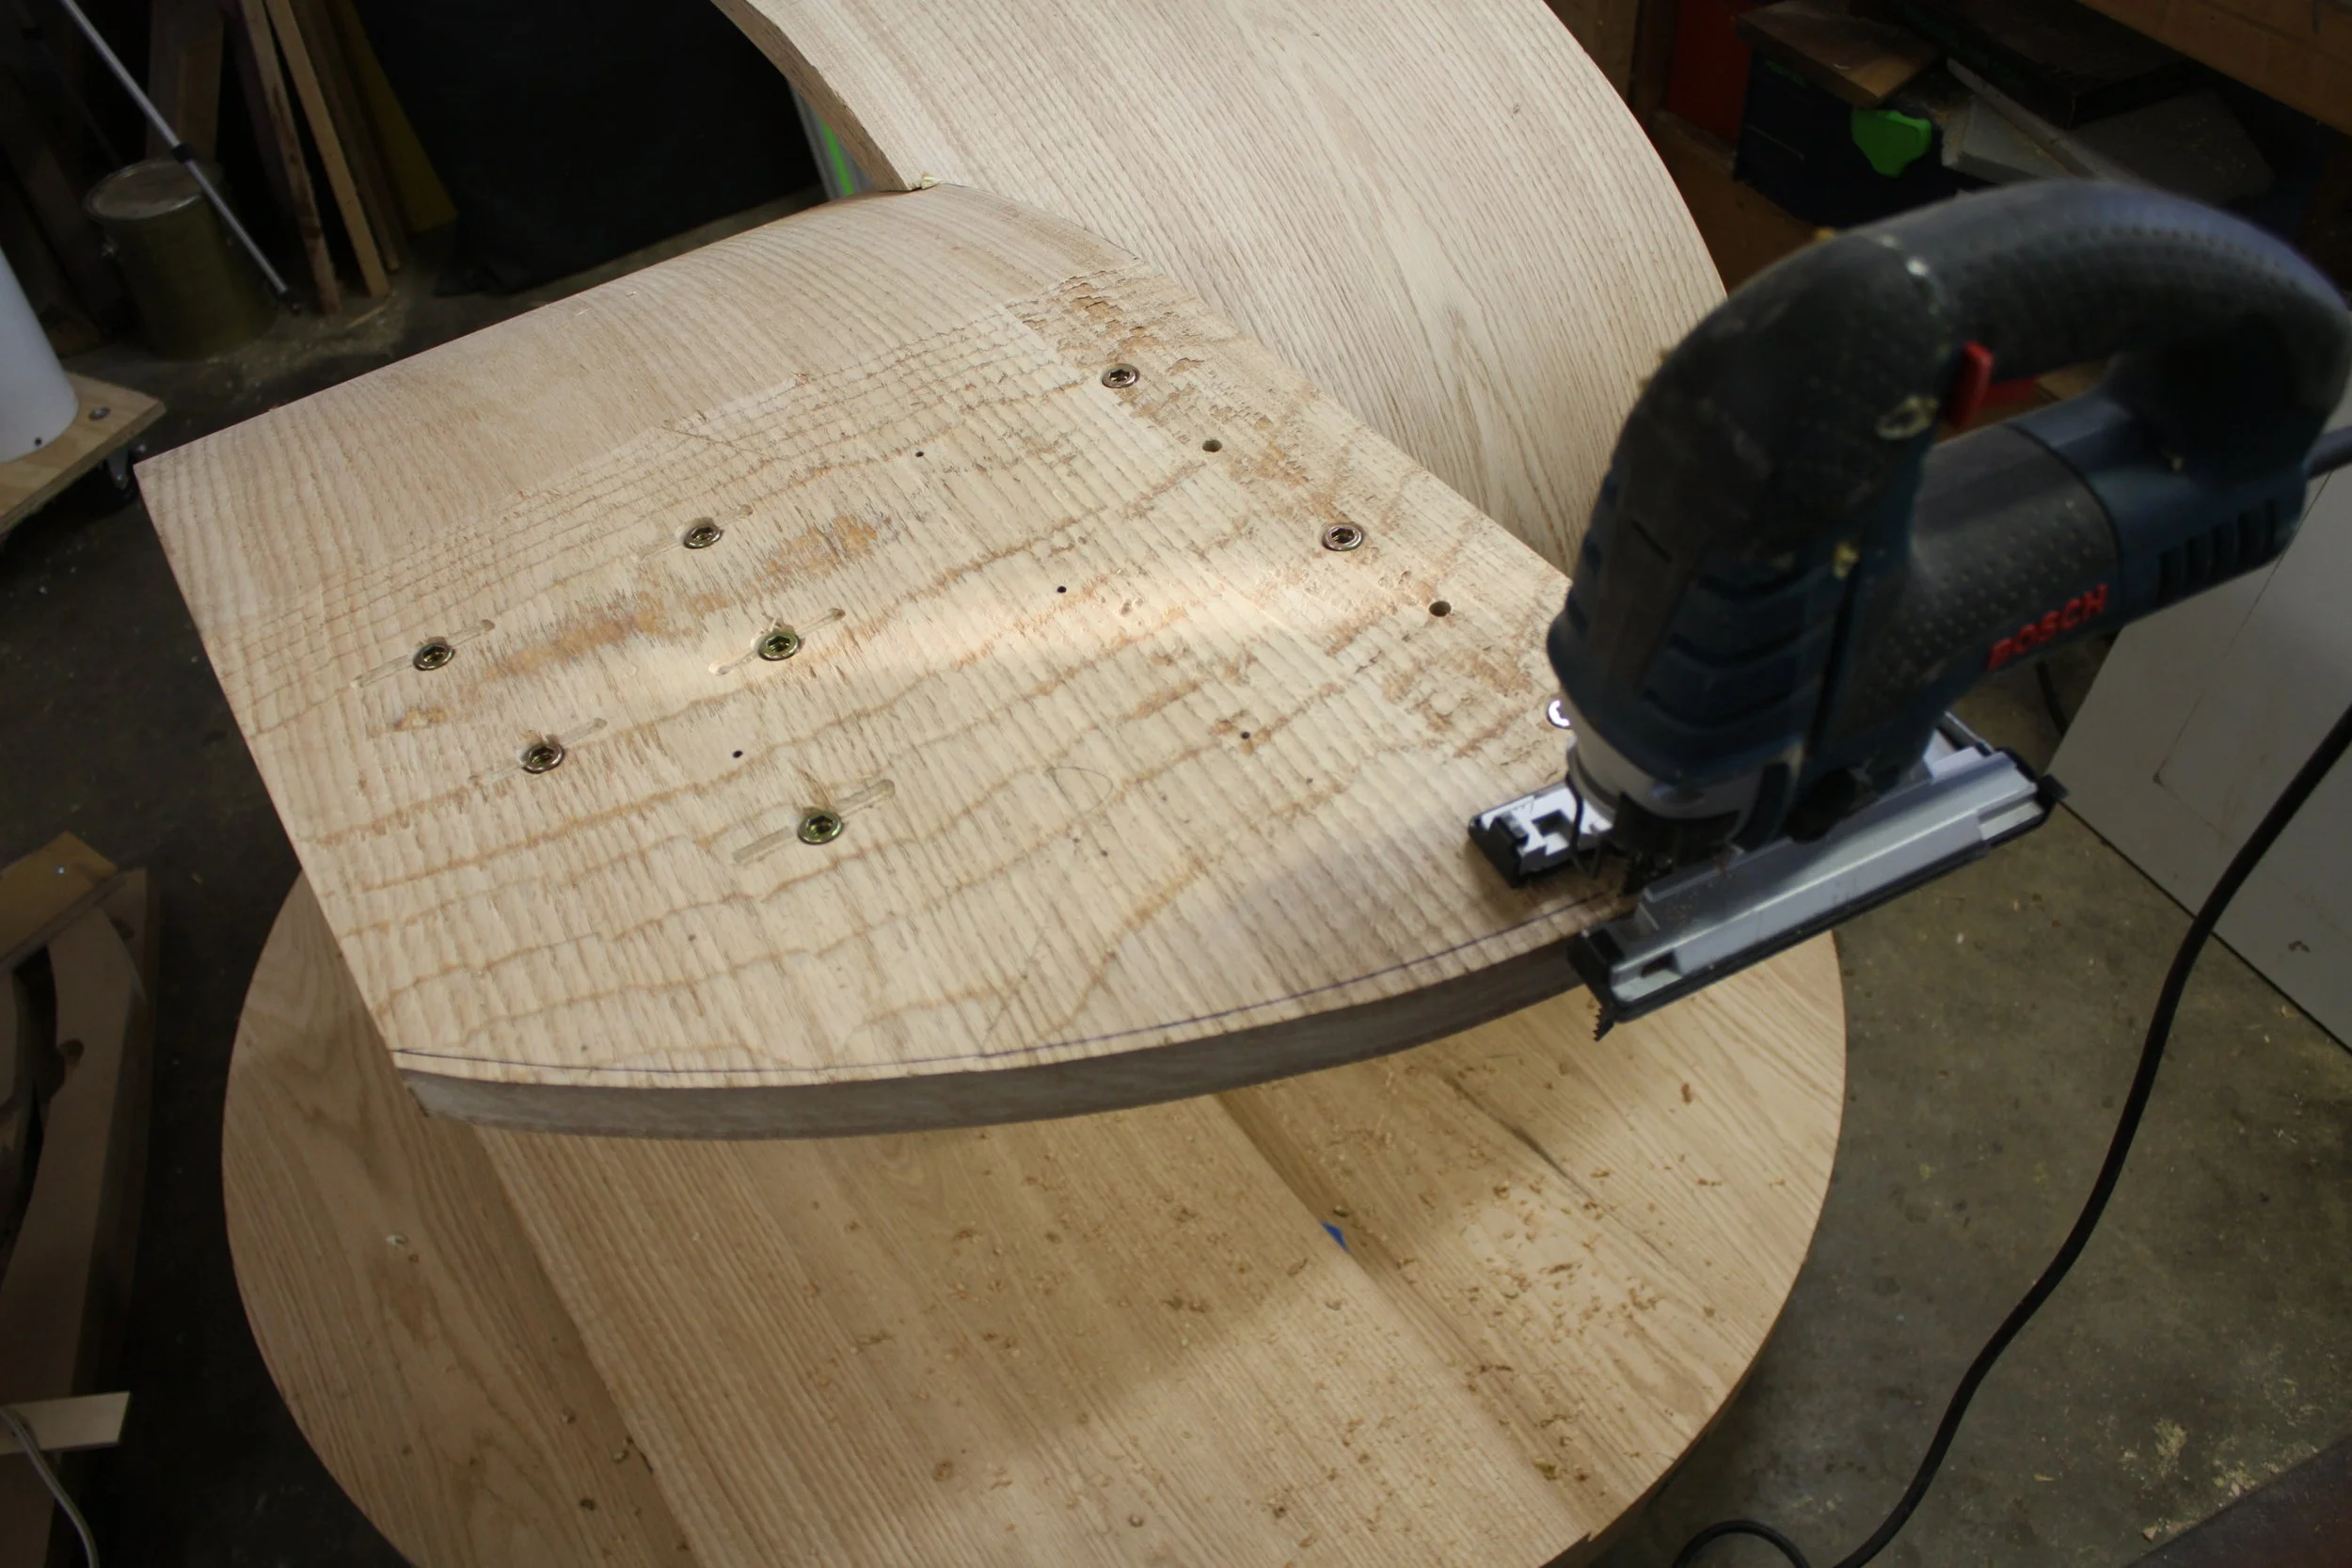
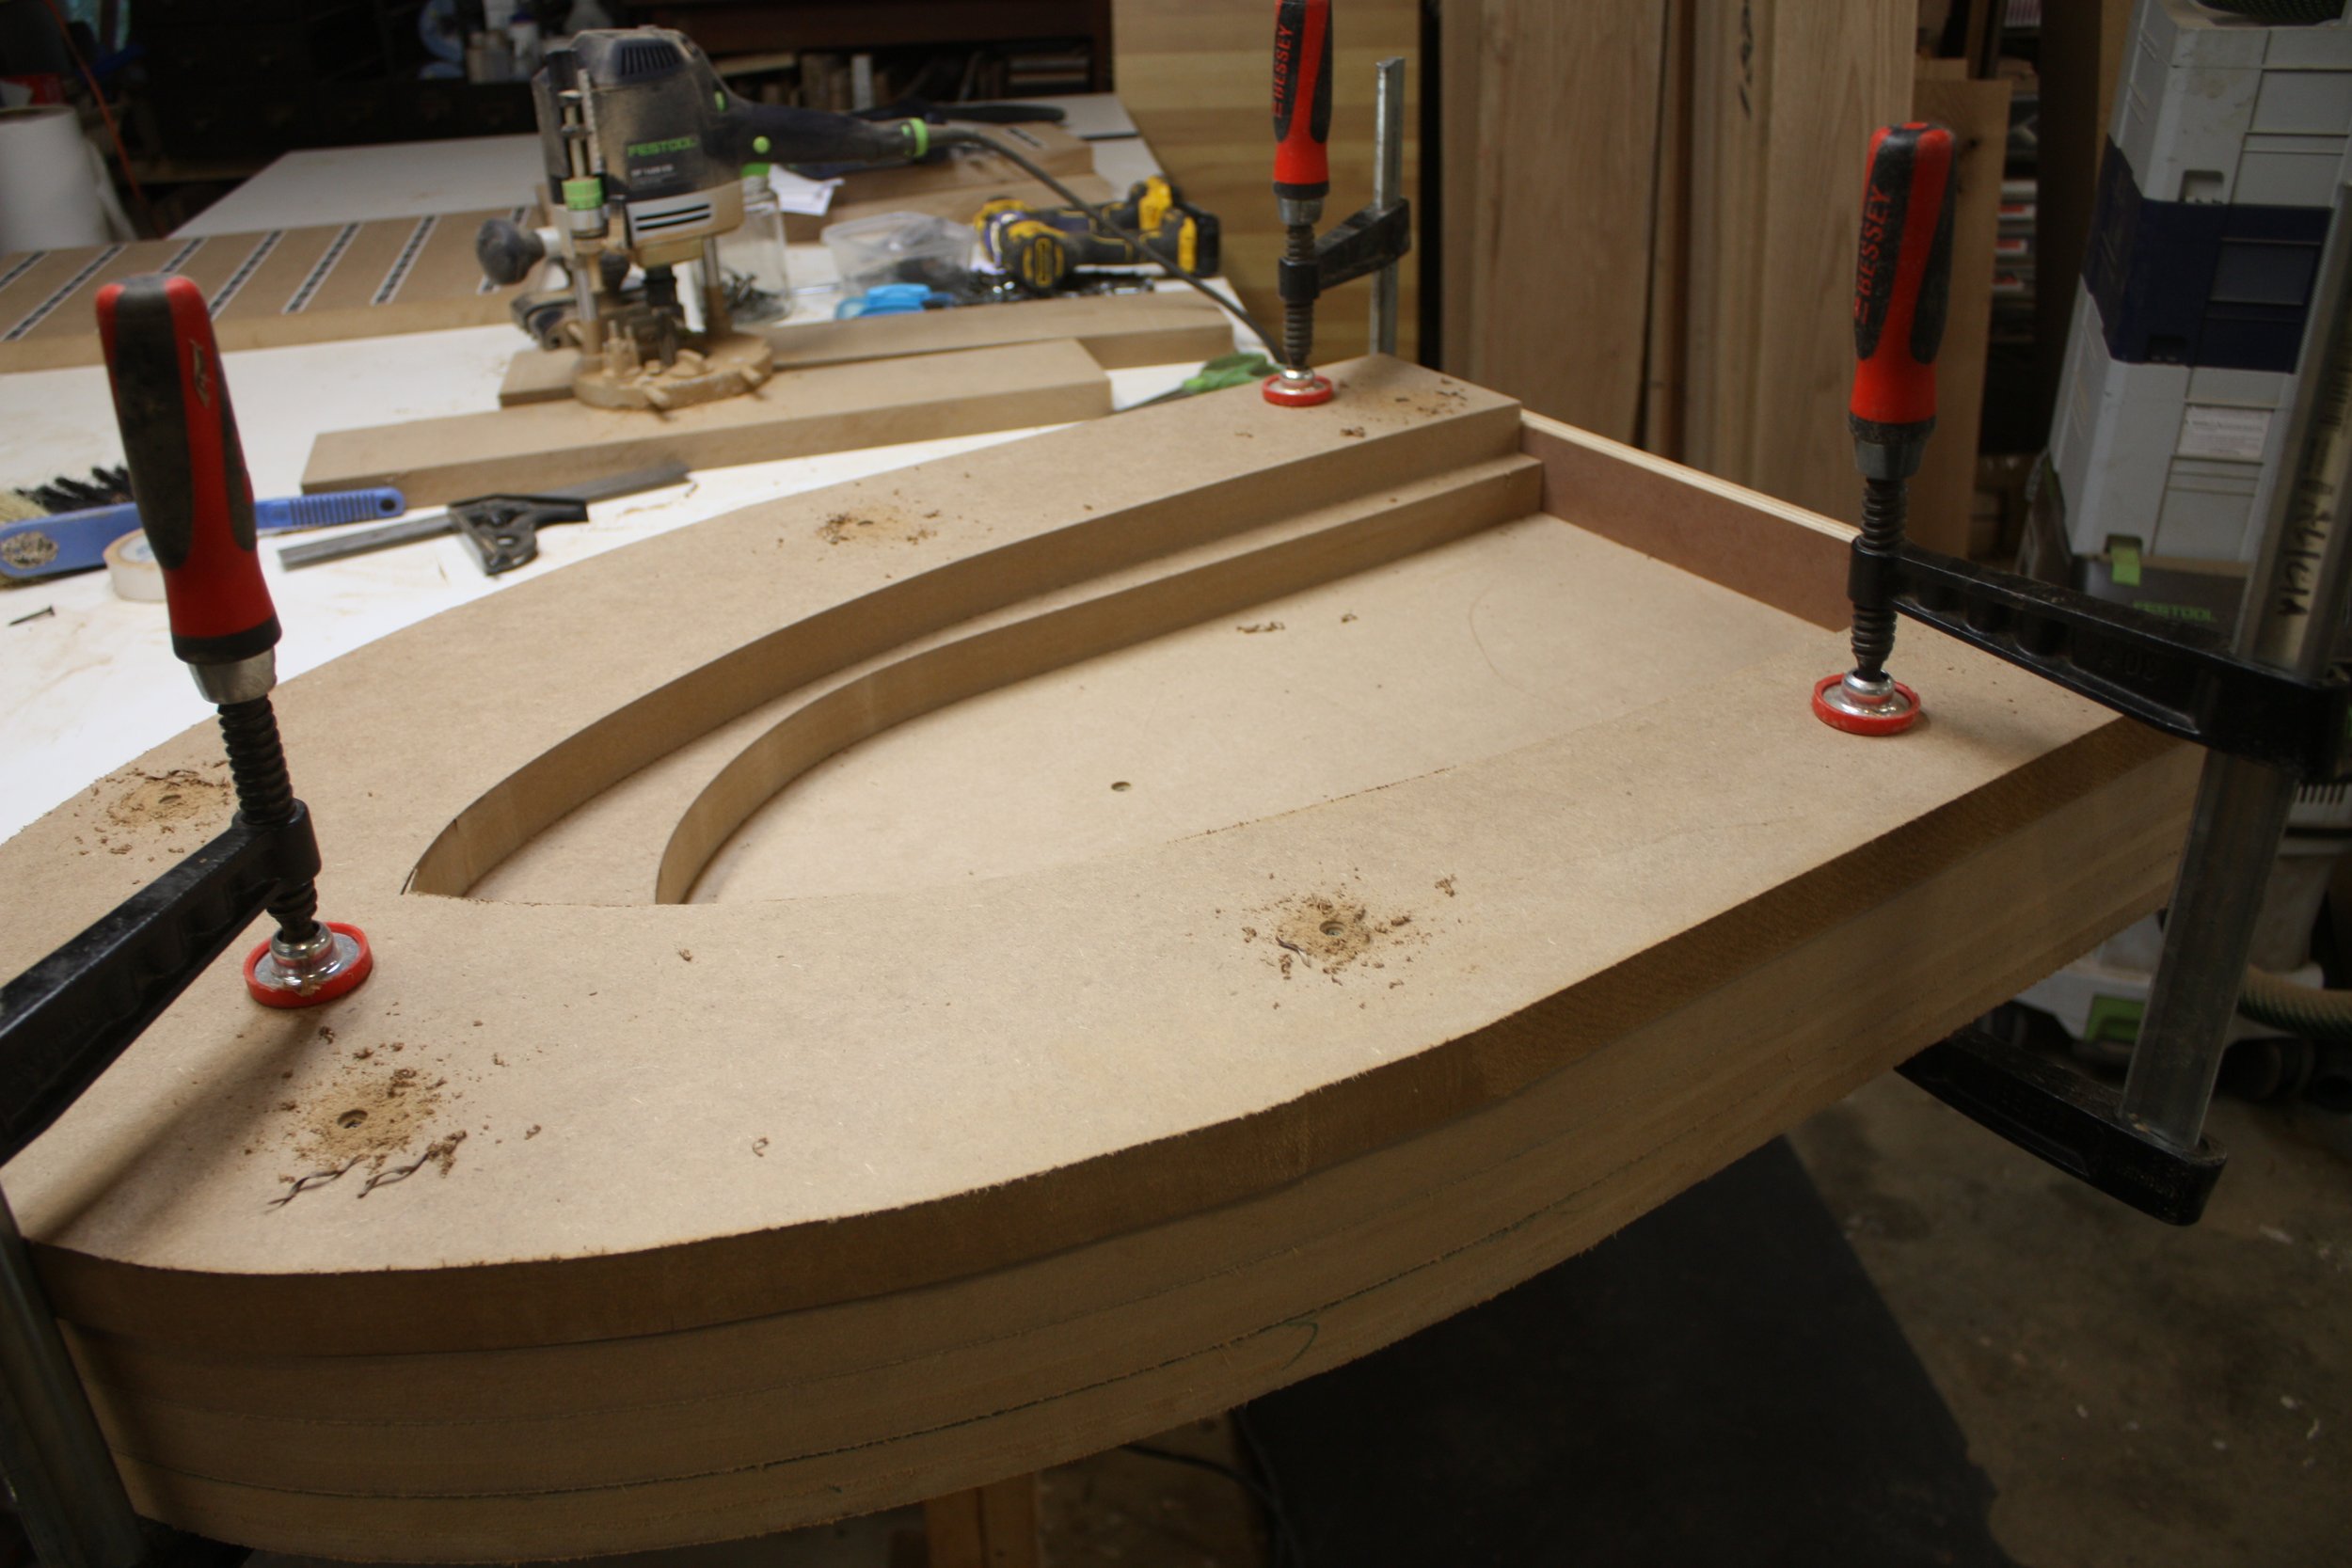
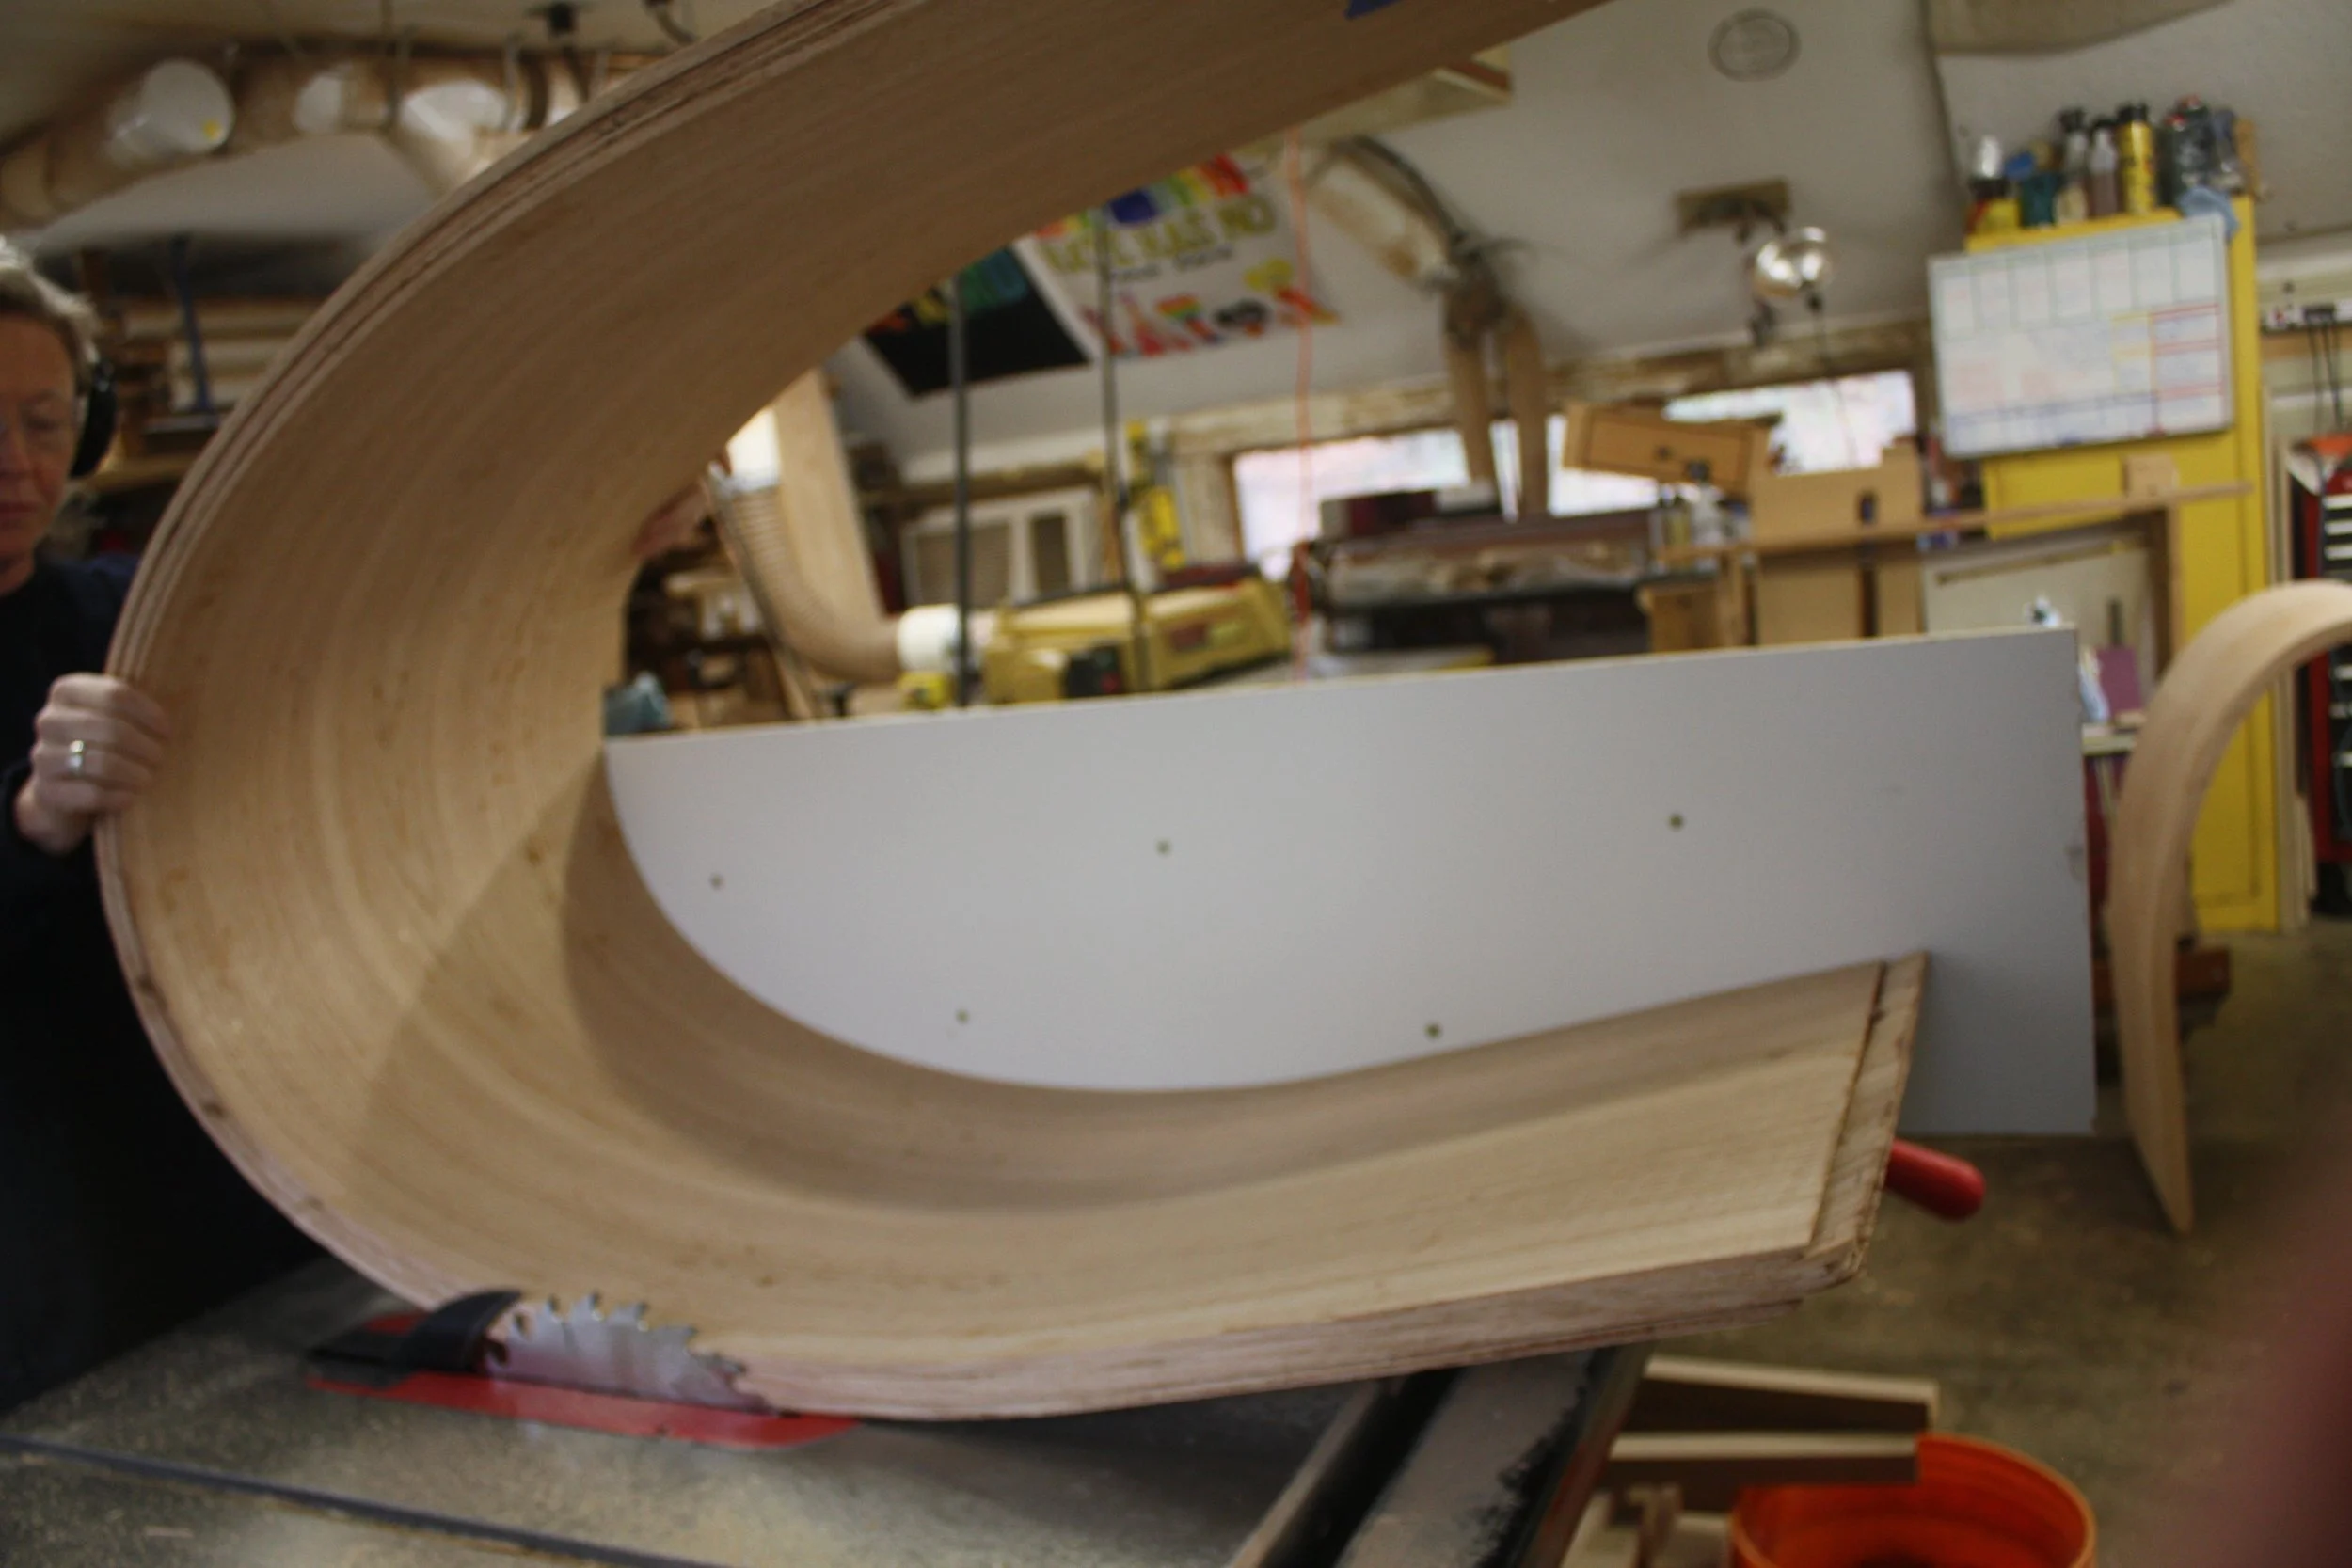
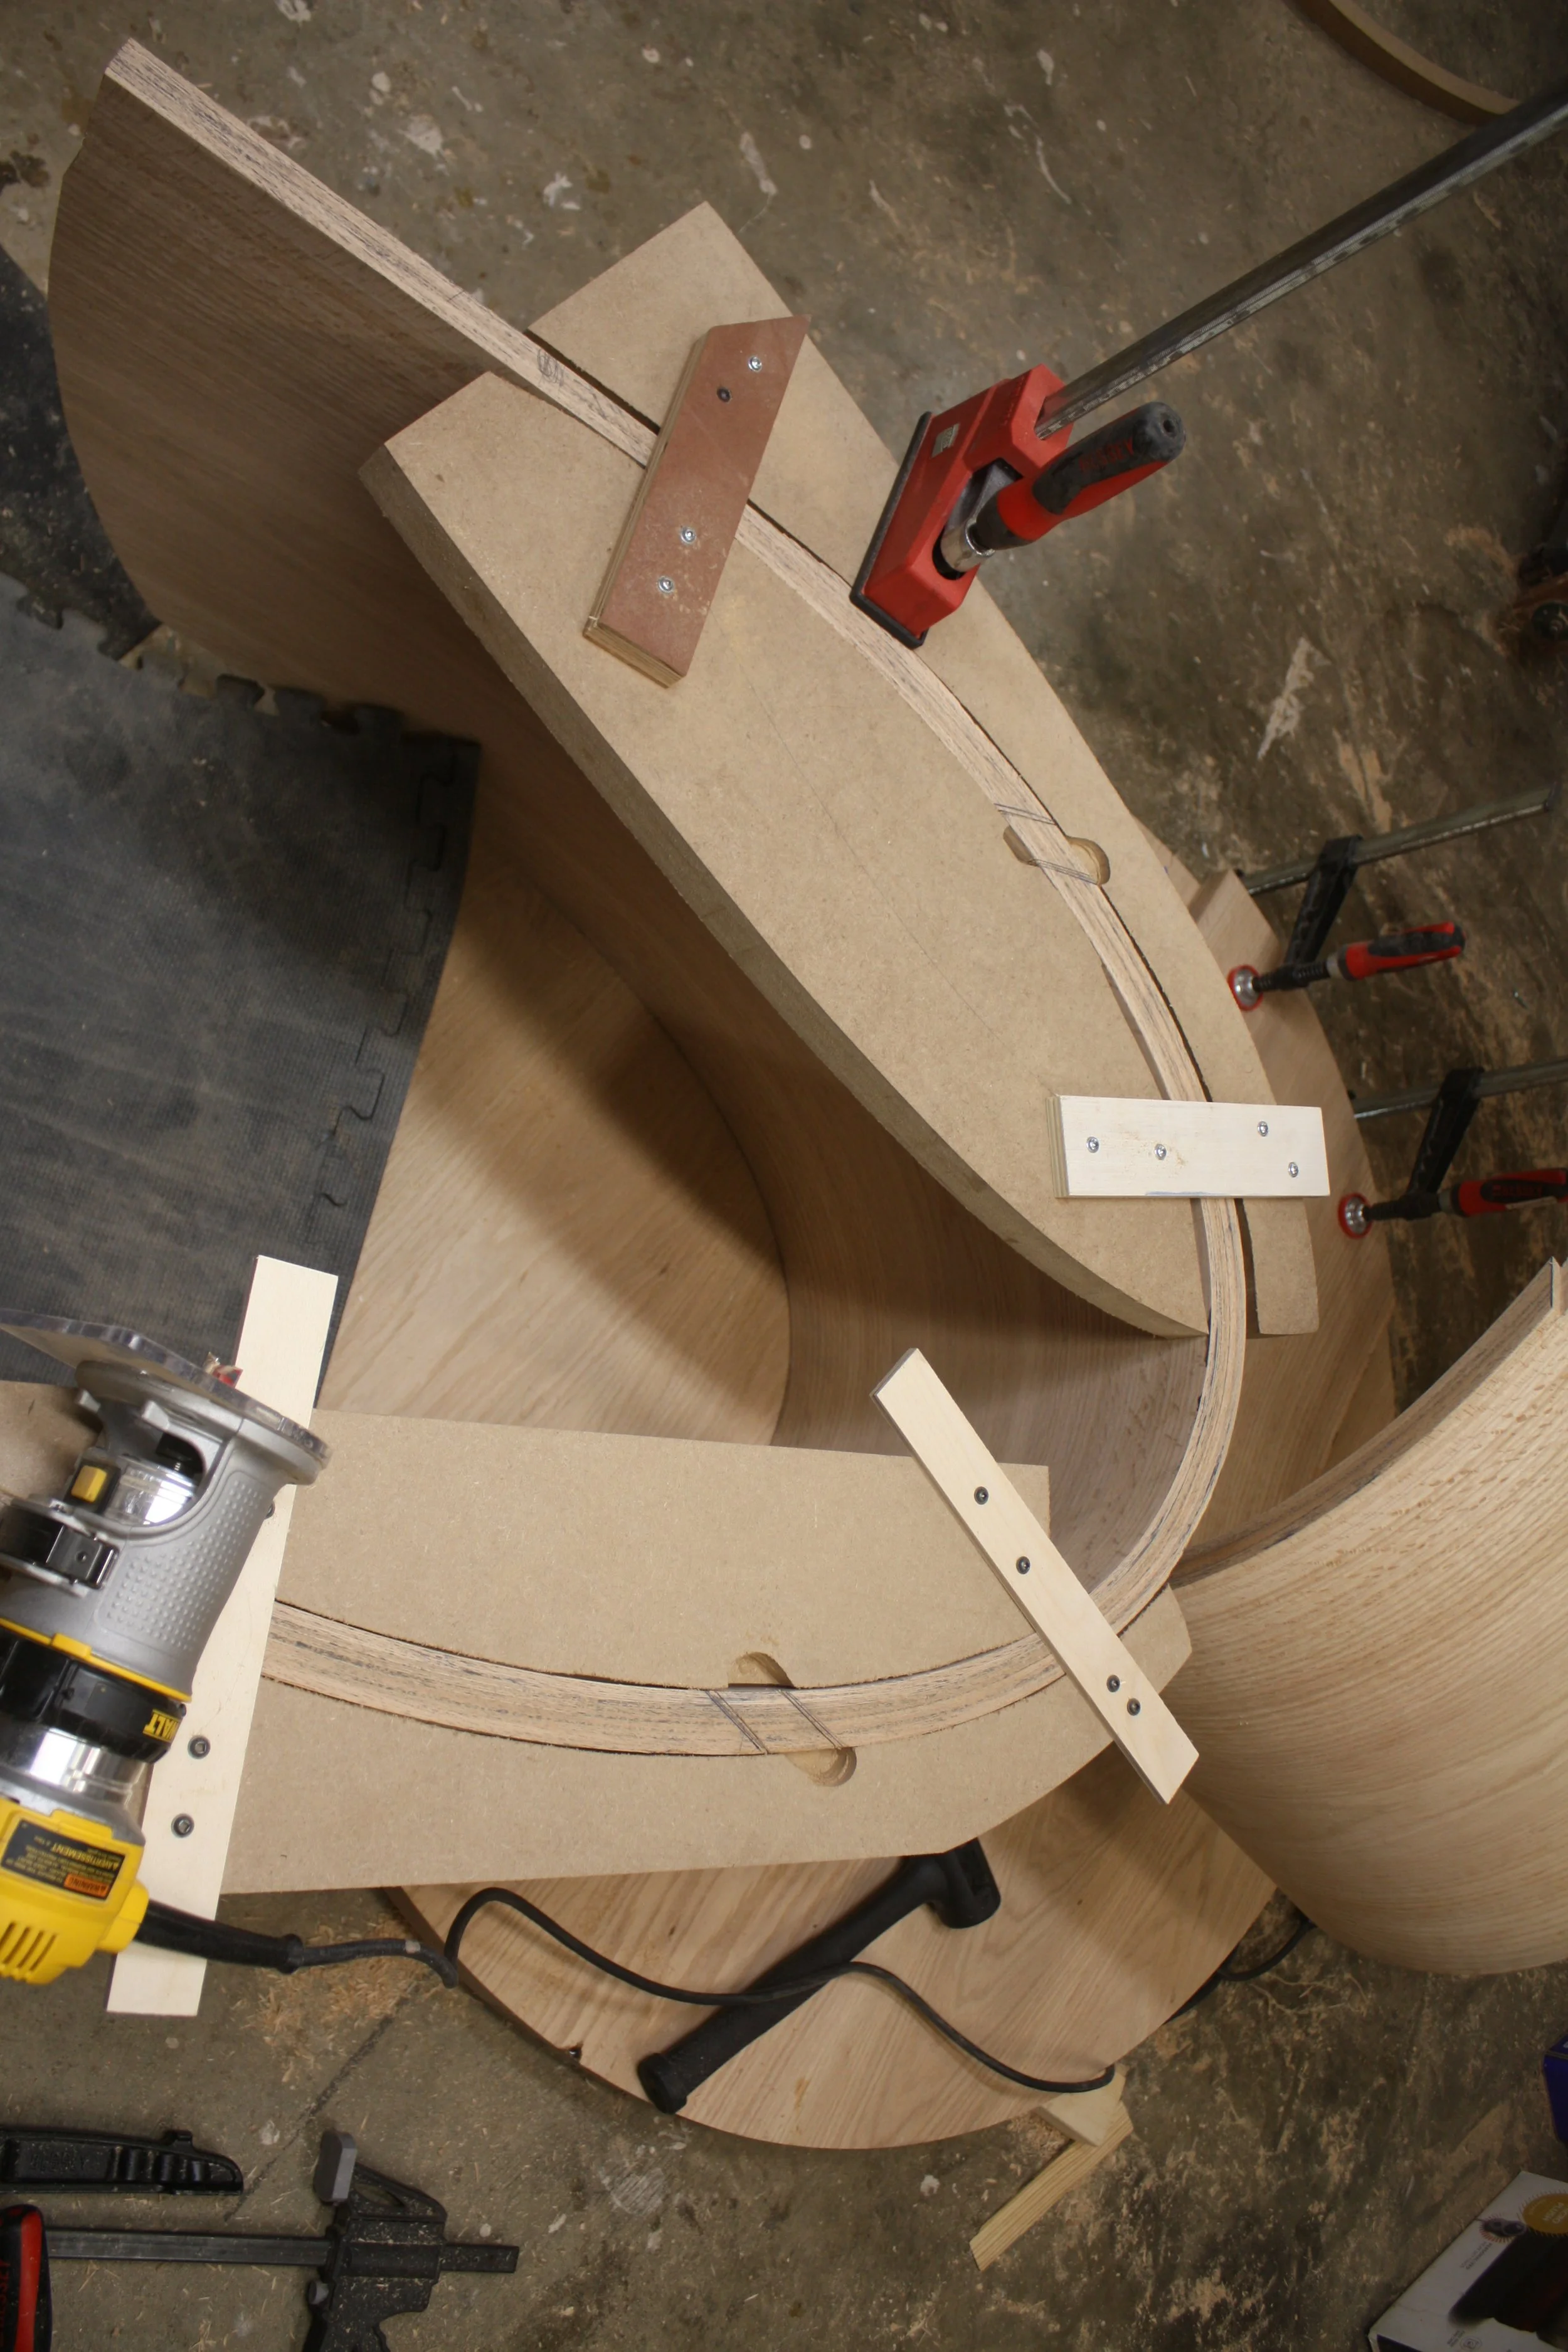
Refining the base
Back to the base, the bottom plinth provides the template for where to cut the arc for the Double C’s. The line gets traced out and jigsawed close to the line. Then I make a template so that all 4 curves will be the same. Using a pattern bit on the router, I route each curve to match the template perfectly. A plywood circle is cut in the same manner as the top circle. Slotted holes in this plywood is how the base connects to the top.