Waterfall Concrete Tables in collaboration with Forge Design
Here for the life of your project…
The button below will open your care and maintenance instructions. I am always here if questions arise.
Welcome into my shop…
Below are just a few images taken during the making of your concrete waterfall tables. I hope you enjoy seeing the how and will long enjoy the final pieces.
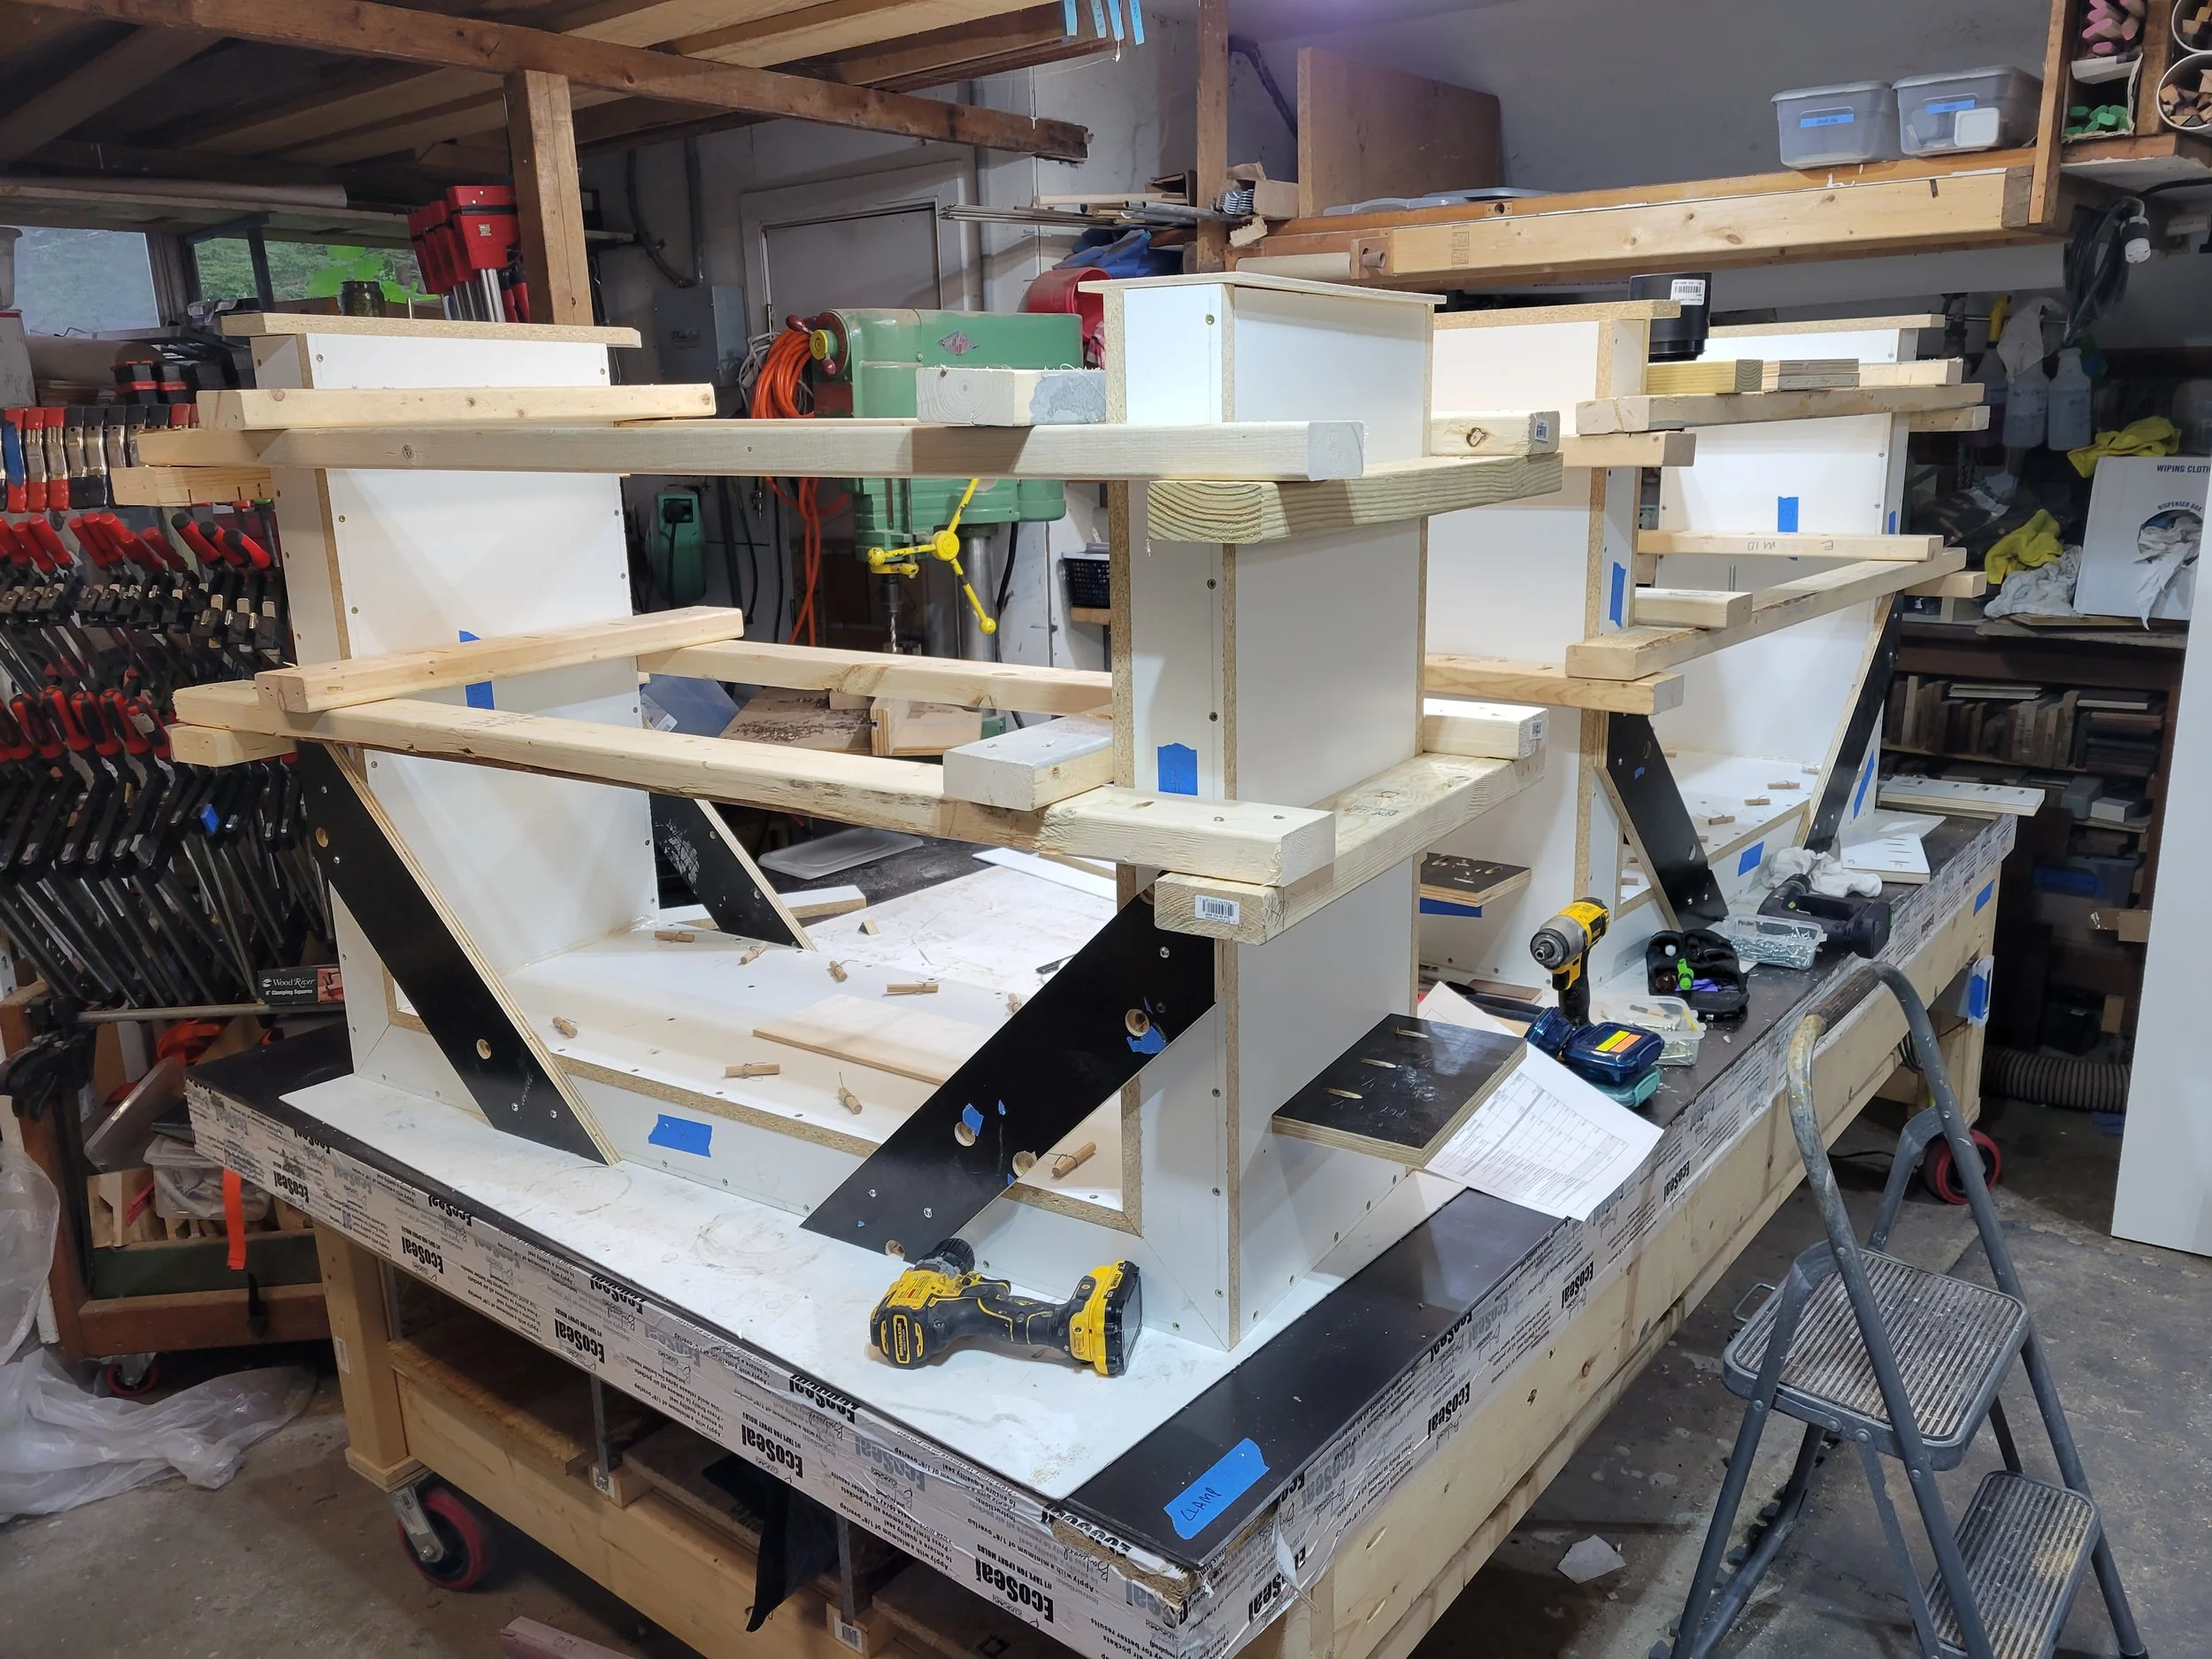
Building the form


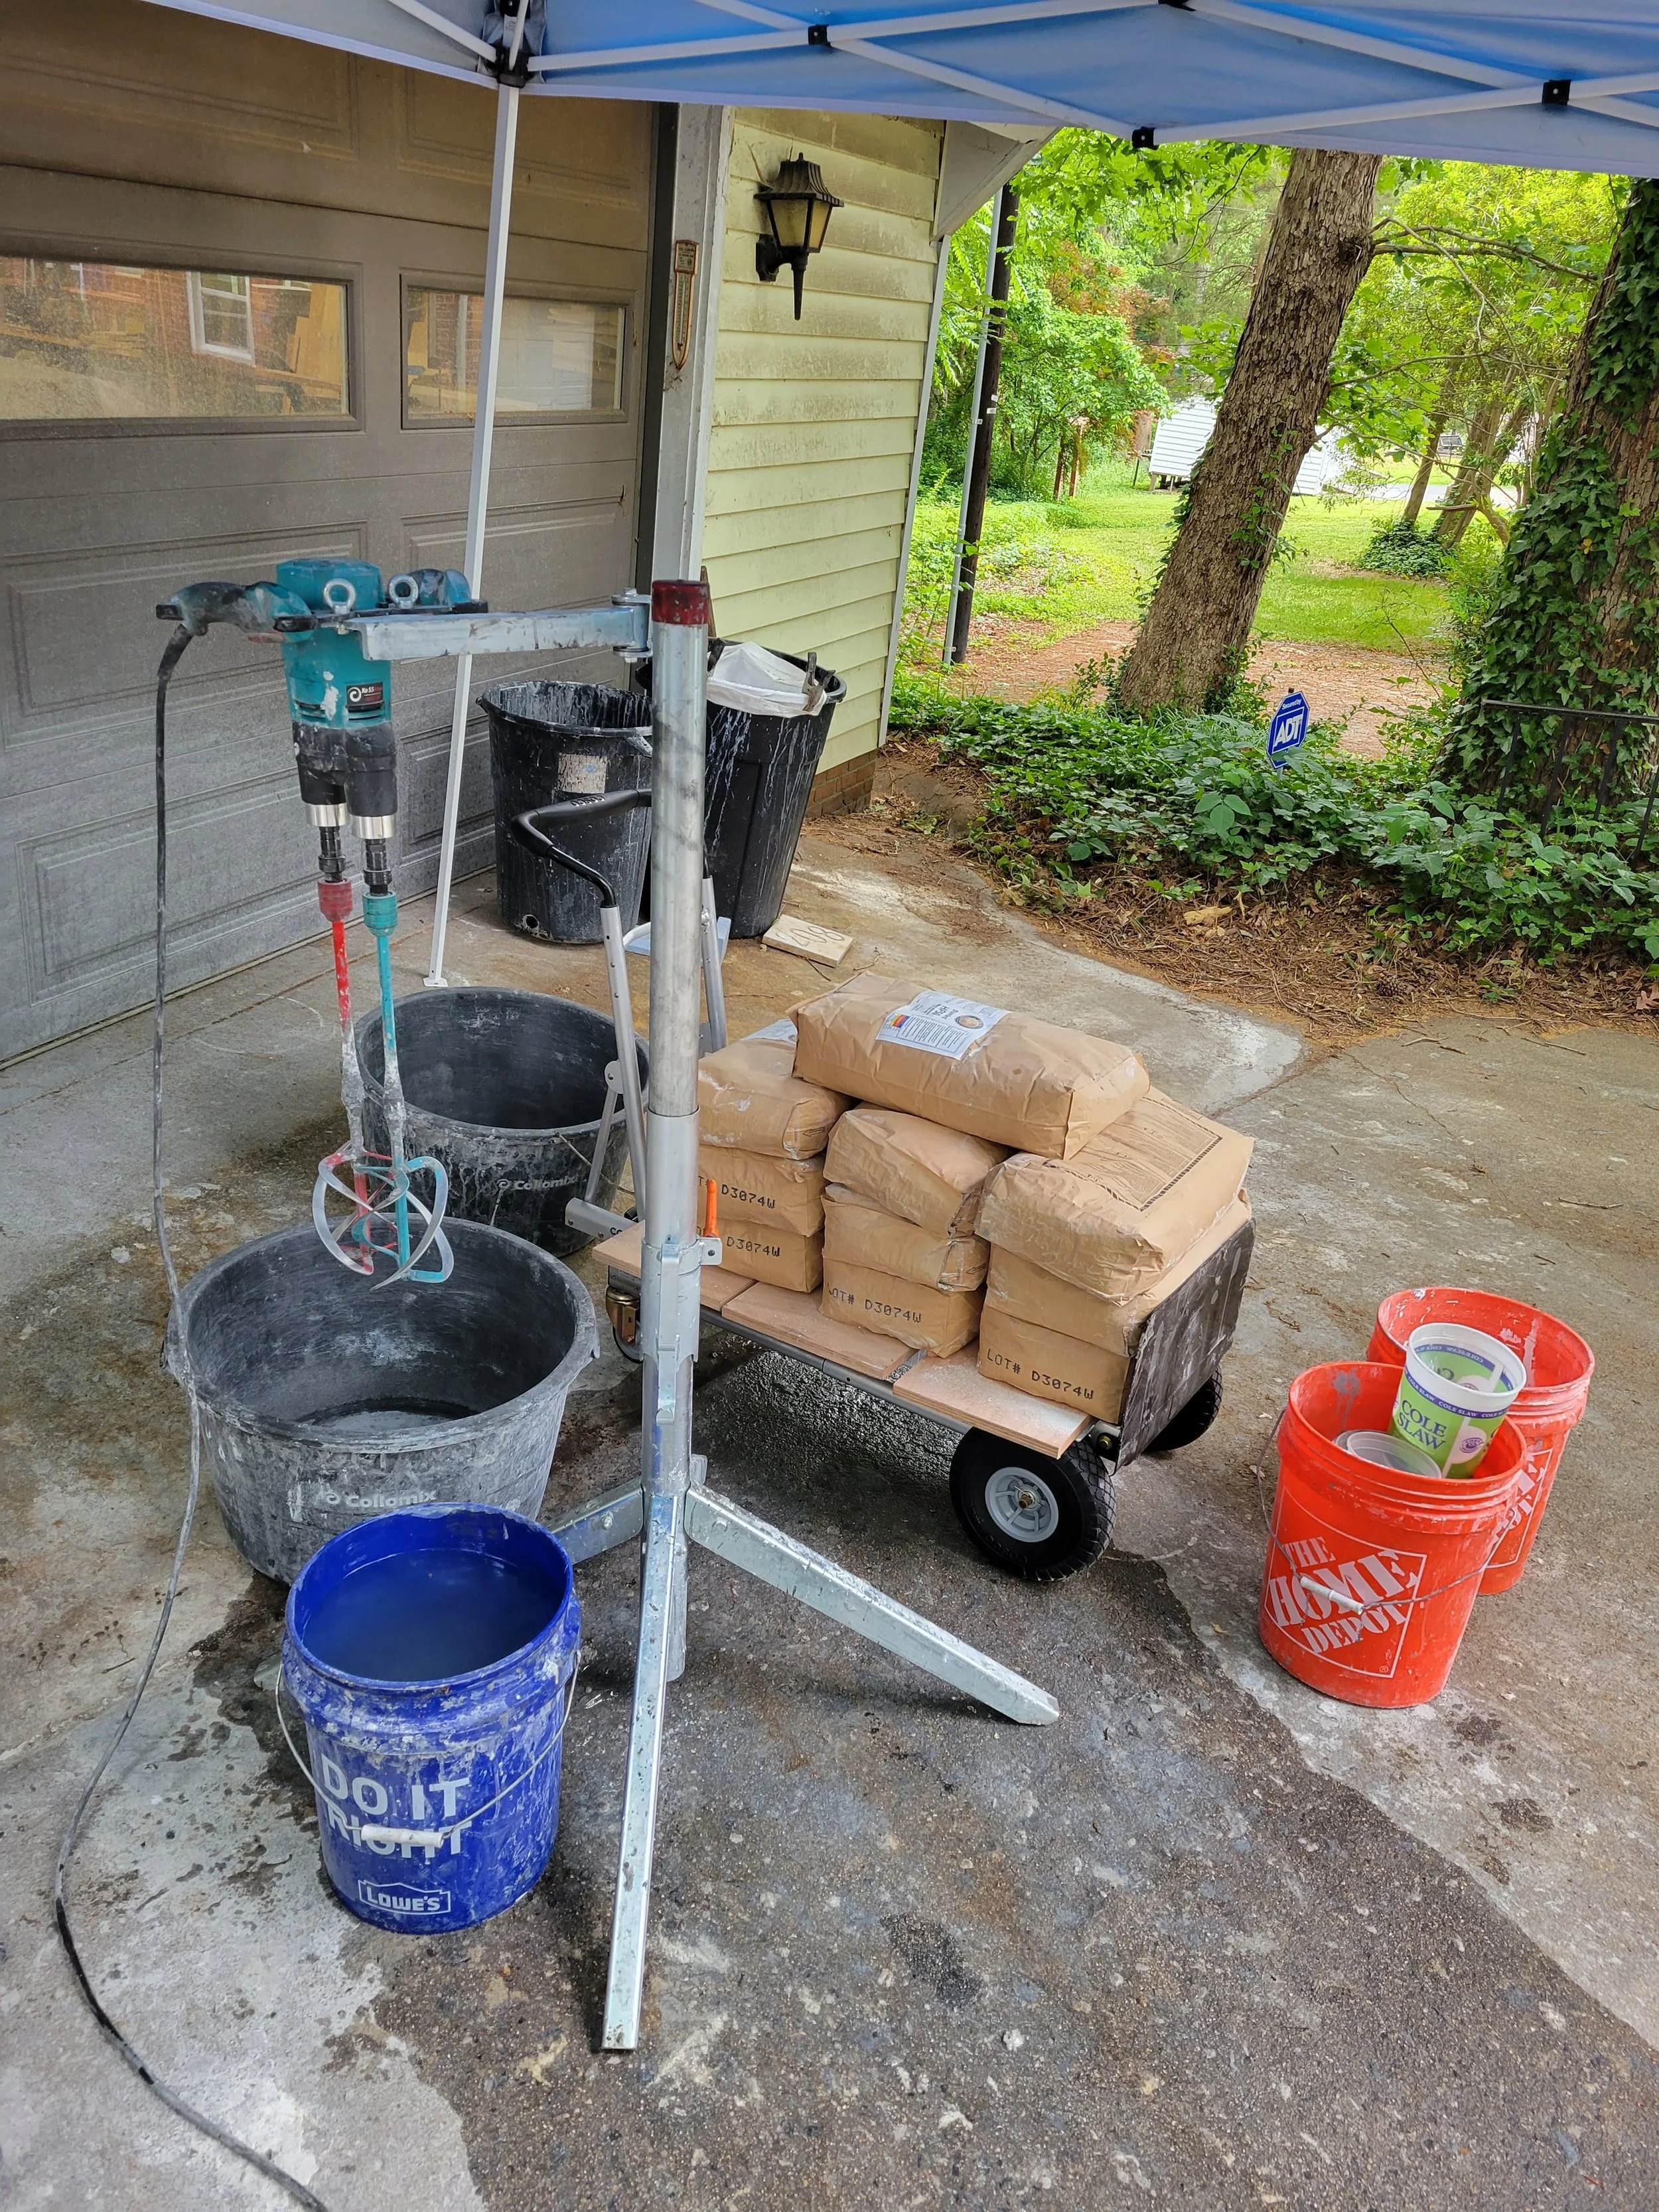
Pouring the concrete
This is a very sped up version of one of the waterfall pours. Each waterfall took about 4 hours. The forms are build and poured upside down. We poured from one side only so that it would push the concrete up the other leg to get as much air out as possible.
Pouring the concrete
Some stills of the process of pouring both of the waterfalls - there is A LOT going on during this time, so I always think, “I should have taken more photos!” :-)


Demolding the tables
Again, a very sped up version of the half day to demold the forms - there is a very particular sequence to getting everything out in the right order. And a lot of hands on my hips when I think apparently :-)
Polishing the Tables
After the tables get demolded, they sit for a few days waiting for the concrete to get hard enough to handle more comfortably. I then put on my wet gear and wet polish all sides, slurry any pinners/holes with a creamy concrete slurry, and etch them to prep for finishing. They get fulling polished on the underside and inner legs first, then flipped and polished on the top and outside legs.

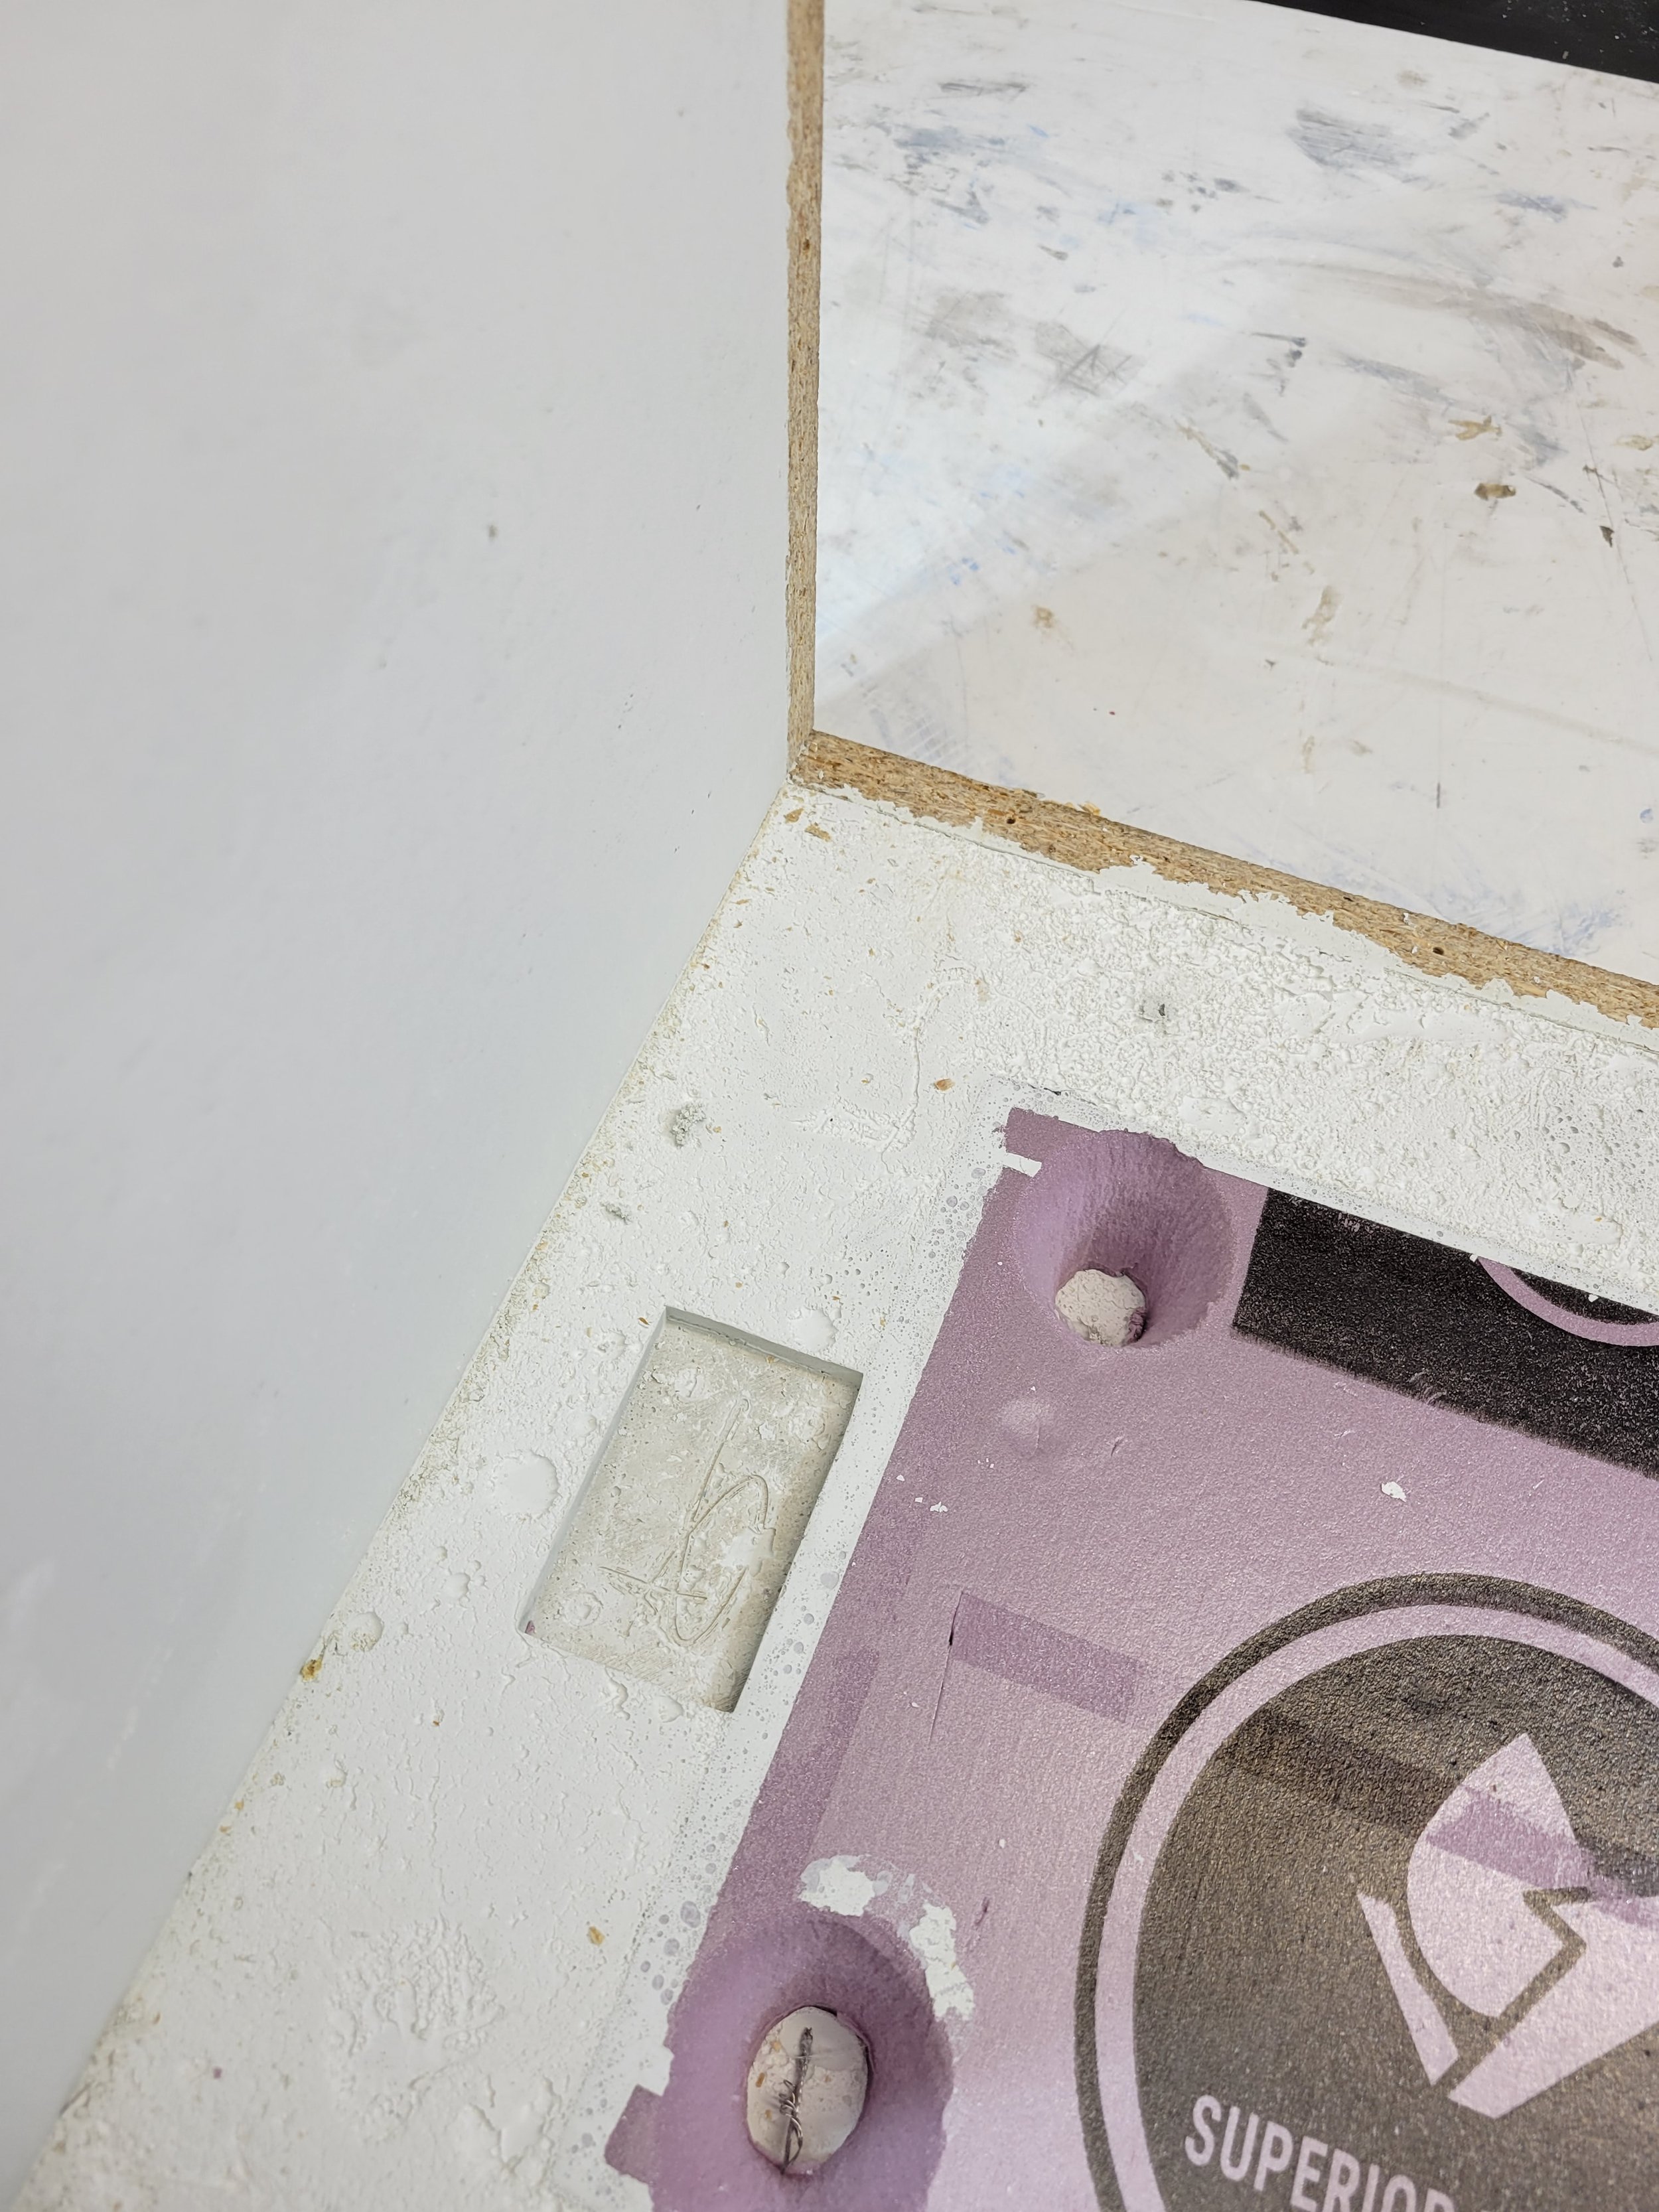


Slurrying the concrete
You can see the pin holes in the first 2 photos, the creamy slurry I put on in the 3rd photo, and then what the concrete looks like after I grind off the slurry a few days later.


Installation Day
Getting 2 tables that are 250 pounds each into a trailer are a bit of a logistical challenge, but we got them up and down all safe and sound. I cannot believe how wonderful they look in your space. A huge contracts to the Forge Design Team for putting this space together. I am so happy to be a part of this project! Thank you for your trust in the process and the material. May you enjoy many days and evenings in your gorgeous outdoor space.


